
Small Pantry Organization Ideas are a real obsession for anyone (like me) living with a tiny kitchen and a single, packed shelf. Over the last four apartments, I’ve tested every trick: some failed, some stuck. Here’s what actually works, with honest trade-offs and real products, no renovation or big budget required.
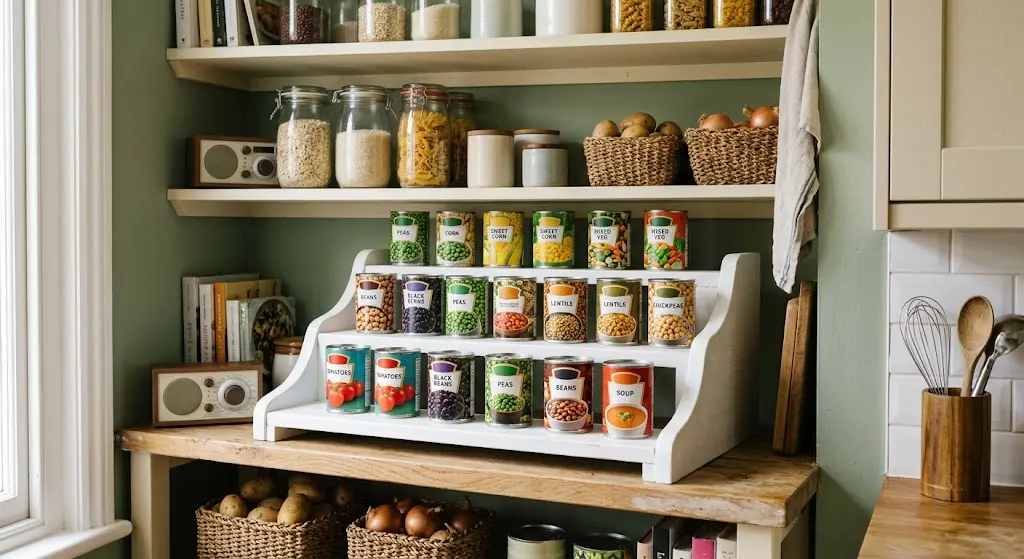
Stack Canned Goods on a $12 Tiered Riser
If you’ve ever lost a can of chickpeas in the back of a deep shelf, a tiered riser will change your life. I use an expandable, three-step white riser from Amazon for about $12. It turns a jumble of cans into a tidy lineup where every label faces out.
You can see what you have, so you stop overbuying or letting food expire. The catch: risers only work if your shelf is at least 9 inches deep and not too high, otherwise, taller cans might bump the shelf above. For super tight spaces, look for the two-step versions.
Maintenance is easy, just wipe the riser with a damp cloth when you clean the shelves. If you have a deeper pantry, try placing two risers side-by-side for double capacity. For renters, these risers are a dream because they don’t require any installation or hardware.
Hang an Over-the-Door Rack for Extra Snacks
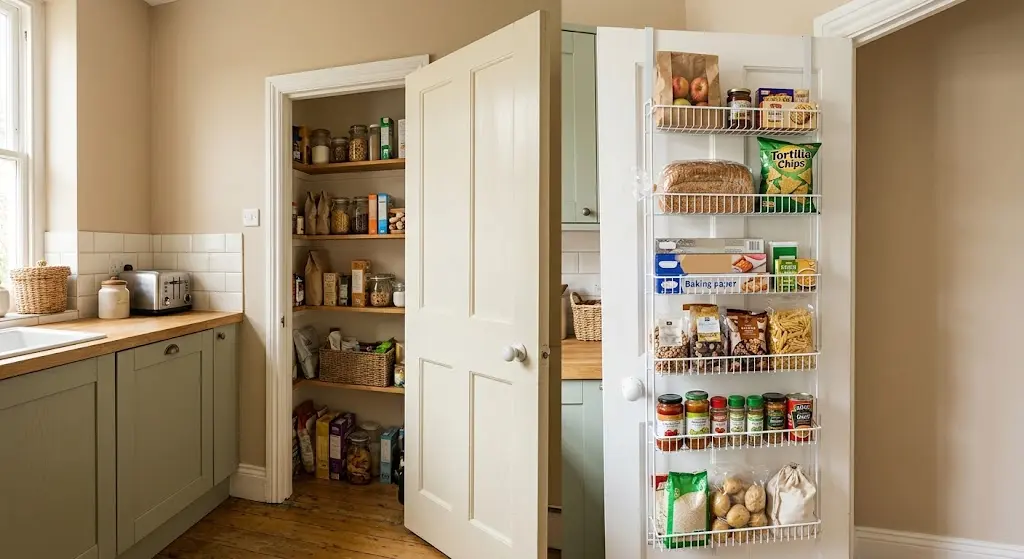
Rental kitchens never have enough shelves, so I hung a six-tier over-the-door rack (the basic metal kind from Walmart, $25) on my pantry closet. Suddenly, I had space for chips, wrap boxes, and condiments, no drilling needed. It’s perfect for renters and doesn’t damage the door.
The downside: the rack flaps a bit if you slam the door, and heavy glass jars may not be secure. I stick to lighter snacks and bread. For extra stability, add a couple of adhesive bumpers at the bottom to reduce swinging. If you have a bifold or hollow-core door, check the thickness before buying, the hooks need to fit securely.
Some racks come with adjustable shelves, which are handy if you want to store taller bottles or boxes. To keep things organized, group snacks by type and rotate items as you restock.
Sort Dry Goods into Clear Bins with Labels
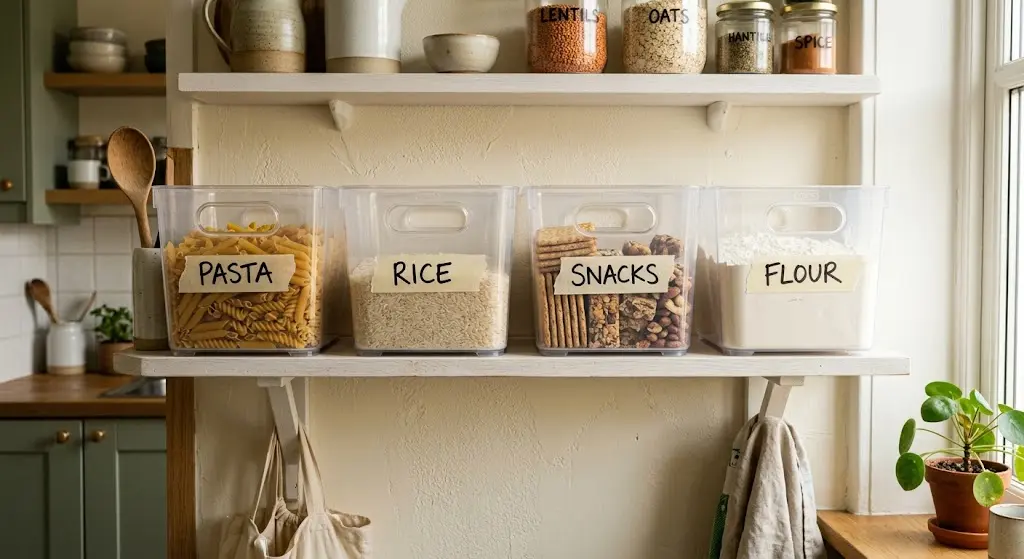
Clear bins are the secret to seeing everything at a glance. I grabbed a set of four from IKEA (VARIERA, $5 each) and stashed pasta, rice, snacks, and baking supplies. A strip of masking tape and a Sharpie makes a label you’ll actually update.
The payoff: less food waste, no more mystery bags, and you can pull a whole category out at once. If you can’t see what’s in the bin, you won’t keep it organized, so skip opaque baskets. Bins are easy to wash with soapy water if something spills. For an even more streamlined look, try matching clear bins (The Home Edit line at Walmart is popular, though pricier than IKEA).
Group similar items together, baking ingredients in one, snacks in another, grains in a third. Stackable bins can be used on deeper shelves, and if you have wire pantry shelves, look for bins with flat bottoms so nothing tips over. Don’t forget to label both the bin and the shelf edge for extra clarity.
Turn a Dead Corner Into a Lazy Susan Zone
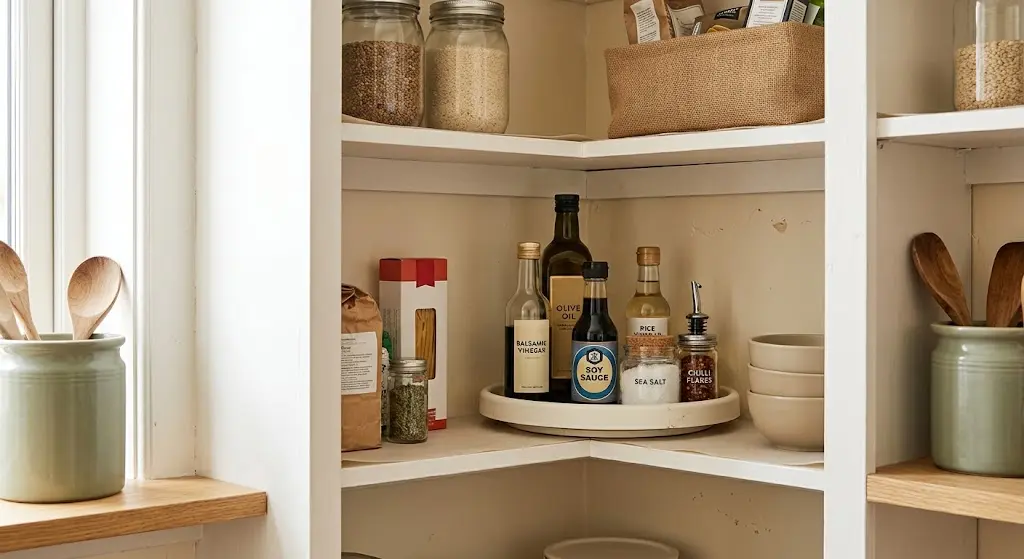
That awkward back corner of a shelf where nothing fits? That’s where a lazy Susan shines. I use a 10-inch plastic turntable (mDesign, $10-$15 on Amazon) for oils and sauces. Spin it to reach everything, no more knocking over bottles.
The only catch: wide jars or odd-shaped bottles can tip if the turntable is too small. Measure the space first, and err on the side of a bigger size if you can. Clean-up is simple, just lift it out and rinse as needed. If you have upper cabinets with a corner, a lazy Susan there keeps spices or vitamins accessible.
There are double-decker versions for even more storage if your shelf height allows. For renters, lazy Susans are ideal because they don’t require any hardware and can move with you. Just remember to wipe underneath every month to keep crumbs from building up.
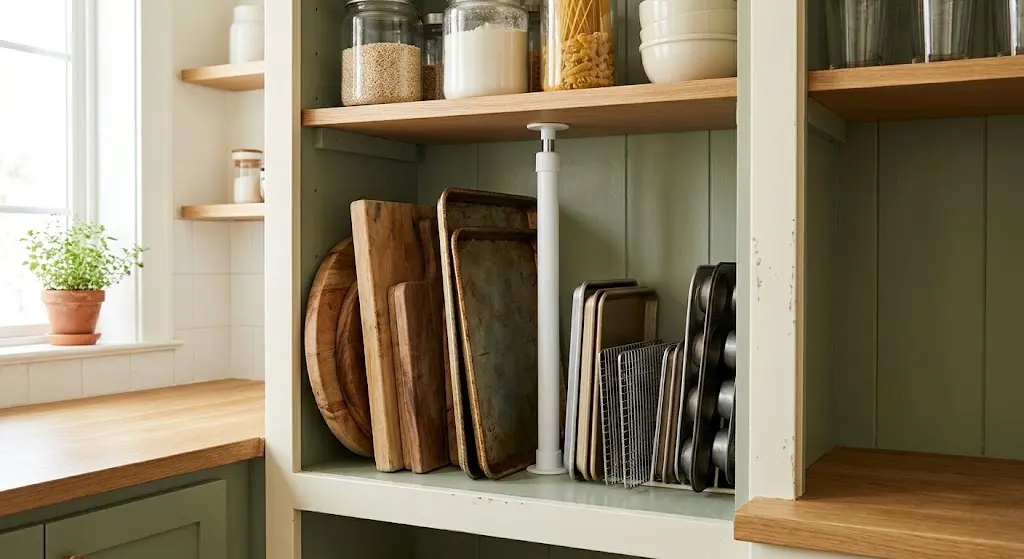
Use a $3 Spring Tension Rod to Separate Baking Sheets
For tall, skinny cabinets, a spring tension rod (the $3 kind from Target) works wonders. Place it vertically at one end of the shelf and use the space between rod and wall to stand up cutting boards, baking sheets, or foil boxes. This uses awkward vertical space, and nothing gets buried.
The catch: tension rods can’t hold a ton of weight. Don’t overload them or expect them to hold up cast iron pans. Wipe the rod occasionally as crumbs collect. If you have a wider cabinet, use two rods a few inches apart to create divided sections for trays and lids.
For renters, tension rods are completely damage-free and removable. You can also use horizontal tension rods under shelves to hang lightweight baskets or bags of chips with clips.
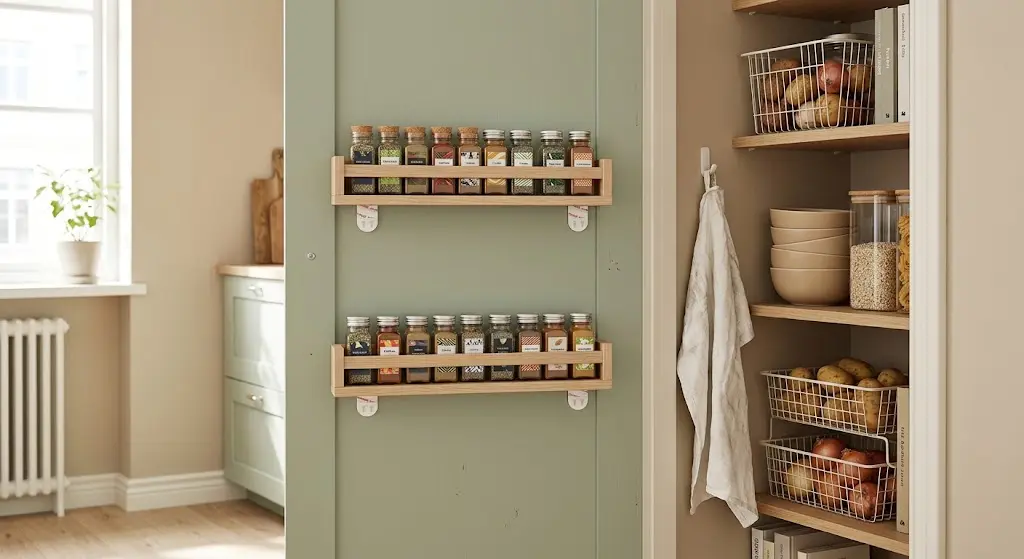
Line Up Spices on a Shallow IKEA BEKVÄM Rack
Spices get lost fast in small pantries. I mounted two shallow IKEA BEKVÄM racks ($5 each) on the inside of my pantry door with Command Strips. No drilling, no marks. Bottles line up label-out, making it easy to spot what you have. These racks are only 3 inches deep, so even the tightest doors can close.
The only downside: tall spice bottles may tip if you slam the door, so I stick to standard jars or refill smaller ones. The racks wipe clean with a damp cloth if spices spill. For a more custom look, paint the racks to match your decor. If you have a lot of spices, hang multiple racks vertically.
You can also use these racks for small bottles of extracts or mini condiments. Label the shelf edge or the front of each rack for even quicker finds.
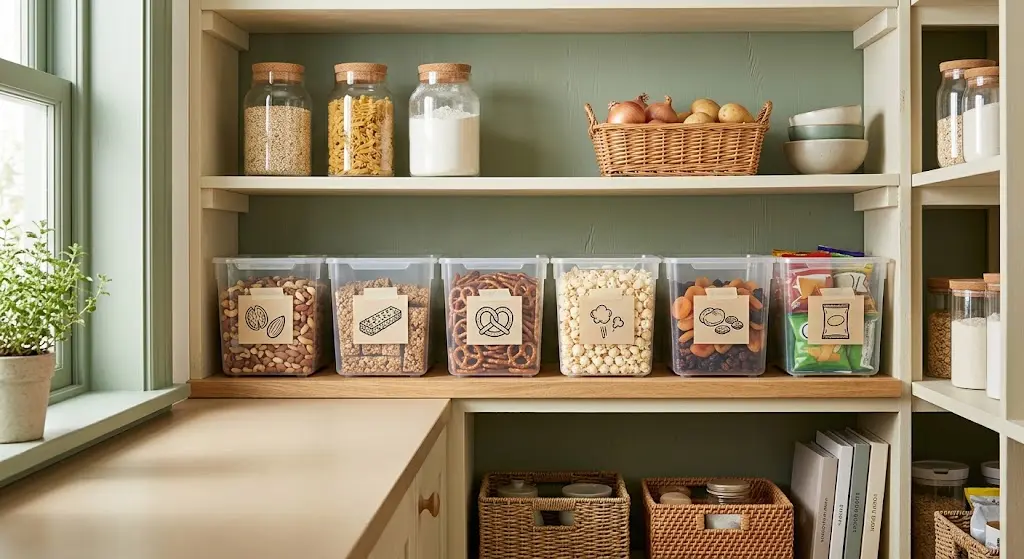
Corral Snacks in Dollar Store Bins by Category
My favorite cheap fix is a set of dollar-store bins, I bought six for $1.25 each. Assign each bin a snack type: granola bars, crackers, fruit cups, etc. It makes grab-and-go lunches simple. Kids (and adults) know exactly where to find things. The bins aren’t glamorous, but they slide like drawers and keep loose snacks from avalanching.
The only trade-off: the bins may crack if overloaded, so keep them light. Wash out sticky bins as needed to keep things tidy. For a neater look, choose bins with handles or cutouts for easy grabbing. Stack two bins if your shelves are tall enough. If you run out of shelf space, use bins on the pantry floor for larger snack bags or multipacks. Label each bin by snack type to make restocking foolproof.
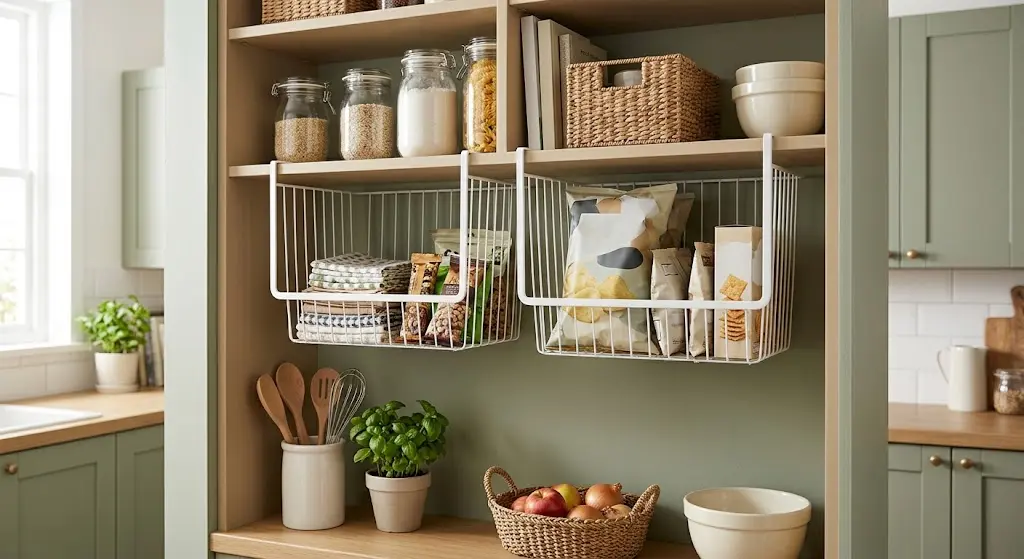
Install Removable Wire Baskets Under Shelves
Under-shelf space is easy to overlook. I use removable wire baskets (the kind that hook onto shelves, about $8 each at HomeGoods) for snacks and napkins. They double your storage without tools. Just slide them on, no drilling.
The catch: these baskets only fit sturdy wooden shelves, and sometimes they snag on the door if your pantry is super shallow. Check depth before buying. They’re easy to pop off and clean if crumbs collect. If you have wire pantry shelves, look for under-shelf baskets specifically designed for wire racks, these often have special clips for a secure fit.
Use these baskets for bread, tortillas, or even reusable shopping bags. Wipe them down monthly and avoid overloading, as too much weight can bend the basket or the shelf itself.
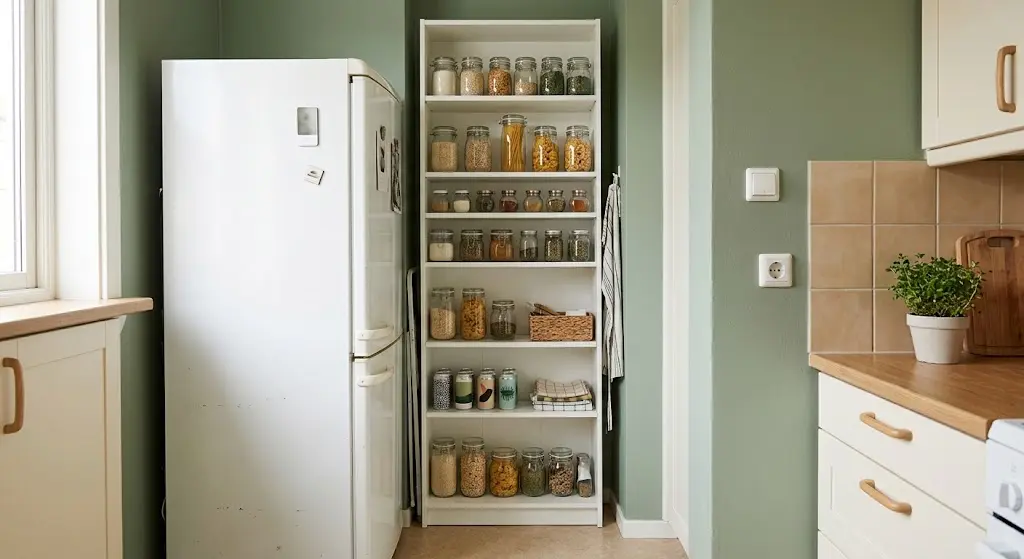
Slip a Slim IKEA GNEDBY Shelf Beside the Fridge
If your kitchen has an awkward gap between the fridge and wall, the IKEA GNEDBY shelf ($35, originally for DVDs) slides right in. It’s only 7 inches wide but holds cans, jars, and bottles in a vertical stack. I use mine for breakfast items and sauces. Since it’s so narrow, you can pull it out to clean behind.
The downside: you’ll need to anchor it with museum putty or it might tip. No drilling needed, but don’t overload the very top shelf. Dust the shelf monthly to prevent grime buildup.
If the GNEDBY is too tall, try the IKEA RÅSKOG cart, which is shorter and on wheels, great for tight spaces. This shelf is especially handy for renters because it’s easy to move when you leave and doesn’t require any installation.
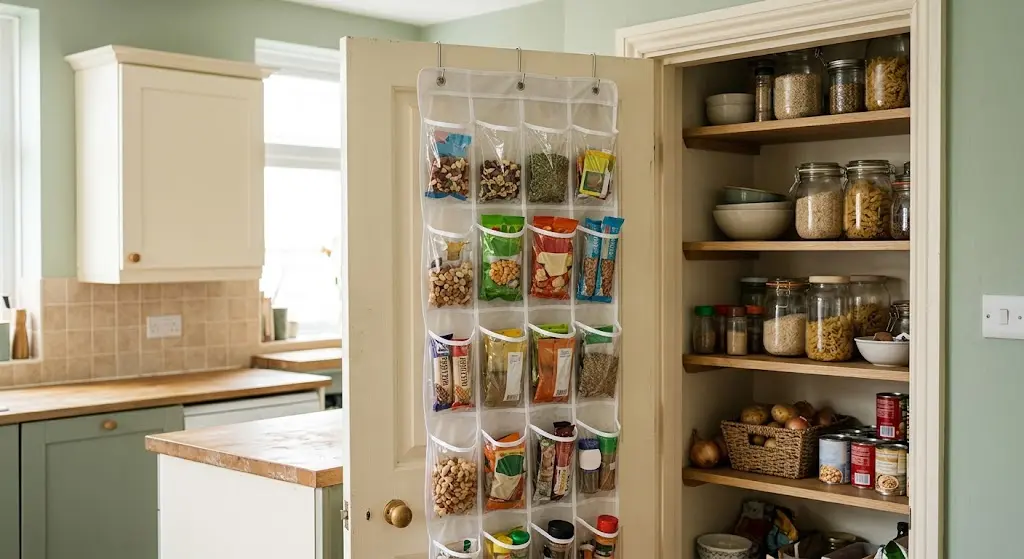
Make a DIY Snack Station with a Shoe Organizer
Clear over-the-door shoe organizers (about $10 at Target) are my DIY favorite for kids’ snacks or spice packets. Hang one inside a closet or pantry door and fill each pocket with a separate item, granola bars, nuts, spice mixes, even instant oatmeal. The best part: you can see everything.
The catch: they’re best for light, dry items, heavy jars will rip the pockets. Wipe out the pockets every couple of weeks to keep crumbs under control. If you want a more polished look, try fabric shoe organizers with clear fronts. For busy households, assign each family member a row for their snacks or lunchbox items.
If you’re short on pantry doors, hang the organizer on a wall with removable hooks. Rotate contents seasonally, use it for Halloween candy in fall, or holiday treats in winter.
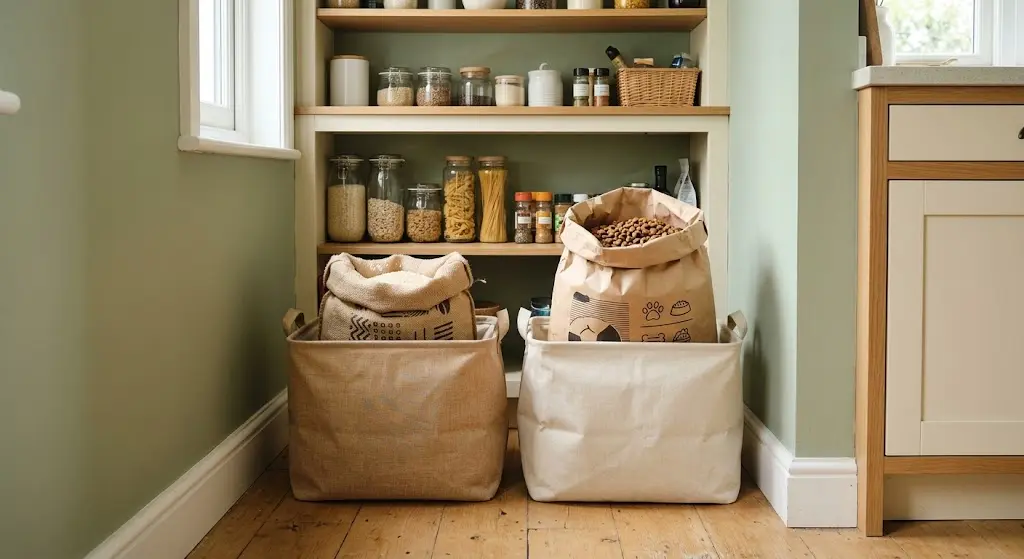
Store Bulk Items with Collapsible Baskets
Large bags of rice, flour, or pet food can overwhelm a small pantry. I use collapsible fabric baskets (like the IKEA SKUBB, $6 for two) on the pantry floor. They hold big bags upright, so you can scoop out what you need and fold the basket away when empty. Collapsible baskets are easy to clean, just shake them out or toss in the wash if needed.
The trade-off: fabric baskets can’t handle leaks, so use a plastic liner inside for anything messy. For a sturdier option, look for collapsible plastic crates (available at Target or The Container Store) which are wipeable and hold heavier bags.
If you store pet food in these, always use a sealed liner bag to keep pests out. Remember to check for spills and clean underneath the baskets regularly to avoid attracting bugs or odors.
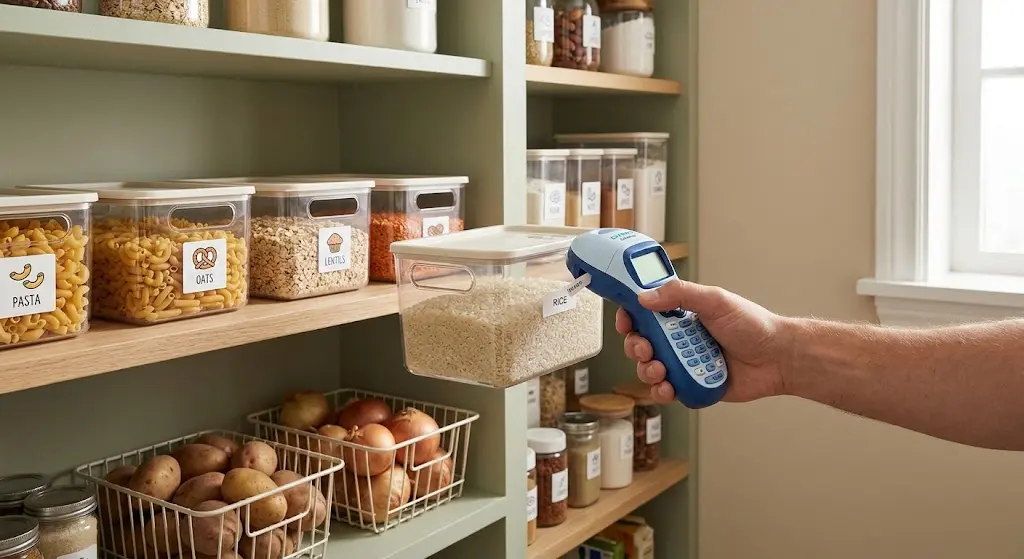
Label Everything for Lasting Order
Labels are the glue that holds any organization system together. I use a cheap label maker (DYMO LetraTag, $25) for bins and shelves, but masking tape and a Sharpie work too. Label every bin, basket, and shelf edge. This way, roommates or kids know where things go, and you’re less likely to let the system slip. Update labels as your pantry habits change, what worked in winter might not work in summer. If you prefer a decorative touch, try pre-printed chalkboard labels (Martha Stewart makes a set at Staples).
For renters, removable labels are ideal if you switch up your pantry layout often. Make updating labels a regular part of your pantry clean-out routine.
Common Mistakes
The biggest mistake I made was going too fancy, too fast. If you buy a bunch of pretty bins that don’t fit your actual space, they’ll just add to clutter.
Another common problem: not labeling bins. If your system depends on memory, it falls apart after a few weeks. Overstuffing shelves or skipping regular tidying means small pantries get chaotic fast. Maintenance is the real secret, set a reminder every two months to toss expired food and wipe sticky shelves. Also, make sure to store food safely: avoid keeping bread or potatoes in humid pantries, and check the USDA’s food safety guide for shelf-life tips.
Lastly, don’t forget to measure before you buy any organizer, height, width, and depth. It’s easy to overestimate what fits in a small space, and returns are a hassle.
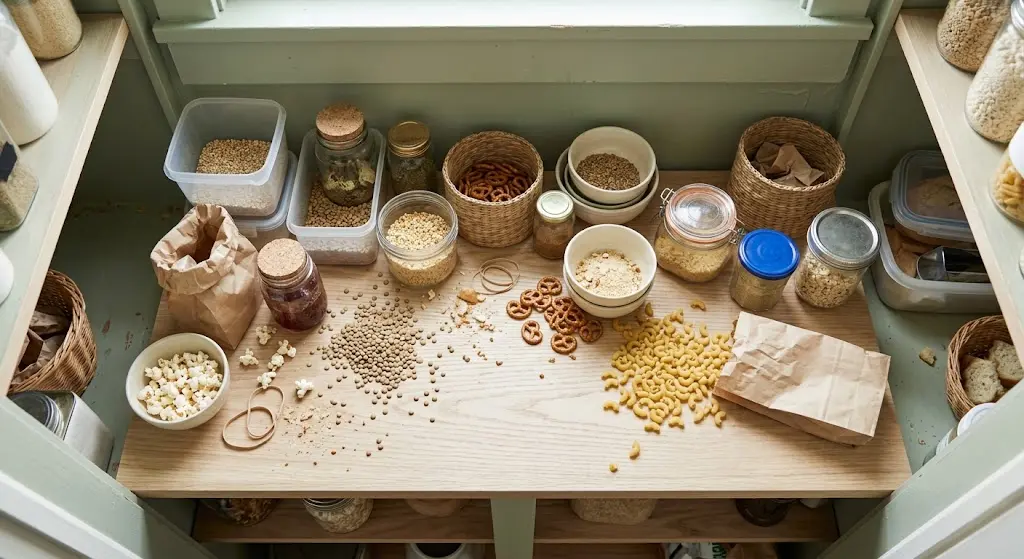
Where to Start
If you’re overwhelmed, start with a quick checklist to get organized:
- Empty one shelf (not the whole pantry!)
- Group items by type, cans, snacks, baking, spices
- Toss expired food (check dates!)
- Measure shelf depth and height
- Pick 1-2 organizers that fit your real space, not just Pinterest photos
- Label bins or shelves as you restock
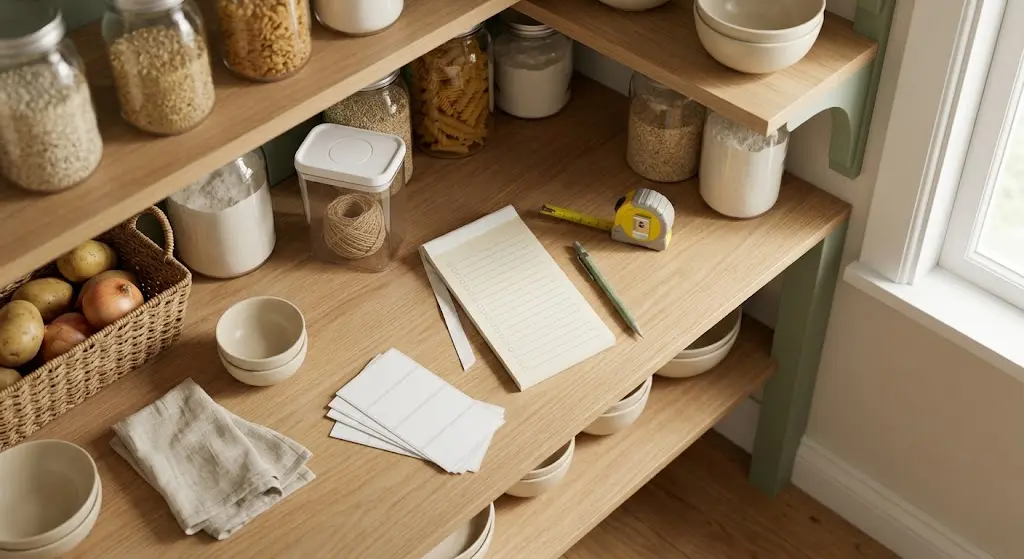
Stick to one section at a time. Add new organizers only after you see what you actually need. Small wins build momentum! If you find your system slipping, set a calendar reminder for a 15-minute tidy-up every month. Over time, you’ll figure out what works for your habits and space, and your small pantry will finally feel organized, not overwhelming.