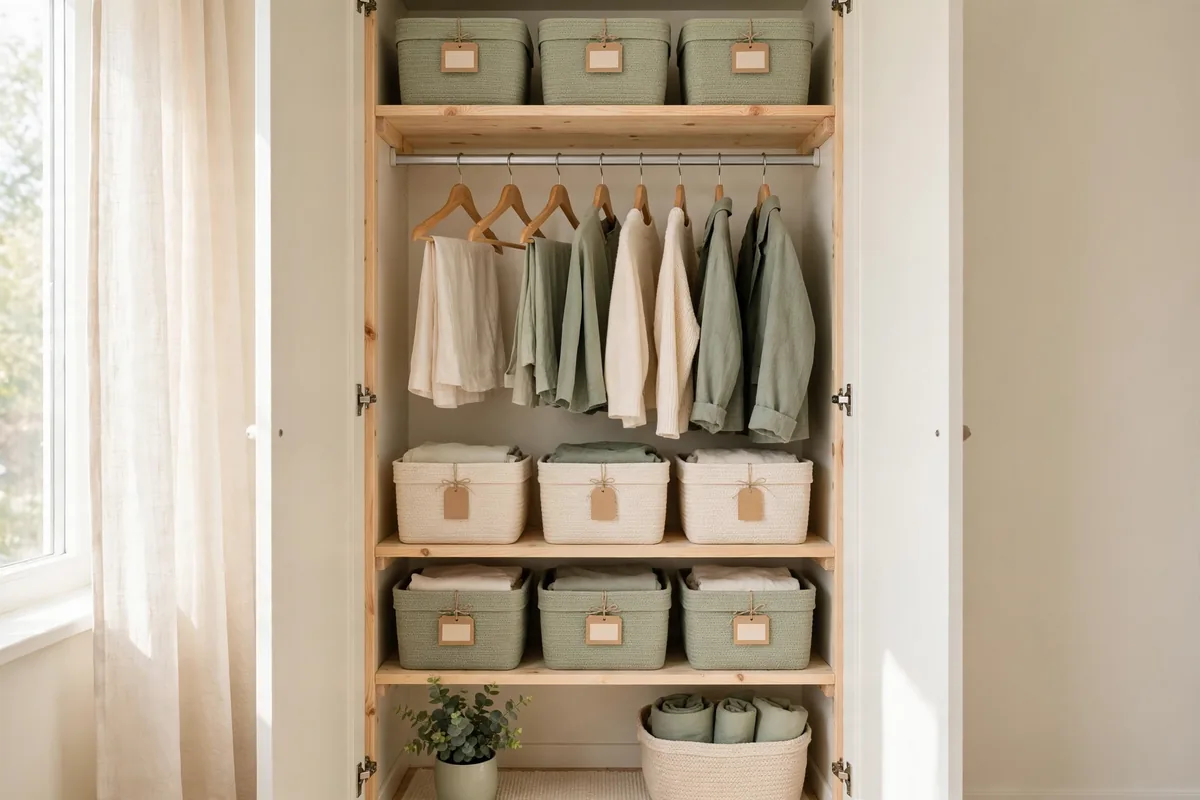
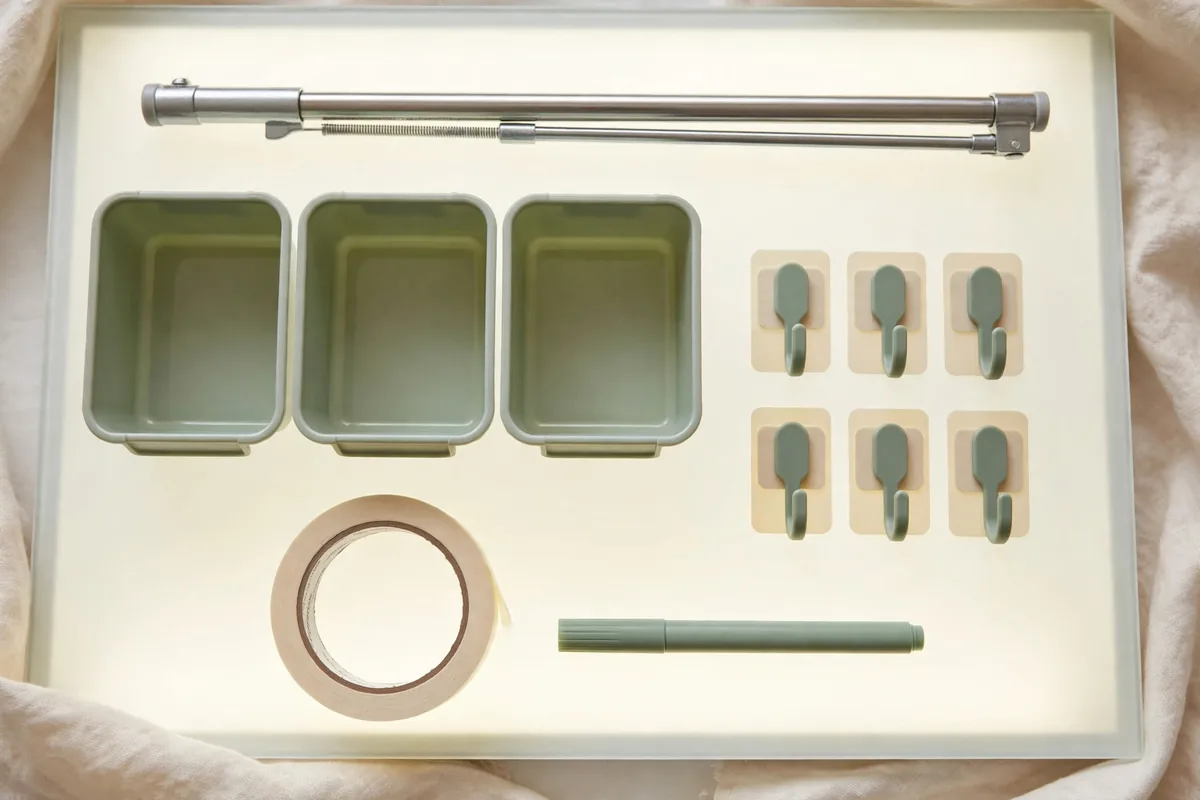
My first apartment closet got organized for $38 total, and I remember the number because I counted it twice. A tension rod from the discount aisle, a stack of dollar-store bins, a pack of adhesive hooks, and a roll of masking tape for labels. The closet wasn’t beautiful, but it worked. Three apartments later, I still use most of the same tricks, because the expensive versions never worked any better.
Closet organizers have a pricing problem: the “systems” cost hundreds and the basics cost almost nothing. These ten small closet organization ideas on a budget stay firmly in the second camp. The whole list comes in under $50 if you buy everything new, and under $15 if you shop your house first. They assume you’ve got the fundamentals — the main small-closet guide covers the measure-first, one-job-per-closet basics — and spend only where it counts.
Set a $50 Cap and Rank Your Zones
Before spending anything, set a hard cap. $50 covers every idea in this guide. Then rank your closet’s zones by annoyance: the rod situation, the shelf chaos, the floor pile. Which one actually slows you down every day? Spend on that zone first.
Ranking matters because budget organizing fails the same way expensive organizing fails: buying for the wrong problem. A $30 set of matching bins doesn’t fix a rod that’s too crammed to hang on. The tension rod that fixes the rod costs $8. Rank the pain, fund the fix.
Write the cap on a notepad and track spending as you go. It sounds precious, but a visible running total is what keeps a $50 project from quietly becoming a $140 project. The cap is the system.
Tell someone your cap. A partner, a friend, anyone. A private budget is easy to quietly exceed; a stated one has witnesses. Accountability sounds dramatic for a closet project, but it works.
Prototype With Cardboard First
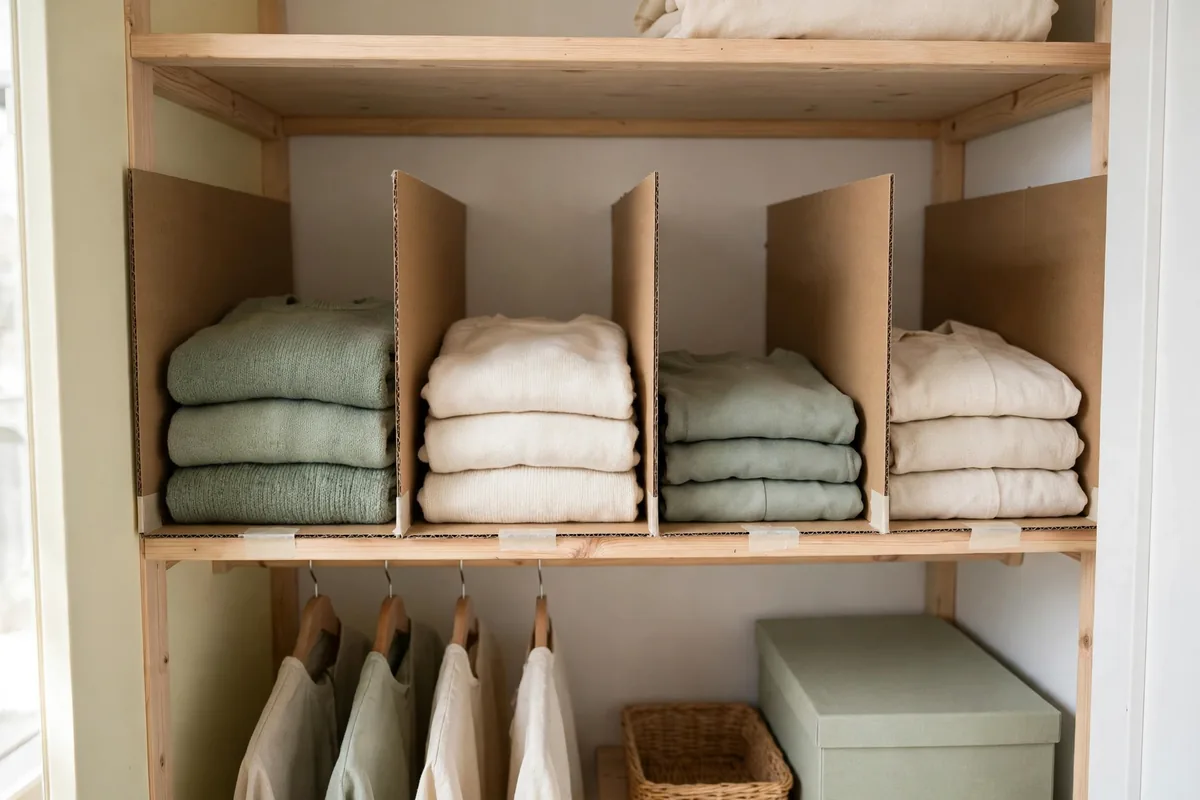
Here’s the trick that saves the most money in this entire guide: before you buy a single organizer, mock it up with cardboard boxes. Cut a shipping box to shelf-divider size and live with it for a week. Stack shoeboxes as bins and see which categories actually fill them.
Cardboard prototypes answer the questions that money can’t: do you actually reach for that shelf, or does the divider just look nice? Is the bin the right size, or did you guess? A week of cardboard tells you exactly what to buy, and what not to.
The prototype week also slows down impulse buying, which is where most budget projects bleed money. By the time the week is over, the urge to buy the cute-but-wrong organizer has usually passed, and the list of what you actually need is short and specific.
Photograph the cardboard setup before you replace it. The photo is your shopping list in visual form: every box in the picture becomes one real organizer to buy. No photo, and you’ll stand in the store guessing at sizes again.
The $8 Second Rod
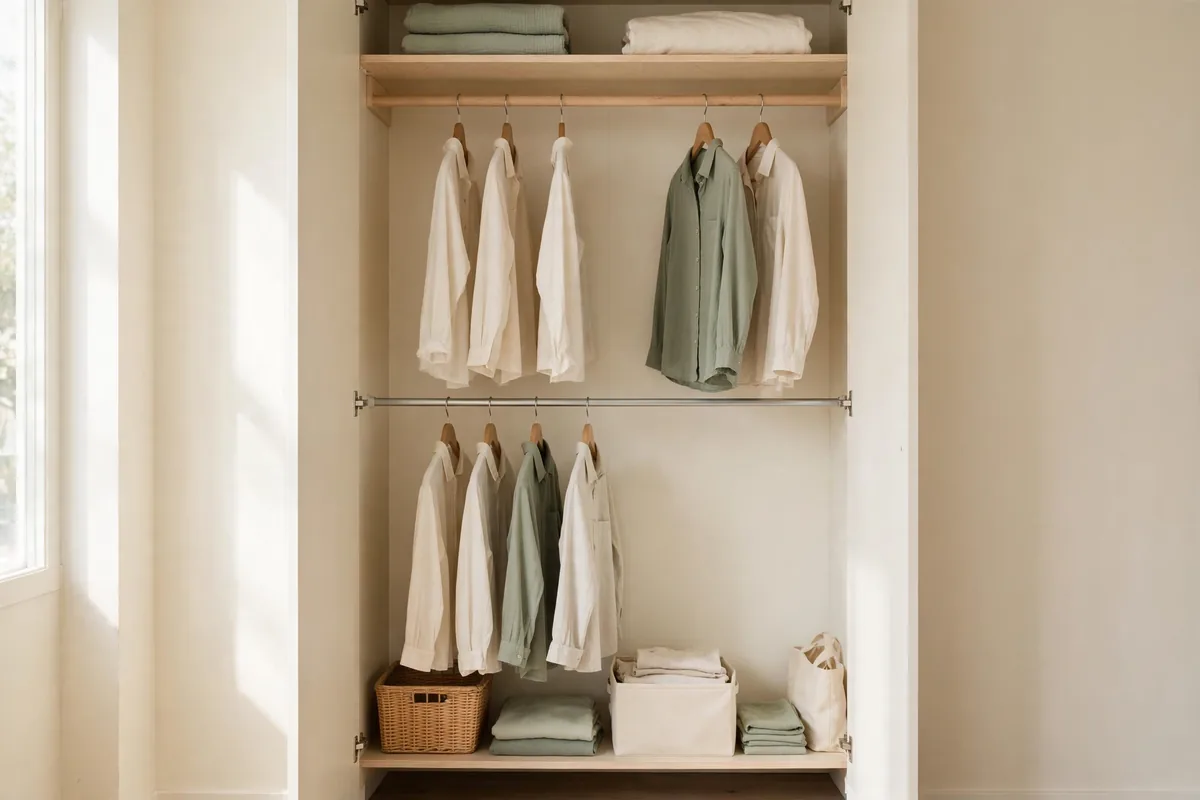
A tension rod is the single best dollar-for-dollar closet upgrade that exists. For $8 to $12, a tension rod mounted under the main rod creates a second tier for shirts, scarves, and kids’ clothes. No brackets, no drilling, no landlord negotiations. The same trick shines in reach-in closets, where the wasted airspace under the rod is worst.
Size it right: measure the inside width of the closet and buy the rod range that covers it with room to spare. A rod extended to its absolute maximum holds less weight and slips sooner. The sweet spot is a rod working in the middle of its range.
Keep it to lightweight items. Tension rods hold shirts and scarves happily; a full tier of winter coats will eventually win the argument. Coats stay on the fixed main rod, where the real brackets do the real work.
Dollar-Store Bins That Hold Up
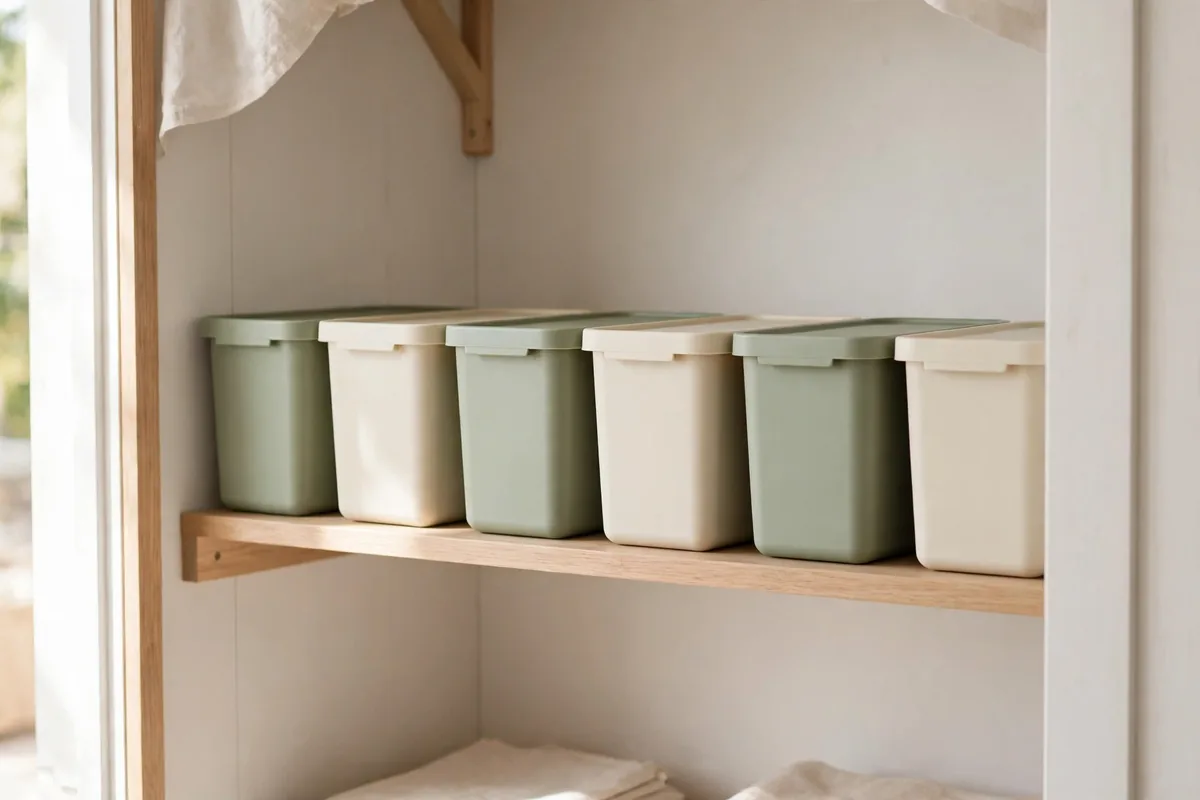
Not all dollar-store bins are created equal, and the difference is the plastic. Flex a bin in the store: if it bends without whitening at the stress lines, it’s decent polypropylene that will last years. If it crackles and turns white, put it back. That one shatters by spring.
Buy one size, in multiples. Six identical $1.25 bins stack cleanly, look intentional, and let you swap categories without rebuying. Mixed sizes from three different stores are how a budget closet ends up looking like a rummage sale.
Small bins beat big bins at this price point. The cheap plastic handles light loads fine but sags under heavy ones, so use dollar-store bins for light categories, scarves, gloves, toiletries, accessories, and save the heavy stuff for sturdier containers you already own.
Check the dimensions against your shelf before you buy, not after. Dollar-store bins come in odd sizes, and “close enough” is how you end up with a bin that sticks out past the shelf and blocks the door. A tape measure in your pocket saves the return trip.
DIY Shelf Dividers From Boxes You Own

Shelf dividers cost $8 to $12 for a set at retail. A cereal box, a utility knife, and five minutes cost nothing and do the same job. Cut the box to the shelf’s height, fold a base flap for stability, and slide it between your stacks. It holds folded clothes upright just like the store version.
For a sturdier version, use the heavy cardboard from shipping boxes or the dividers from a case of canned goods. That corrugated stock is surprisingly rigid. Wrap them in contact paper ($5 a roll, enough for a dozen dividers) if you want them to look deliberate instead of improvised.
Cut a finger notch in the top edge of each divider. The notch is how you pull the divider out without collapsing the stacks on either side. It’s a thirty-second detail that makes the dividers actually usable instead of just present.
Adhesive Hooks: Five Dollars, Zero Holes
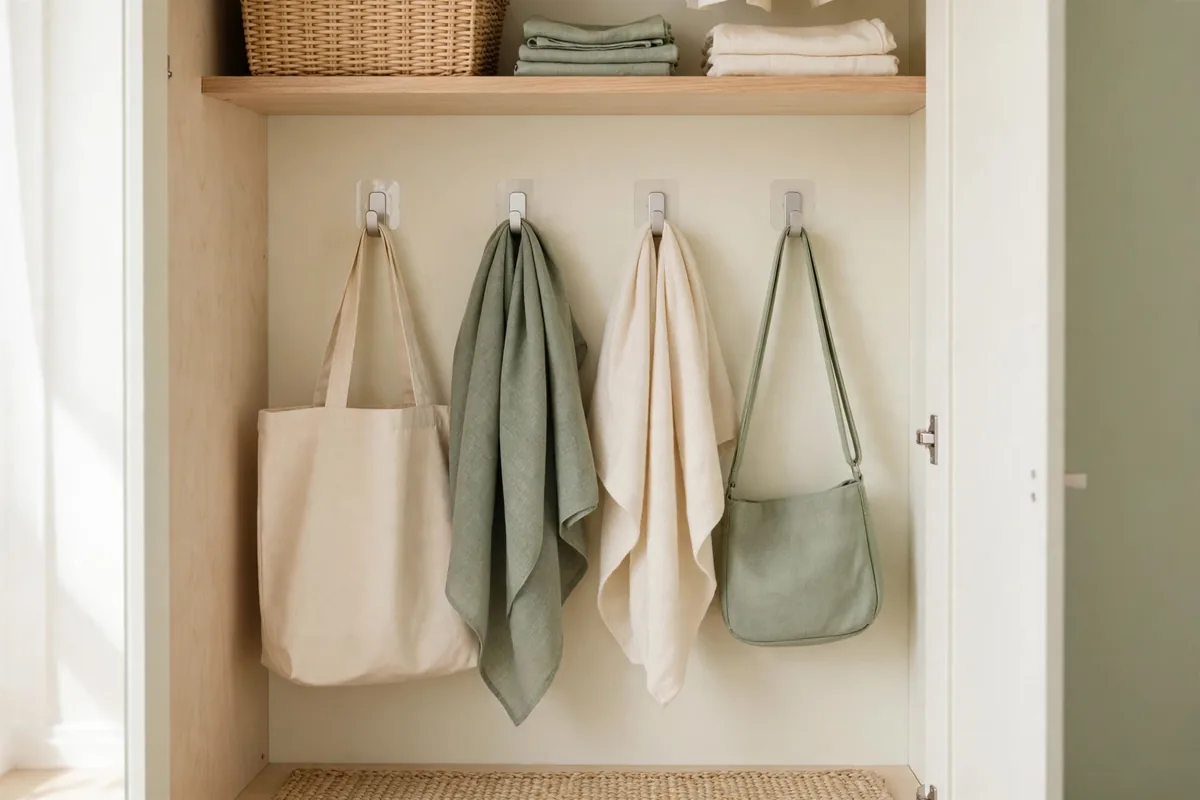
A pack of adhesive hooks costs around $5 and holds bags, belts, scarves, and tomorrow’s outfit on any smooth closet wall or door. In an entryway closet they’re the backbone of the system — see how coat closet hooks handle grab-and-go gear. No drilling, no patching at move-out, and they come off clean with a pull tab when you leave.
The trick is surface prep: wipe the spot with rubbing alcohol and let it dry before sticking. Hooks applied to dusty closet walls are hooks that fall down at 2 a.m. Clean surface, firm press for thirty seconds, wait an hour before hanging anything.
Remove them properly at move-out: pull the tab slowly along the wall, don’t yank outward. Done right, they leave nothing behind. Done wrong, they take paint with them, and paint costs more than the hooks saved you.
Shop Your House Before the Store

The cheapest organizer is the one you already own. Shoeboxes become drawer dividers and shelf bins. Mason jars corral small hardware and accessories on a shelf. A tension rod from the shower curtain stash becomes the second closet rod. An old belt becomes the strap that bundles sheet sets — my pillowcase-bundle folding method is the linen-closet version of the same idea.
Do a proper house sweep before buying anything: the kitchen for jars and baskets, the office for boxes and trays, the garage for hooks and leftover hardware. Most homes contain a complete closet organization kit already. It’s just scattered across rooms.
Check the recycling bin last, not first. Clean cardboard and sturdy boxes are free organizers, but only take what the prototype week proved you need. Free is only a deal if you’d have bought it anyway.
The One Upgrade Worth Paying For
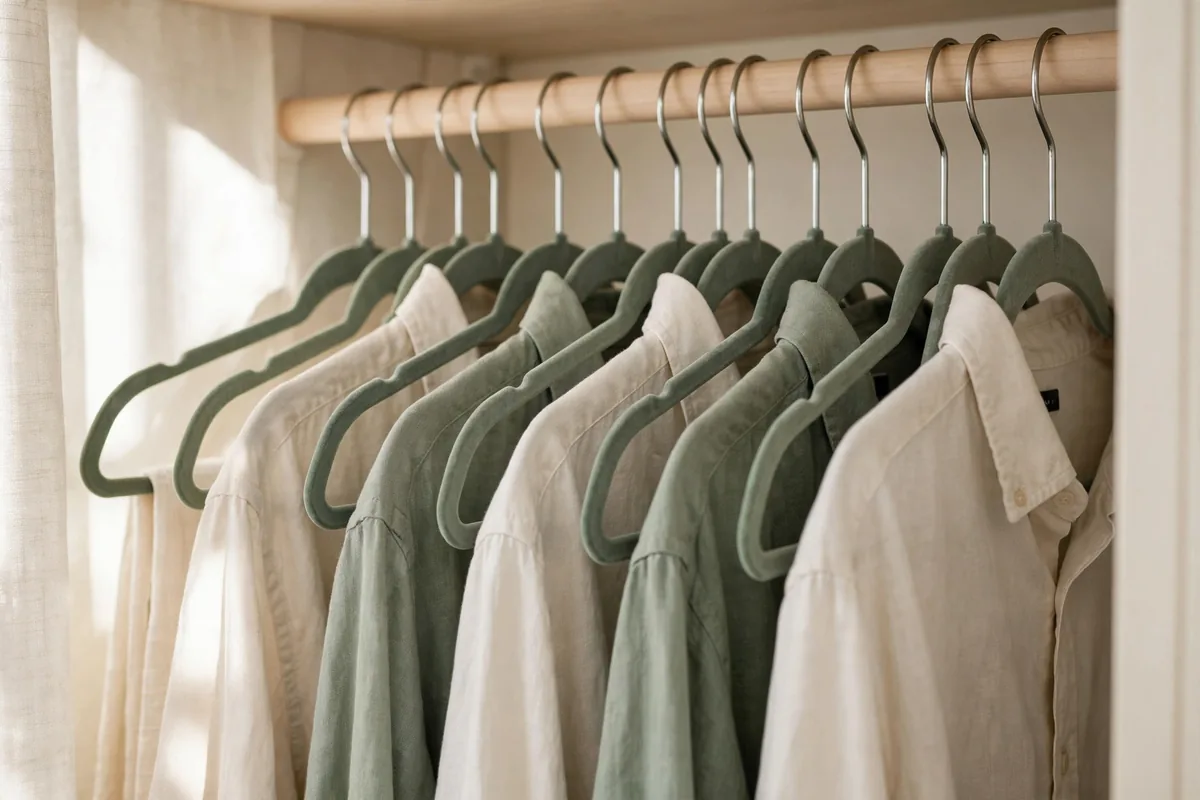
Every budget guide needs one sanctioned splurge, and for closets it’s slim hangers. A 50-pack of slim flocked hangers runs about $15, and nothing else at any price reclaims as much rod space. Across a full closet, they buy back inches you didn’t know you were missing.
They’re also the upgrade with the longest payoff. Cheap hangers get replaced every couple of years; slim flocked hangers last a decade. Divide $15 by ten years and it’s the cheapest per-day upgrade in this entire guide.
Convert all at once. A closet with thirty slim hangers and ten old plastic ones gets none of the space benefit and all of the visual chaos. Sell or donate the old hangers the same weekend. The uniformity is part of what makes the closet feel bigger.
If the budget is truly zero this month, the free version is decluttering the rod itself. Every hanger you empty by purging unworn clothes is a hanger you don’t need to replace. The purge costs nothing and does half the work.
Labels for Pennies

A roll of masking tape and a marker costs about $3 total and labels every bin in the house. Tear a strip, write the category in big letters, stick it on the bin’s front edge. It takes ten seconds per bin and it works as well as any label maker.
The beauty of tape labels is that they’re guilt-free to change. Peel, rewrite, restick. Categories evolve, “winter gear” becomes “ski trip” becomes “camping,” and a label you can redo in seconds evolves with them. Expensive labels make you keep categories past their expiry date.
Write big and write the category, not the contents. “Cleaning” survives the week you switch spray brands; a detailed inventory list doesn’t. Big letters, broad categories, front edge of the bin.
Make a few blank labels in advance and keep them with the marker on the closet shelf. When a new bin enters the system, it gets labeled on the spot. Unlabeled bins are mystery bins within a week.
The Quarterly $0 Reset
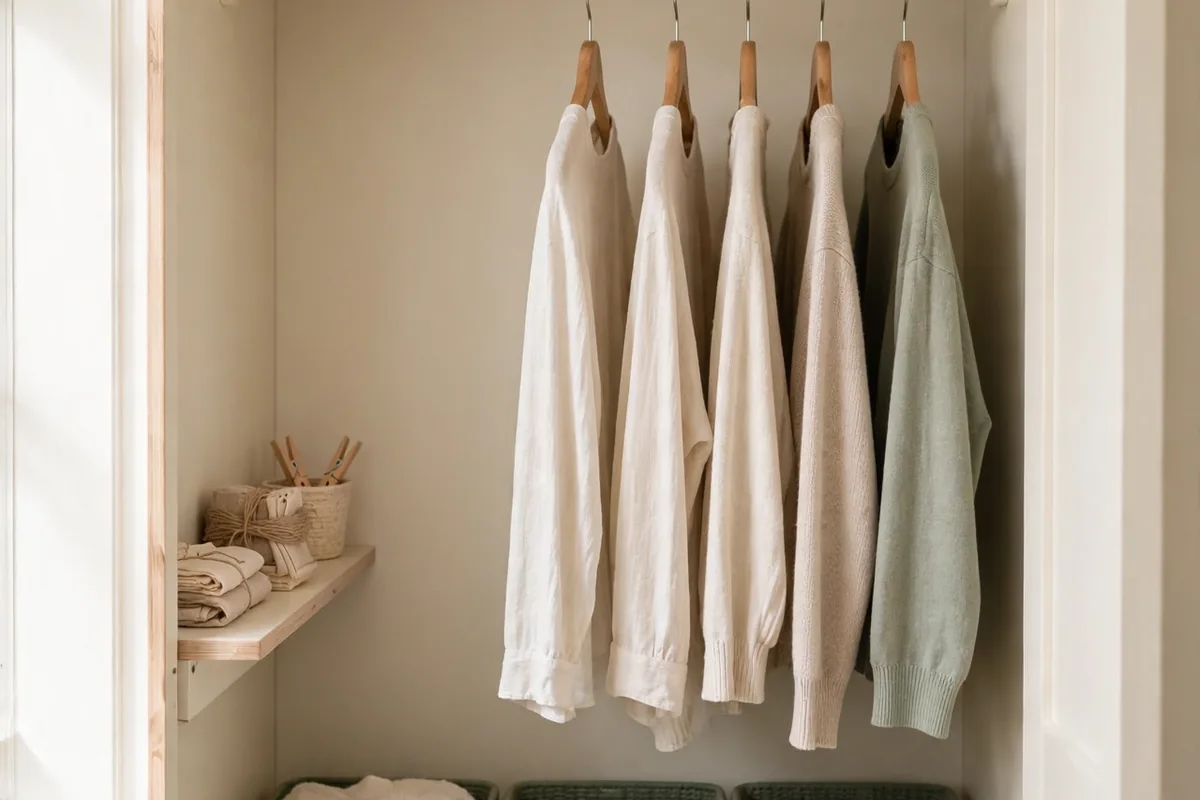
Budget systems need maintenance more than expensive ones, because cheap organizers drift faster. Once a quarter, spend twenty minutes per closet: refold the leaning stacks, return the strays to their bins, re-tape any labels that peeled, and check that the tension rod hasn’t slipped.
The reset costs nothing and it’s the whole ballgame. A $38 closet that gets a quarterly reset stays organized for years. A $300 system that never gets touched drifts into chaos by spring. Maintenance beats money, every time.
During the reset, run a mini-purge: anything you haven’t touched in three months gets questioned. Budget closets stay budget-friendly because they stay small. The moment the closet starts growing, the spending starts again.
Track what the reset costs you in replacements. If the same dollar-store bin cracks twice, that’s data: buy the sturdier version next time. A budget system isn’t about buying cheap forever. It’s about spending only where the cheap version proved it can’t keep up.