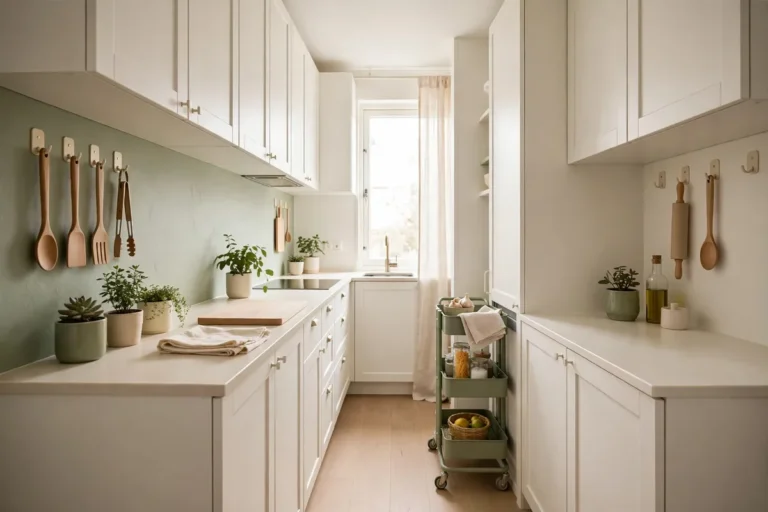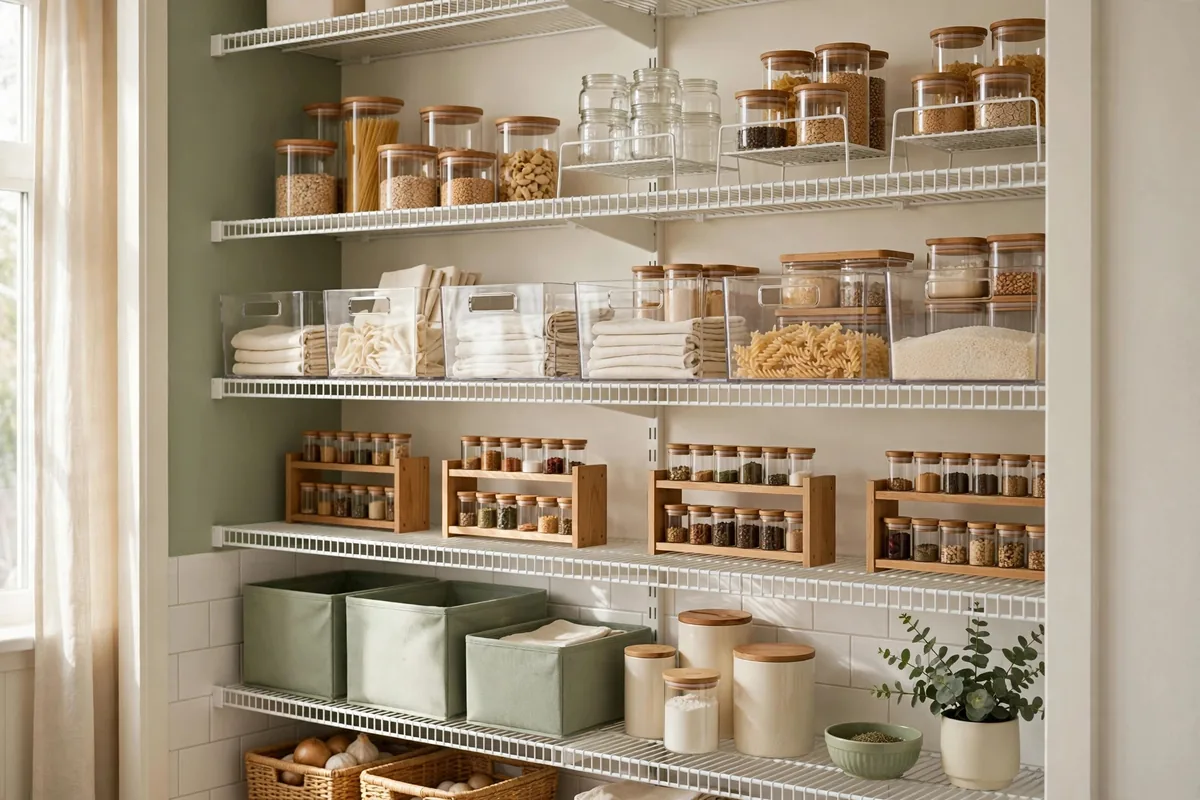
The fastest way to make a cramped pantry easier to use is with smart, small pantry shelving ideas. I’ve wrestled deep shelves in both a rental galley kitchen and a closet-sized walk-in. Set aside a weekend afternoon, grab a few basics, and you’ll have more space to breathe by dinner.
Stack Wire Shelf Risers to Double Short Shelf Space

This is my go-to upgrade if a shelf feels like dead air above cans or boxed food. Grab two $8 wire risers (the white ones from Target or The Container Store work equally well) and stack them to create a new upper level. You instantly create extra pantry storage for oatmeal, pasta, or spices without moving anything major.
The catch: heavy glass jars can make risers sag, so stick to lighter goods. These stack right onto your existing shelf, so there’s no damage for renters. If your shelves are only 10-12 inches deep, measure first, some risers are too long for old apartments. For narrow cabinets, look for 10-inch-wide risers rather than the 12- or 14-inch types.
Use Acrylic Pull-Out Bins for Deep Shelves

If you’ve ever lost a can to the back of a deep pantry, pull-out bins are the fix. I stash snacks, bags of rice, or baking supplies in clear acrylic bins from HomeGoods (usually $6-10 each). Pull the whole bin forward to see every bag and packet at once. Even dollar-store versions work for lighter snacks.
This works especially well for shelves deeper than 12 inches. The downside: large bins can get heavy, so keep the biggest for chips or bulk snacks, not glass jars. Label the front with painter’s tape or a chalk marker for quick resets. For a more custom fit, look for bins specifically labeled for fridge or pantry use, as they tend to have handles and stack easily.
To avoid sticky residue or food spills, wash bins monthly with warm soapy water and let them dry completely before restocking. If you have children, assign each kid their own labeled bin to keep snack time organized and easy to maintain.
Mount IKEA BEKVÄM Spice Racks Sideways for Can Storage
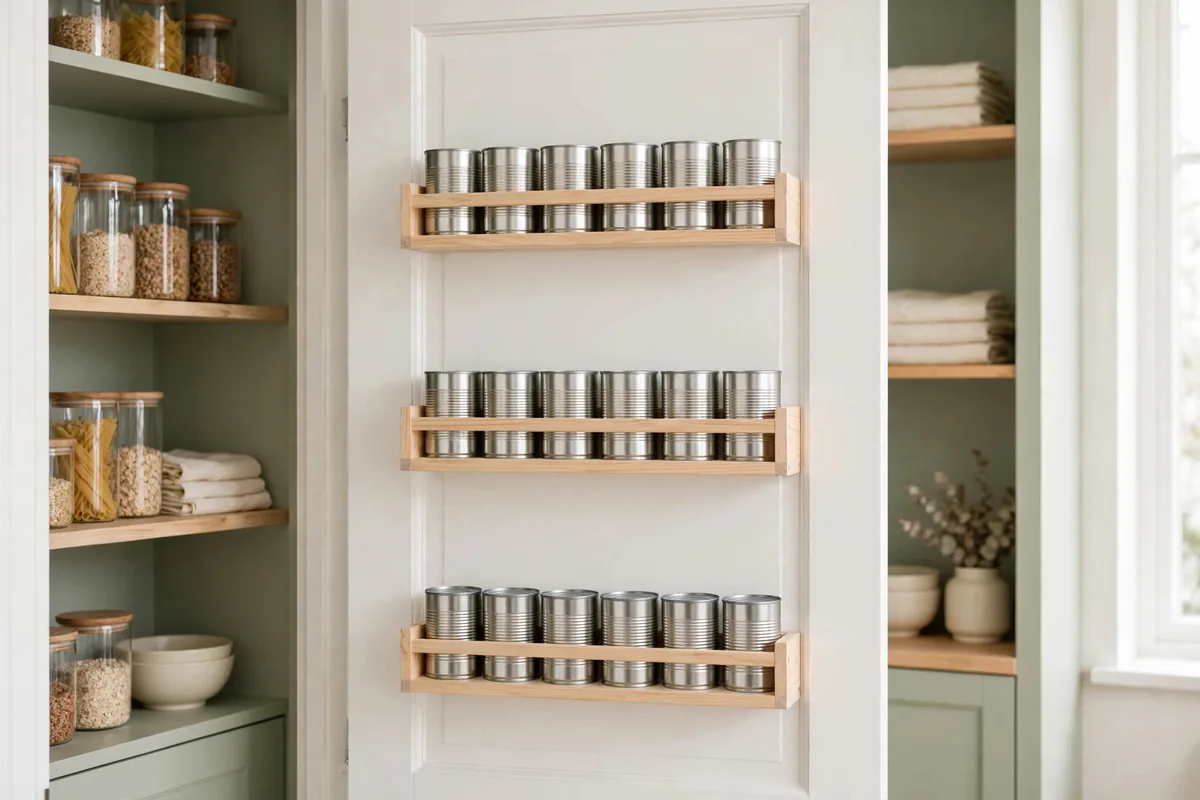
Most people hang these little $5 racks on the pantry door, but I like to turn them sideways along the wall beside a shelf. They’re just the right depth for canned vegetables or stacked spice jars. No drilling is needed if you use Command picture-hanging strips, just press and hold.
The wood is unfinished, so if you want to wipe them clean easily, give them a fast coat of clear spray sealer before hanging. The racks are narrow enough for even the tightest pantry corners. You can also stack two vertically to store smaller jars and cans.
For added stability, use two strips per rack and avoid overloading. If you prefer a natural look, leave the wood as-is, but be prepared to spot clean spills with a damp cloth.
Add a Spring Tension Rod for Wraps and Foil Boxes
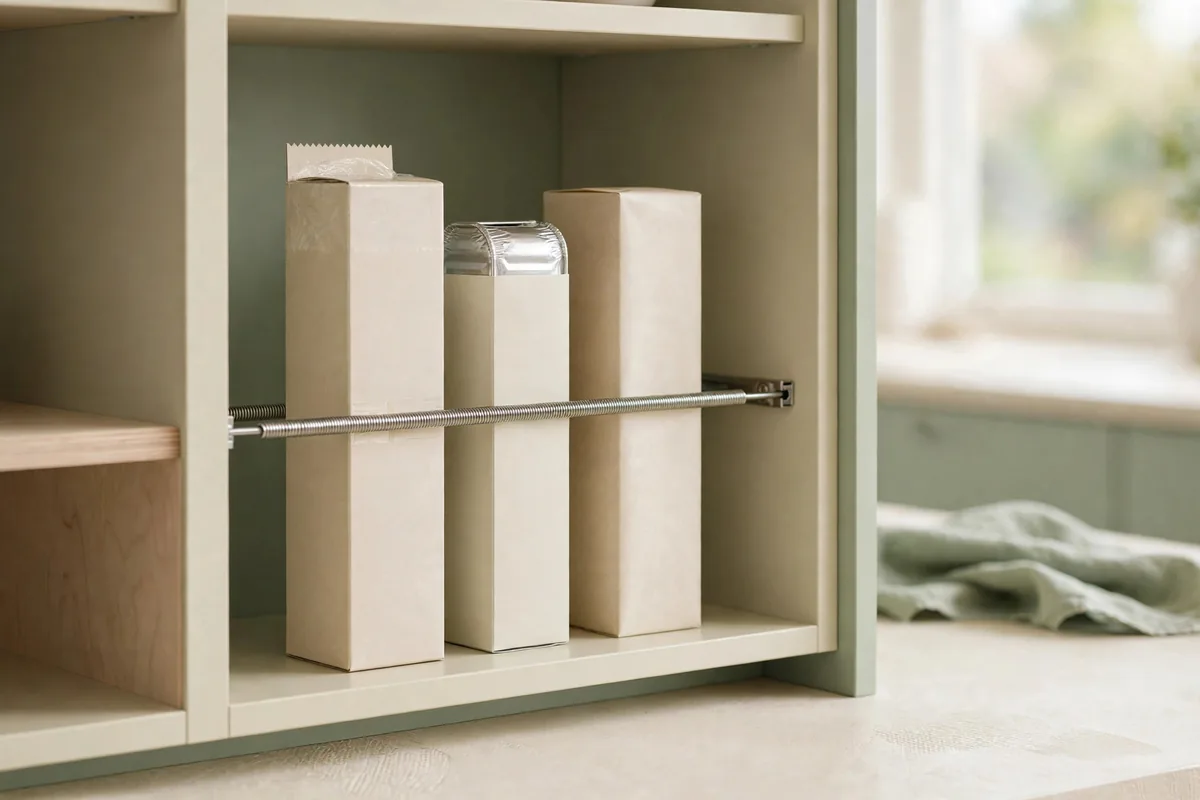
If you have a blank spot under a shelf or above cereal boxes, wedge a $3 spring tension rod (the kind from Walmart’s curtain aisle) horizontally. It creates a mini ledge for up to four plastic wrap or foil boxes. Just slide each box so the opening faces out, it’s way faster than digging in a drawer.
The catch: tension rods can’t hold heavy glass bottles. But they’re perfect for odd-shaped paper goods like parchment, wax paper, or even chip bags on binder clips. You can also hang lightweight cleaning supplies or dusters from S-hooks on the rod if you need more vertical storage.
Stick On Removable Hooks for Hanging Snacks

I used to let chip bags and bulk snack pouches pile up in a basket. Now I hang them on dollar-store stick-on hooks along the inside walls or the pantry door. Use wooden clothespins or binder clips to hold each bag. This keeps snacks visible and uses vertical space you’d otherwise ignore.
The sticky hooks peel off clean when you move out (tested, no paint damage). The only downside: hooks lose grip in humid pantries, so stick to lighter items like seaweed packs or granola bars. For extra hold, look for hooks labeled for bathroom or wet areas.
If you have a solid pantry door, try using a removable over-the-door hook rack for even more hanging space. This is also great for hanging reusable grocery bags, aprons, or oven mitts within reach.
Repurpose Magazine Holders for Onion and Potato Storage
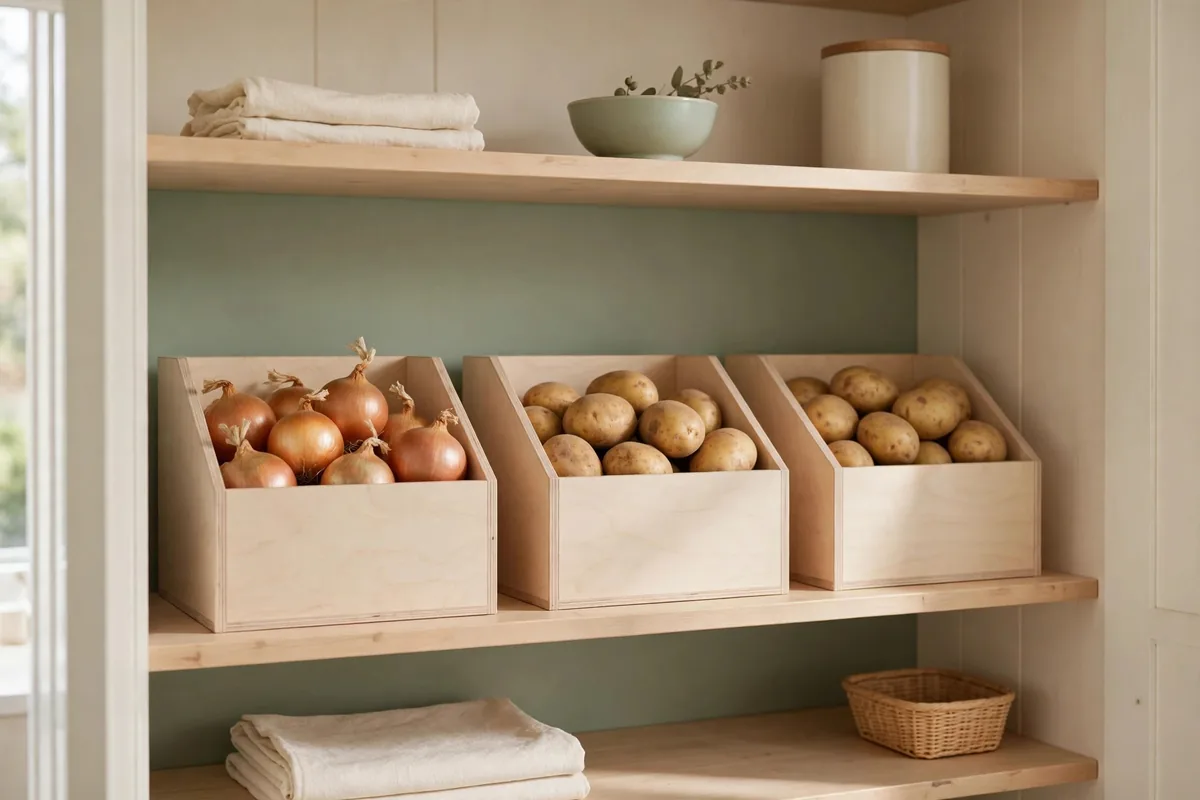
Those metal or plastic holders from IKEA or the dollar store are just the right size for root vegetables. Stand one at the edge of a lower shelf or on the pantry floor. Air circulation keeps onions and potatoes fresher for longer, and you can grab one at a time without digging.
The catch: never store onions and potatoes together, or they’ll spoil faster (USDA backs this up). Use a separate holder for each. Wipe out the holders monthly to prevent sprouting or mold.
For extra freshness, line the bottom of each holder with a paper towel and replace it every two weeks to absorb excess moisture. If you have a pantry with limited floor space, try mounting plastic magazine holders sideways on a lower shelf for easy pull-out access.
Corral Loose Packets With a Small Plastic Cutlery Tray

Sauce packets, taco seasoning, and drink mixes get lost fast. I use a $2 plastic cutlery tray (the type for kitchen drawers) as a divider for small packets right on the shelf. Each section sorts a different kind of packet. Even in a pull-out bin, it keeps little things from sliding everywhere.
This works for instant oatmeal, hot chocolate, and even single-serve nut butter packs. It’s easy to pull the whole tray out to restock. For a more permanent solution, use a bamboo or metal cutlery tray for durability.
Make a Flexible Shelf Extension With a Stack of IKEA VARIERA Inserts
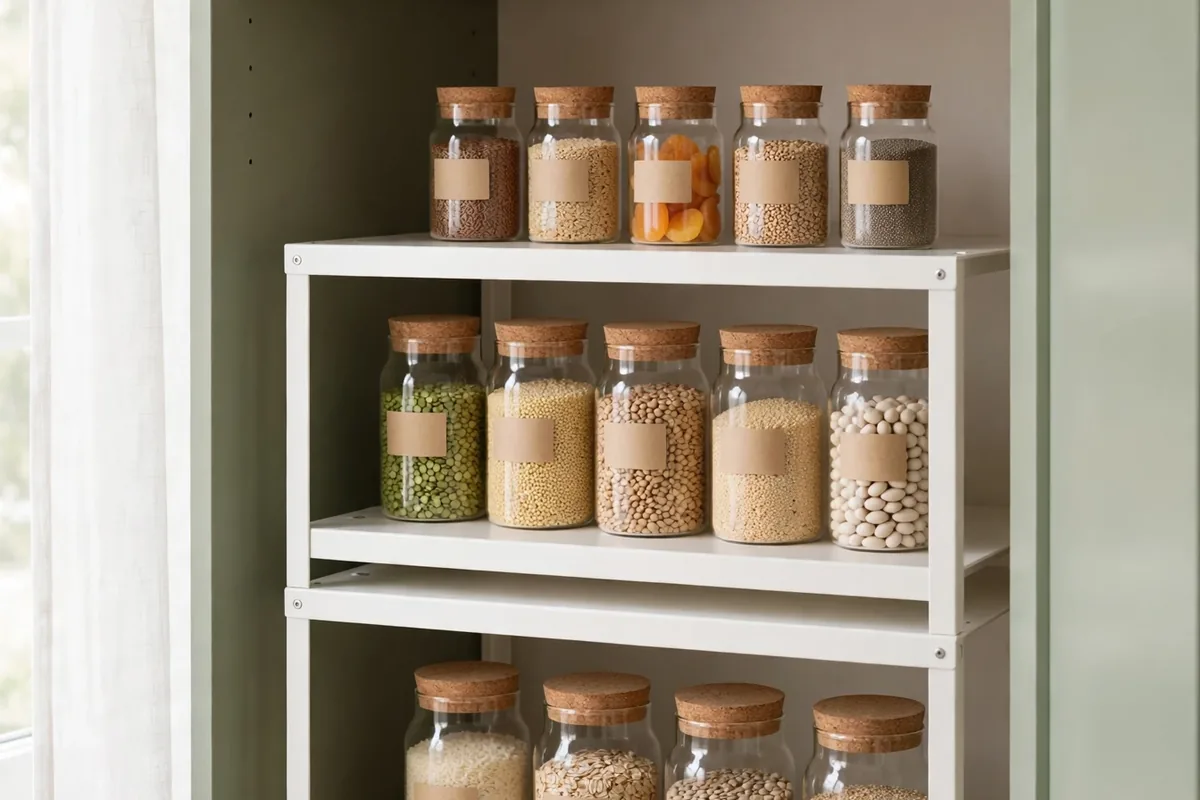
VARIERA shelf inserts (the $8 white ones from IKEA) are meant for dishes, but I stack two in my tiny pantry for an extra tier. Place one insert on the back of the shelf and one in the front. This creates a stadium effect for cans or jars, so you can see everything, no more layering items behind each other.
The downside: measure shelf height first. With both inserts stacked, you need at least 14 inches of clearance. Works best for short shelves or walk-in pantries with adjustable heights. If you only have 10 inches, use just one insert to add a second tier for spices or canned fish.
To keep inserts from sliding, add a strip of non-slip drawer liner underneath. Wipe down the inserts with a damp cloth each month to prevent dust and crumbs from building up, especially if you’re stacking glass jars or canned goods.
Use a Lazy Susan in the Pantry Corner for Bottles and Oils
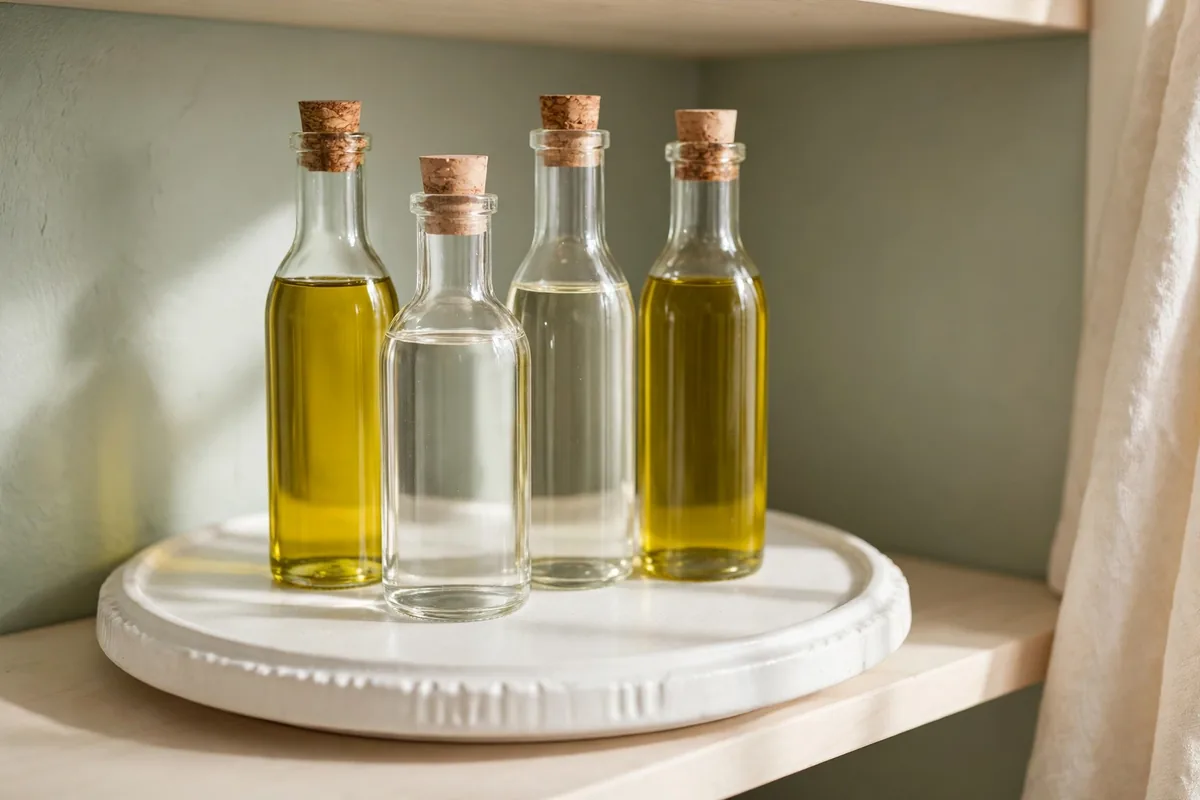
A 10-inch clear plastic turntable (Target or Amazon, about $10) fits snugly in most dead corners. Spin to access soy sauce, vinegar, or cooking oil without knocking things over. The rim keeps bottles from falling off, and it wipes clean easily.
The catch: not all corners are wide enough. Trace your shelf and measure before buying, or use a smaller Lazy Susan if needed. I use a second, smaller one for nut butters and honey. Clean occasionally to prevent sticky residue from spills.
For a quieter turn, look for models with ball bearings or a rubber base. If you have tall bottles, measure the height to avoid hitting upper shelves. You can even stack two lazy susans for double the storage if your shelves have enough clearance.
Try Stackable Can Racks for Bulk Canned Goods
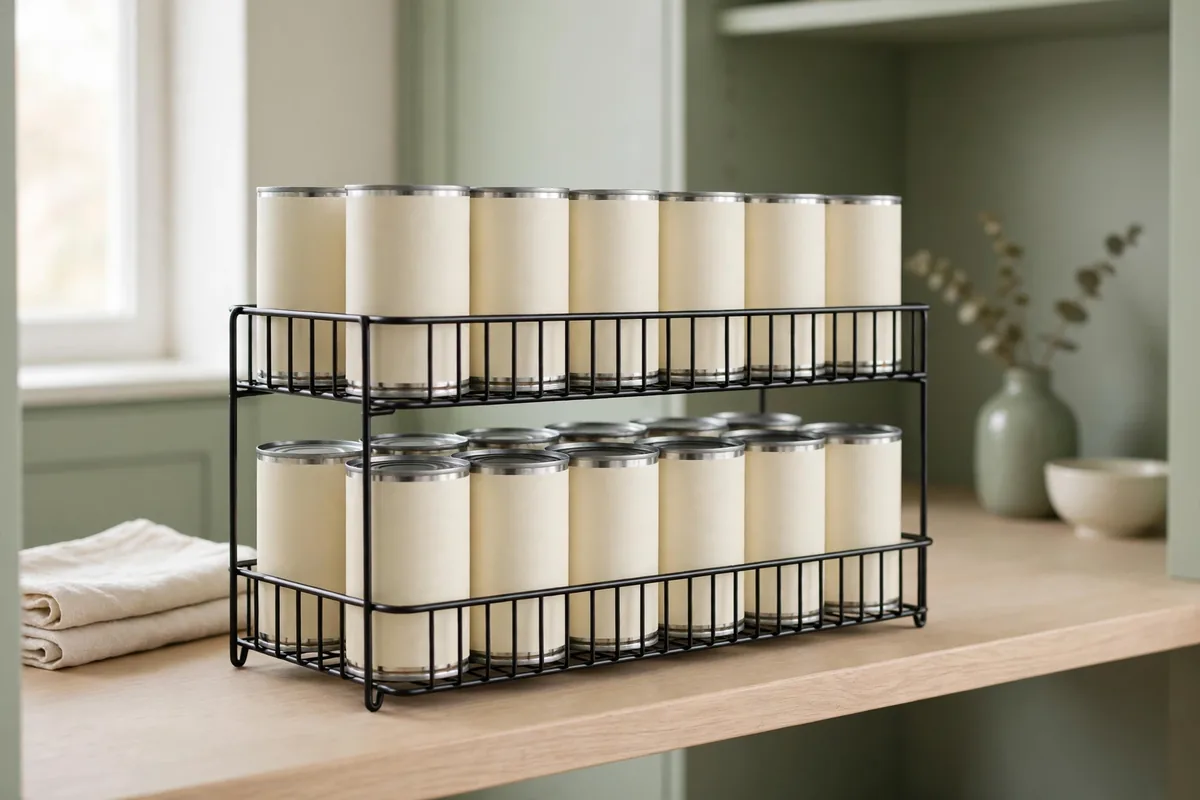
If you buy soup or beans in bulk, a stackable can rack is a huge help. The DecoBros 3-Tier Can Rack (around $25 on Amazon) fits 36 standard cans and slides right onto most pantry shelves. Cans roll forward as you remove them, so you always use the oldest first.
Measure your shelf depth before buying; most racks are about 13 inches deep and 10 inches tall. For smaller pantries, try a single-tier rack or use two side by side for different can sizes. These racks are easy to wipe down and can be disassembled if you move.
Set Up a Simple Reset Checklist for Ongoing Maintenance

Once your shelves are organized, it’s staying on top of it that matters. Here’s my quick reset checklist, it lives on the inside of my pantry door, laminated with packing tape:
- Quick trash check. Toss stale or expired food.
- Wipe each shelf. Sticky spots attract pests.
- Restock basics. Add to your grocery list as you go.
- Re-label anything unclear. Use masking tape for fast fixes.
- Snap a photo. It’s easier to spot what’s missing for next time.
This takes less than 10 minutes once it’s routine. Revisit every 4-6 weeks. I also keep a small container of cleaning wipes and a marker for relabeling right in the pantry for quick resets.