
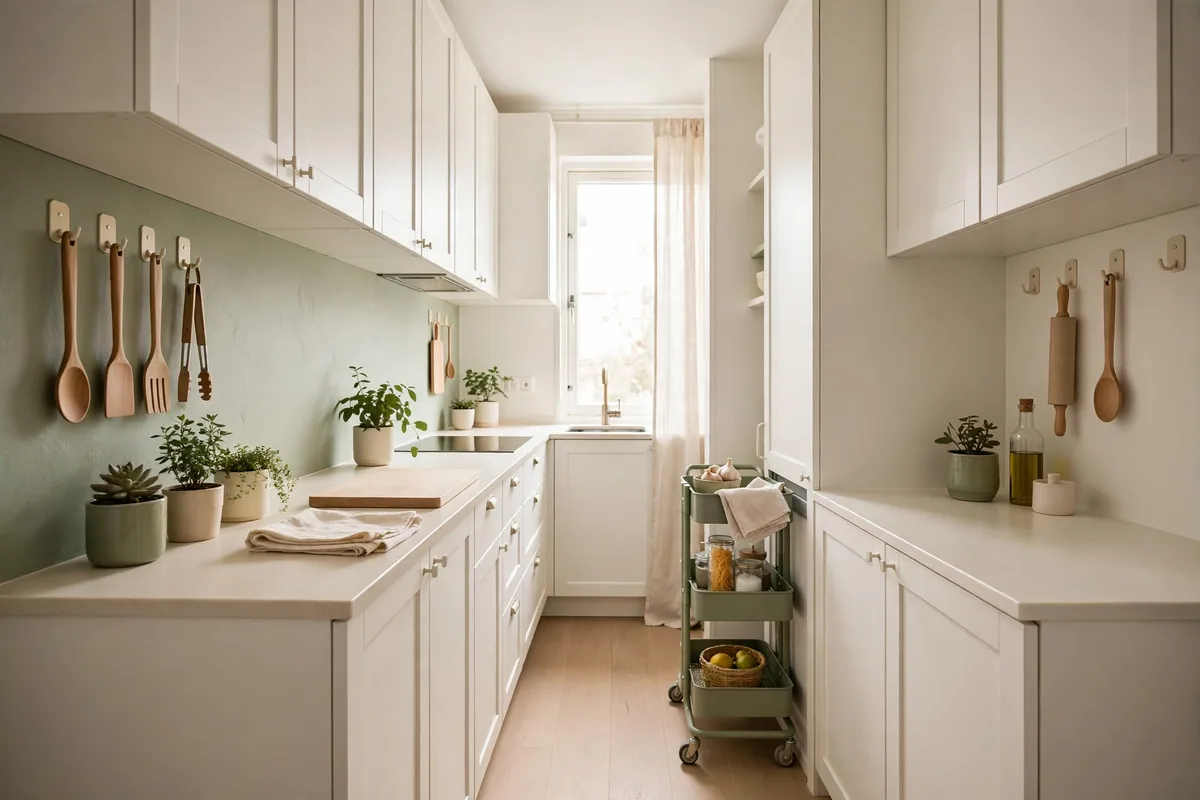
Every rental kitchen I’ve lived in came with the same landlord starter pack: beige cabinets, a drawer that sticks, and a lease with a strict no-holes policy. My pantry was two pantry shelves above the fridge that I couldn’t reach without a chair, and the cabinets swallowed cans whole. I lived with the chaos for a full year before I figured out the real secret of small apartment kitchen organization: stop fighting the lease and build around it.
Here’s what I learned: renters don’t need renovations. They need reversible systems. Every idea below is landlord-friendly — no drilling, no damage, nothing you can’t undo in an afternoon on moving day. These are the exact upgrades that took my rental kitchen from embarrassing to genuinely functional, and most cost less than a takeout dinner. Here are my favorite apartment friendly small kitchen organization ideas, in the order I’d do them again.
Turn a Blank Wall Into a Command-Hook Command Center
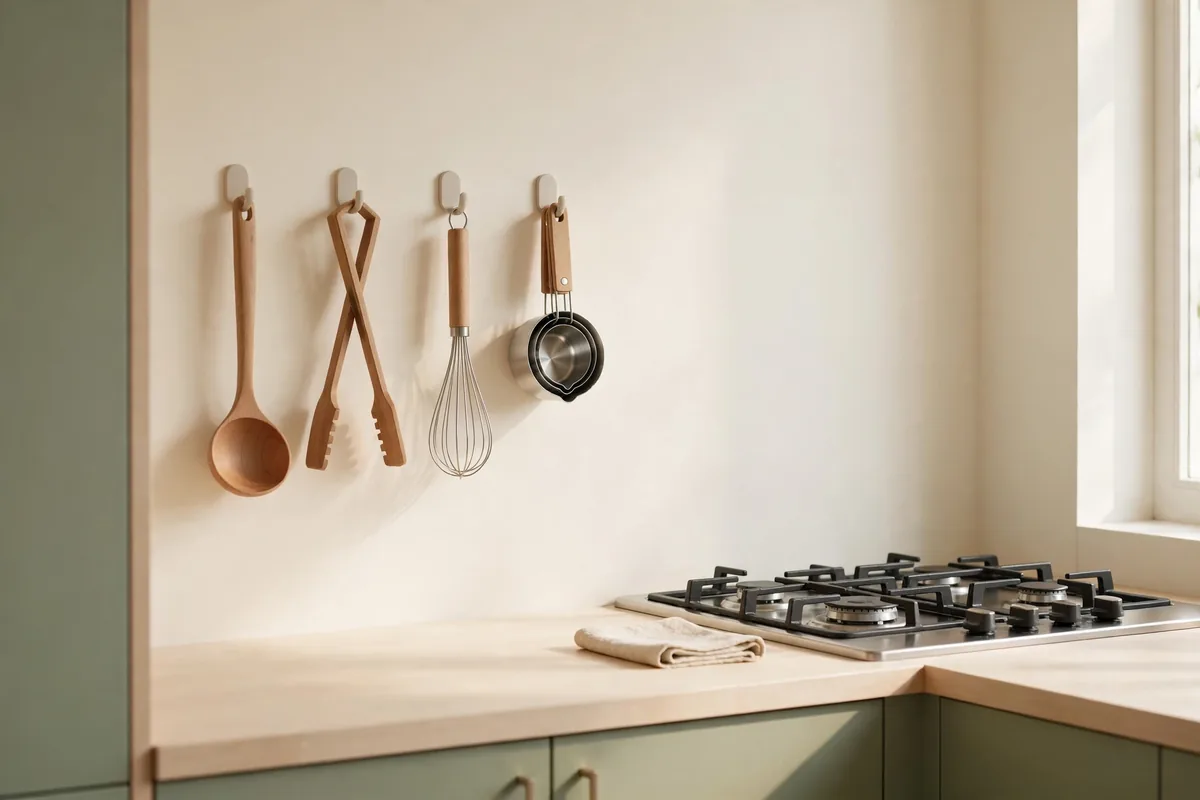
The single best small apartment kitchen organization idea for renters is a strip of heavy-duty adhesive hooks on whatever blank wall you have. No drilling, no holes, and they hold up to 7.5 pounds each. I mounted a row of six large hooks beside my stove and hung my most-used utensils — ladle, tongs, spatula, whisk, measuring cups, and a small colander — where I could grab them mid-cooking.
Before you hang anything, gather three things:
- Six large adhesive hooks rated 7.5 pounds each
- Rubbing alcohol and a cloth for wall prep
- A tape measure to space the row evenly
Before you buy, weigh what you’ll hang. Those big hooks are rated per hook, not per strip, so distribute heavy items across several. Clean the wall with rubbing alcohol first and wait the full hour before loading them. That curing step is the difference between hooks that last years and hooks that slide off by Friday.
Utensils are just the start. I also hooked up my oven mitts, a small cutting board with a hanging hole, and a roll of paper towels on a hook-mounted holder. That one 24-inch strip of wall absorbed about a cubic foot of drawer and counter clutter.
Hang Over-the-Door Organizers Inside Cabinet Doors
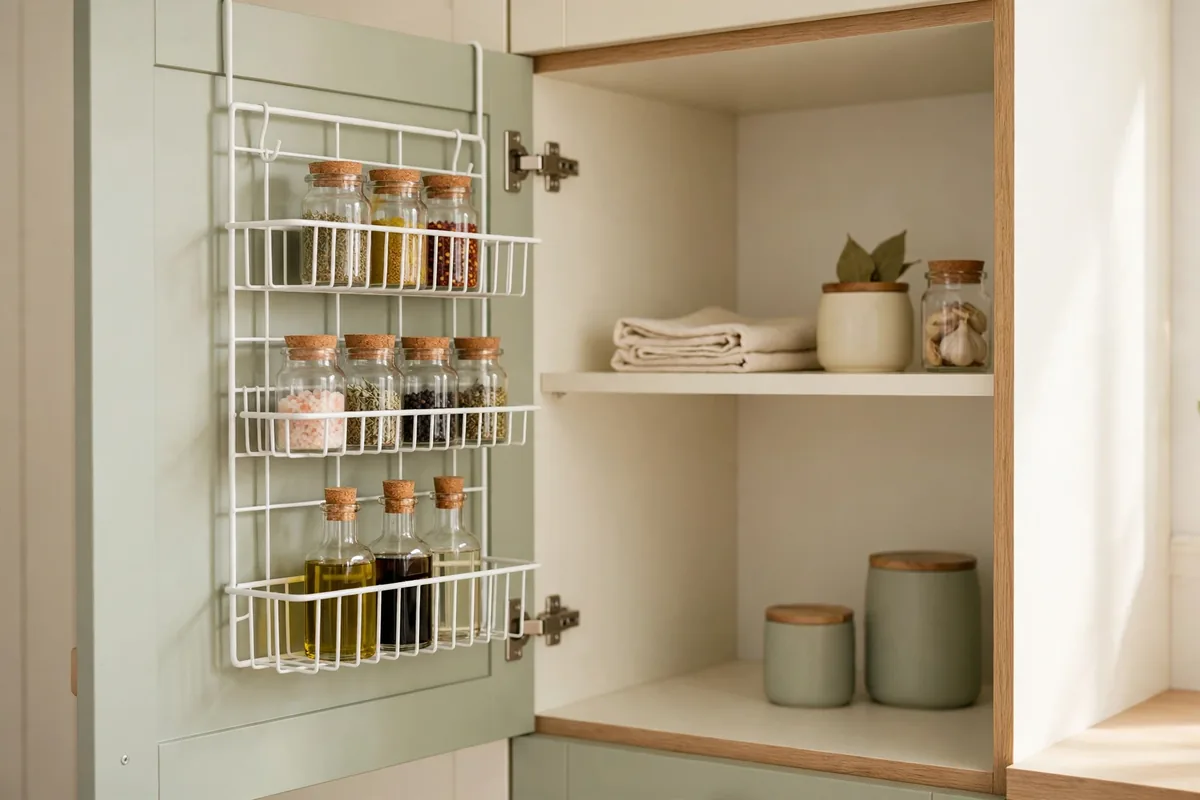
Cabinet doors are wasted square footage in almost every apartment kitchen. A slim over-the-door wire rack hooks over the top of the door with zero screws and instantly creates storage for spices, wraps, or cleaning supplies. I put one inside the cabinet under my sink and it finally ended the spray-bottle pileup.
Measure your door thickness before ordering. Most apartment cabinet doors are 3/4 inch, but some are thinner and the hooks will wobble. Look for racks with foam padding on the hooks so they don’t scratch the door finish. The under-sink door is the highest-value spot in a small apartment kitchen storage plan, because that cabinet is usually a dark pit of bottles. A door rack plus one small tension rod turned mine from a danger zone into the tidiest cabinet I owned.
Use Tension Rods as No-Drill Dividers
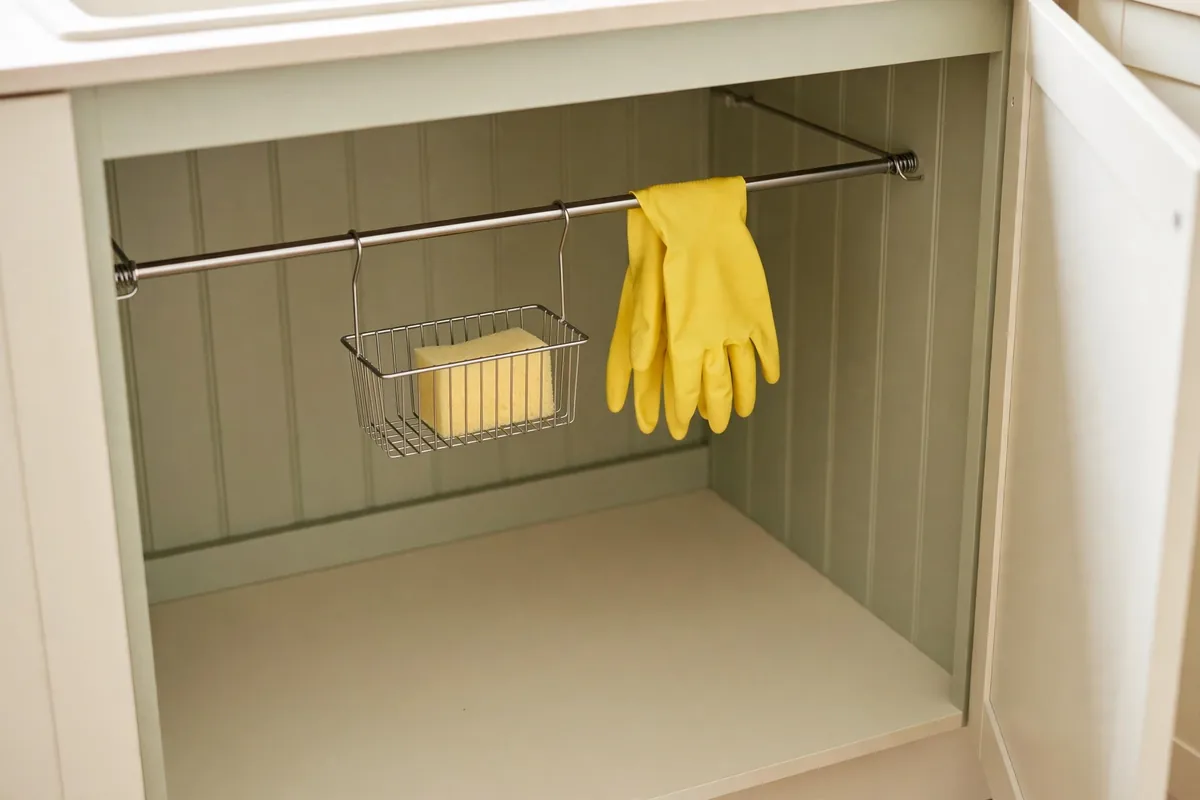
Tension rods are the renter’s screwdriver-free shelf. Wedge a short one vertically under the sink and hang spray bottles from their triggers. Lay two horizontally across a deep cabinet to create a second level for cutting boards and baking sheets. At $3 to $5 each, they’re the cheapest structural change you can make.
For under-sink use, get rods with rubber end caps. They’ll grip the cabinet walls even with condensation, and they won’t scratch the finish. I learned the hard way that cheap rods without caps slowly slide down over a few weeks of humidity.
My favorite small apartment kitchen organization DIY with tension rods: stack them three high inside a tall cabinet to make a vertical filing system for sheet pans, muffin tins, and cooling racks. Everything stands upright, nothing nests, and you can pull one pan without unstacking five.
Roll In a Slim Cart: My Favorite Small Apartment Kitchen Organization Idea

If I could only keep one upgrade from my rental years, it would be the slim three-tier rolling cart I wedged between my fridge and counter. Twelve inches wide, four feet tall, and it held my oils, vinegars, canned goods, and snack overflow — basically an entire extra pantry that rolled out of a gap I wasn’t using.
The famous Swedish cart everyone pins costs around $30, and every big-box store now sells a copycat for under $25. Get one with locking casters so it doesn’t drift in a galley kitchen. The top tray at counter height doubles as a landing spot for groceries while you unpack.
Renters in studio apartments: park the cart in the kitchen during cooking and roll it to the dining area as a serving station when friends come over. Mine did double duty for two years and I still use it in my current place.
Go Magnetic: Adhesive Knife Strip and Spice Tins
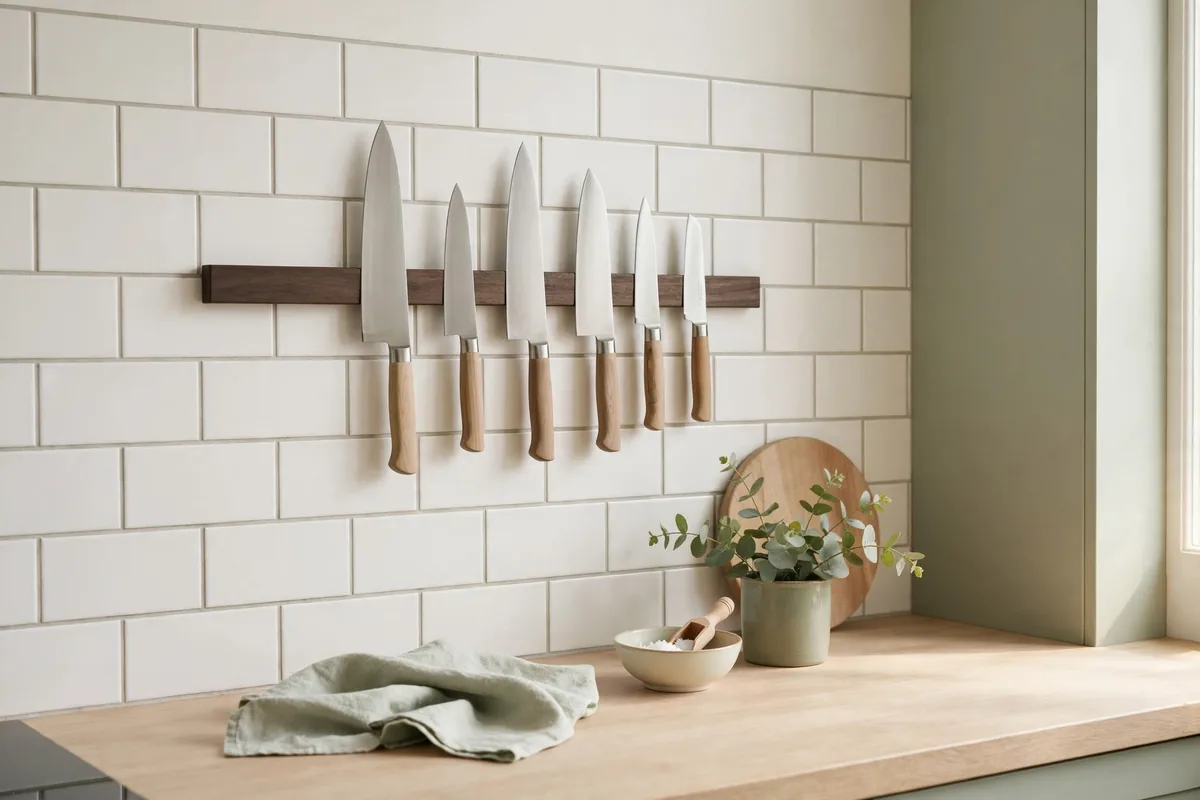
Knives don’t belong in a cramped apartment drawer. They dull each other and eat space. A magnetic knife strip mounted with heavy-duty adhesive (no drilling required) holds them flat against the wall or the side of a cabinet. The strip itself costs about $12, and it freed an entire drawer in my kitchen. Only use adhesive strips rated for the weight, and mount on tile, glass, or finished wood. Textured walls won’t hold adhesive well enough. If your backsplash is tile, this is a perfect match: smooth, strong, and completely reversible with dental floss and patience.
Same principle for spices: small magnetic tins stuck to the side of the fridge or a metal backsplash keep twelve spices visible in zero cabinet space. I alphabetized mine, and cooking got faster once I stopped hunting for the cumin mid-recipe.
Double Cabinet Space With Shelf Risers and Stackable Bins
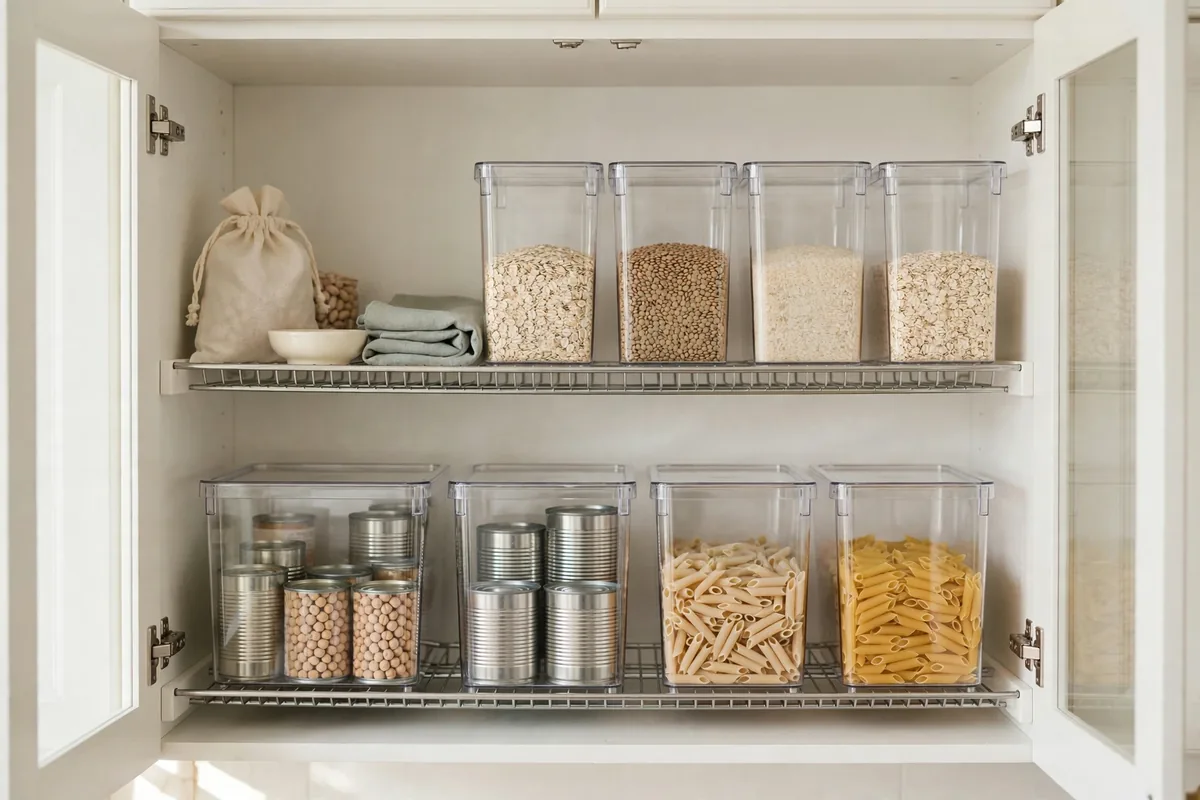
Apartment cabinets are tall and stupid — one shelf, twelve inches of dead air above your mugs. A $10 wire shelf riser creates a second level instantly, doubling usable space with no tools. I put risers in every upper cabinet and gained what felt like three extra shelves overnight.
Stackable bins handle the lowers. Clear, lidded bins let you stack canned goods two or three high without the whole tower toppling when you pull one out. Group by category: one bin for baking, one for cans, one for snacks, so the system survives real life.
Apartments give you cabinet volume but no structure, so you have to build it yourself. Risers plus bins are the fastest way to do it, and both come with you when you move.
Ditch the Dish Rack for an Over-the-Sink Roll-Up Mat

A full-size dish rack eats two square feet of counter in a kitchen that can’t spare it. A roll-up silicone drying mat that sits over the sink costs about $15, holds a full load of dishes, and rolls up into a drawer when you’re done. My counter gained its freedom back the day I switched.
Skip these three when you shop:
- All-silicone mats with no internal rods, which sag under heavy pots
- A mat narrower than your sink rim. It should rest on top, not dip into the basin
- Skipping the measurement, since sink widths vary more than listings admit
Get one with stainless steel rods inside the silicone. The all-silicone versions sag under heavy pots. When choosing a size, measure your sink: the mat should rest on the rim with the rods spanning the basin, not dipping into it.
It also works as a trivet for hot pans and a rinse station for produce, then rolls back into a drawer.
Cover the Sink With a Cutting Board: a Small Apartment Kitchen Organization Space Saving Classic
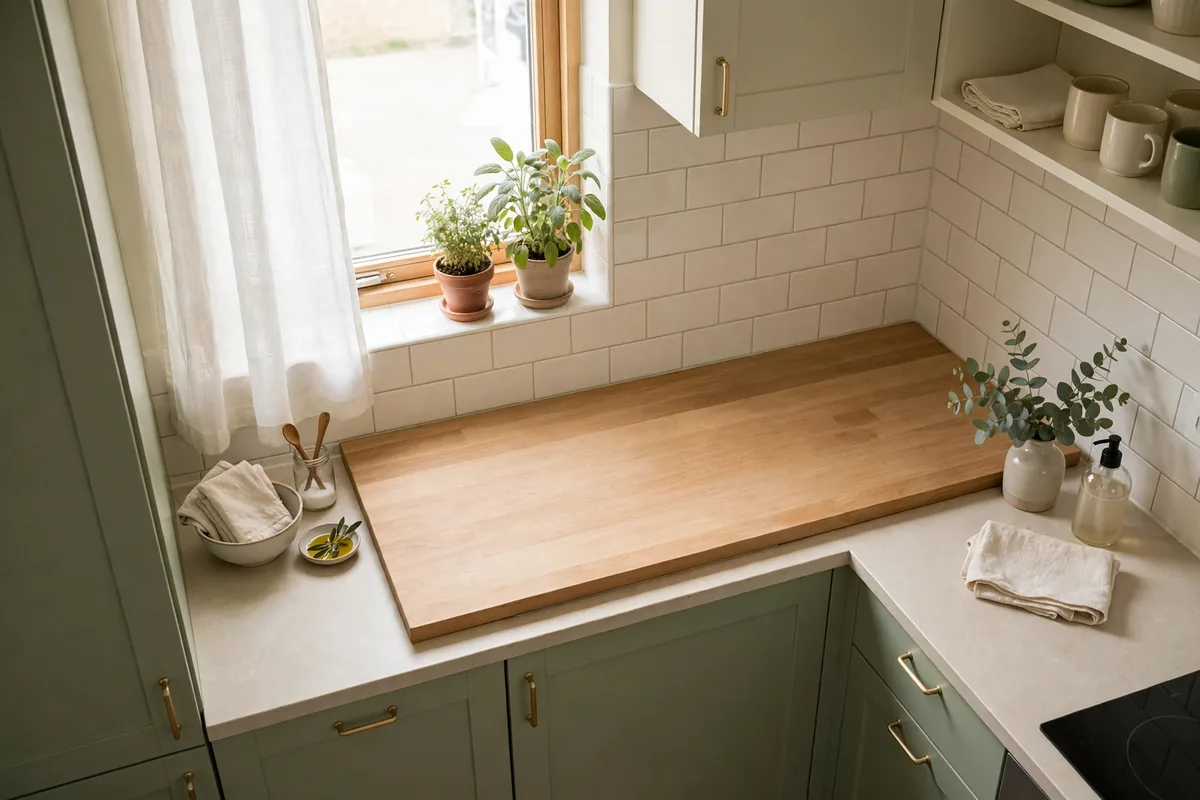
In a galley kitchen, the sink is the biggest flat surface you own, and half the time it’s just sitting there empty. A cutting board sized to sit across the sink basin — around $20 for bamboo — is the sink prep-space hack that converts it on demand. Chop vegetables over the sink, slide scraps straight in, lift the board when you need water.
Size it right:
- Measure the sink’s outer dimensions, not the basin
- Buy a board with a lip or handles that catch the rim
- Store it propped against the backsplash so it’s always within reach
Too small and it slides; too big and it won’t sit flat.
A board plus the roll-up mat above makes the sink area the hardest-working zone in the kitchen.
Spin the Deep Corners With Lazy Susans
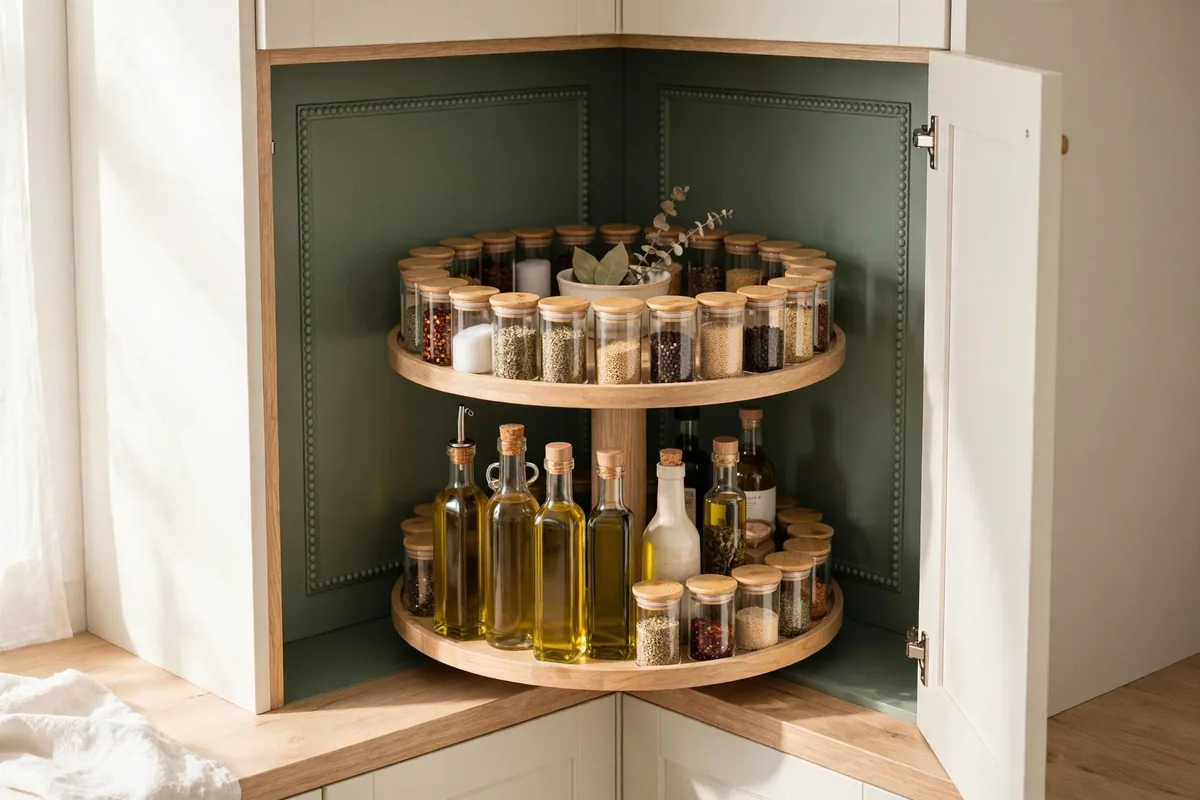
Deep apartment corner cabinets are where condiments go to die. A 10-inch turntable for about $8 means you spin instead of excavate. I put one in my corner cabinet and one in the fridge, and stopped finding expired mustard from two leases ago. Two-tier turntables work best for spices and small bottles, single-tier for taller items like oils and vinegars. Measure your cabinet’s interior height first: the two-tier models need about 14 inches of clearance.
The fridge turntable deserves special mention for renters with tiny apartment fridges. Condiments on a turntable in the door-adjacent zone means no more pulling six jars out to reach the one in back. You’ll grab the right jar the first time instead of the sixth.
Stick Battery Lights Under the Cabinets
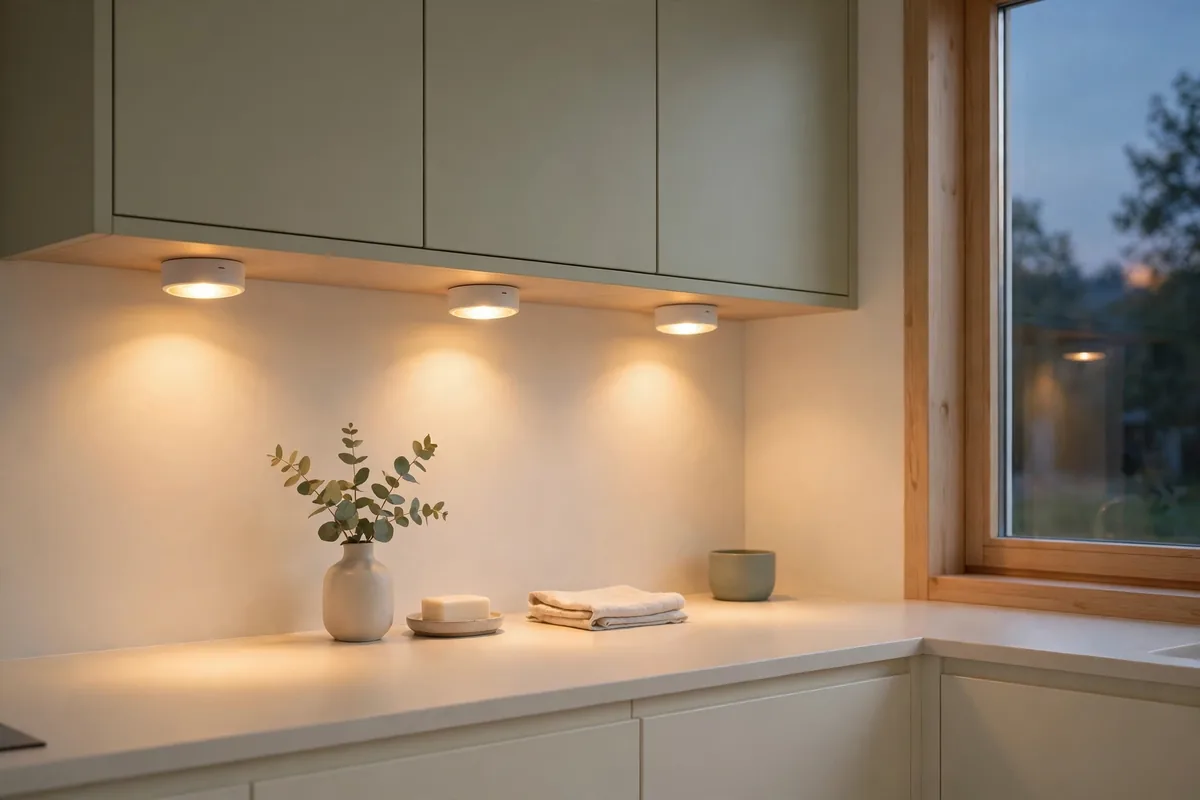
Rental kitchens are notoriously dark: one ceiling fixture trying to light the whole galley, with your body blocking it while you chop. Battery-powered LED puck lights with adhesive backing cost about $20 for a six-pack and stick under any cabinet in minutes, and the difference in visibility is honestly shocking. Choose warm white (2700 to 3000K) so food looks appetizing, not clinical. Motion-sensor models are worth the extra couple of dollars: wave your hand and the prep zone lights up, which feels luxurious in a rental.
When the batteries die every few months, it’s a two-minute swap. No electrician, no landlord permission, no trace when you leave. Guests always notice it, and nobody guesses it cost twenty bucks.
Claim the Fridge Sides With Magnetic Shelves
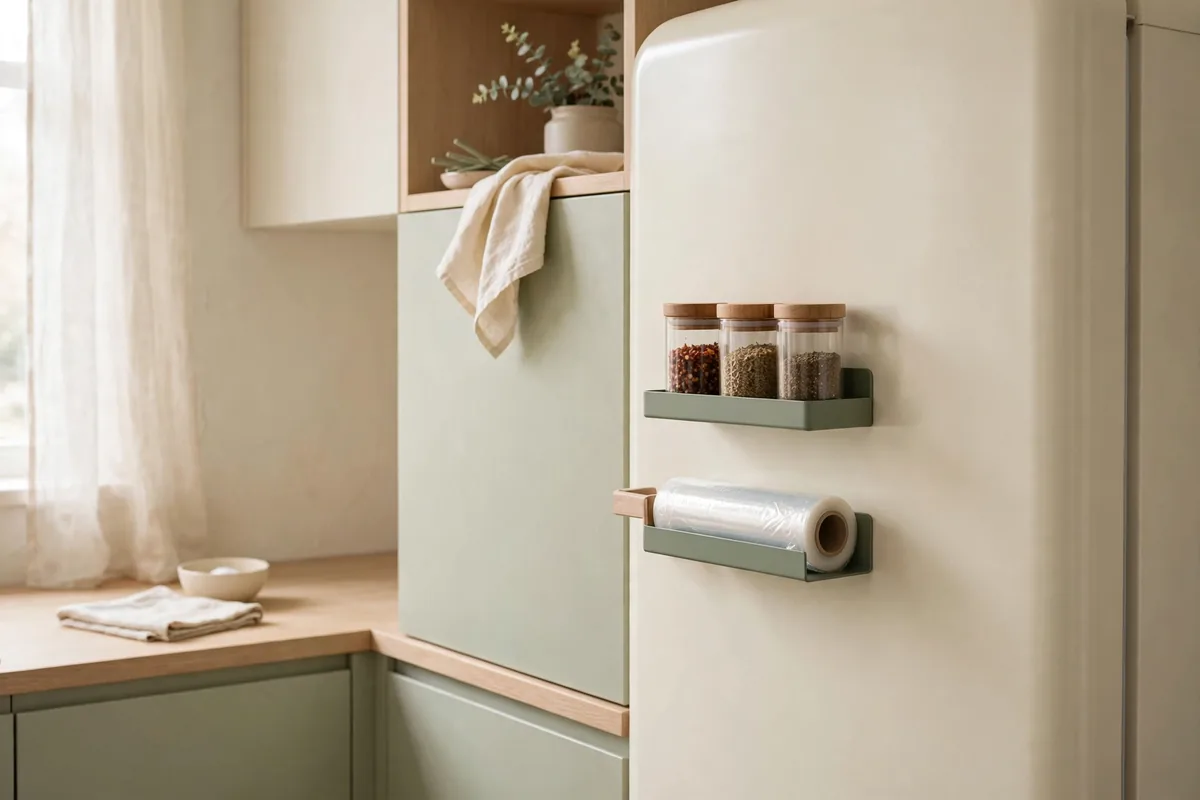
The sides of your fridge are vertical real estate most renters ignore. Magnetic spice racks and small magnetic shelves cling to any steel fridge side and hold spices, paper towels, or a charging phone away from the counter. A set of four magnetic spice tins runs about $15.
Test your fridge first: some modern fridges have non-magnetic stainless cladding on the sides. Stick a fridge magnet on the side. If it holds, you’re in business. The front door usually works even when the sides don’t, though I’d keep the front clear for the classic rental gallery of takeout menus.
I ran a magnetic paper-towel holder and a small shelf for my most-used spices on the side facing my prep zone. It put everything at arm’s reach and freed a full cabinet shelf for actual food.
Common Mistakes
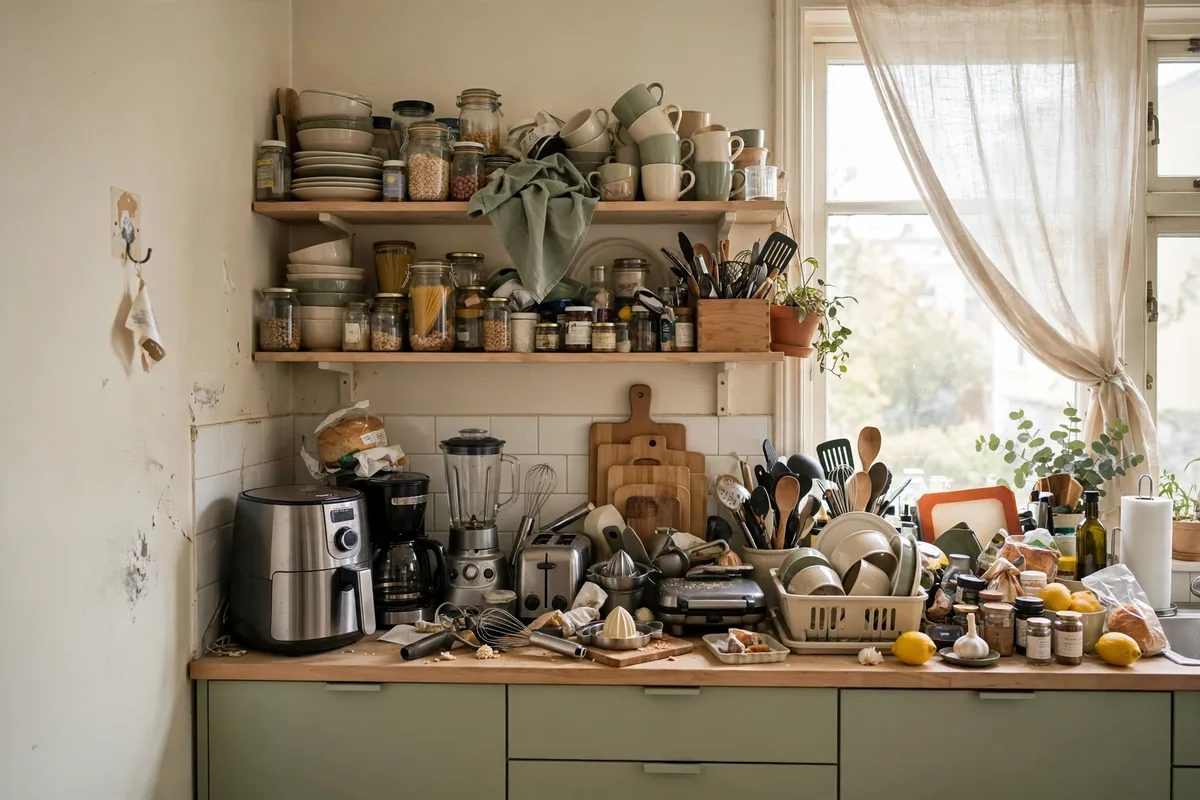
The classic renter error is treating the kitchen like a permanent space and buying a full organizing system before you’ve lived in it for two weeks. Apartment kitchens hide their quirks: the drawer that only opens halfway, the cabinet above the stove that’s too shallow for cans, the dead gap beside the fridge that fits nothing standard-sized. Live with the kitchen first, note where the friction is, then buy for those exact spots.
Second: overloading adhesive products. Command hooks and adhesive strips have real weight limits, and exceeding them doesn’t just fail. It can peel paint, which costs you deposit money. Respect the rating, distribute weight across multiple hooks, and cure them the full hour.
Third: organizing without decluttering. No system survives too much stuff. Before buying a single bin, pull everything out, toss the expired and the duplicates, and donate the gadgets you never touch. Declutter first, then buy only what fits the space you have.
Where to Start
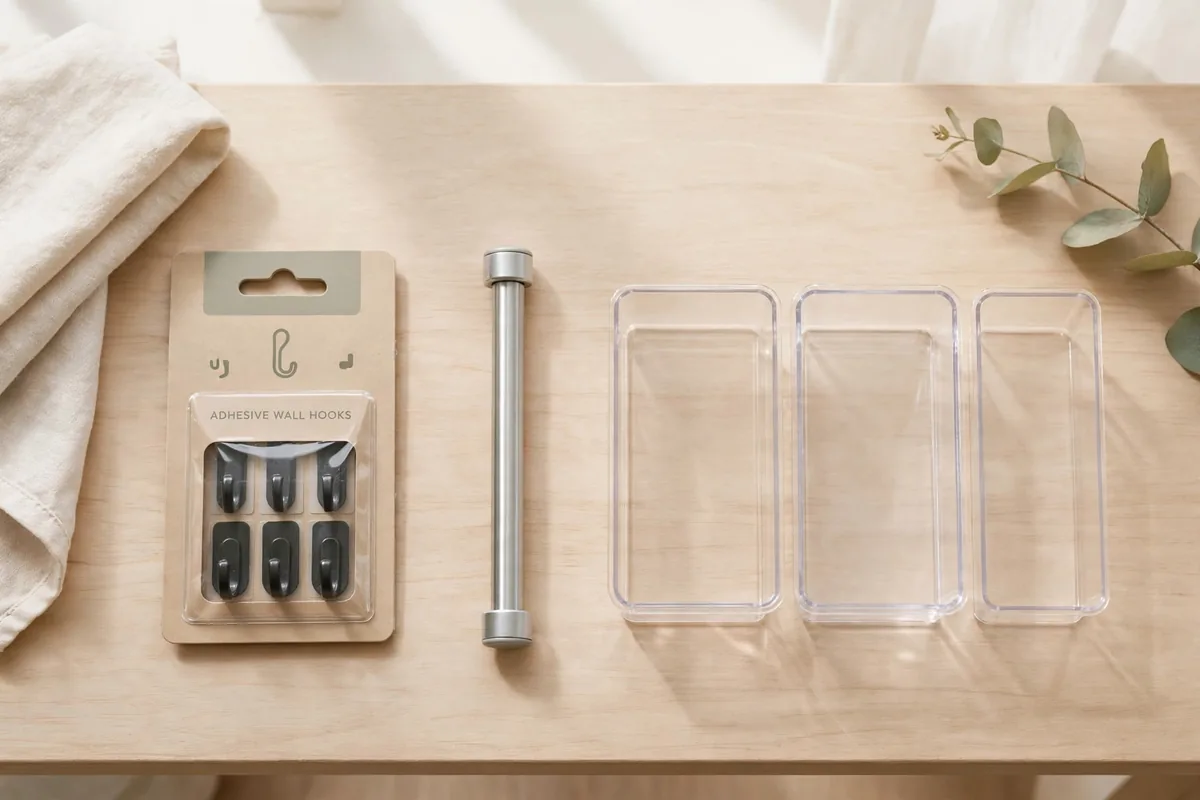
Start with the free work: pull everything out, toss the expired and the duplicates, and note where the friction actually is. Then spend where it will be felt daily — the command-hook strip by the stove, tension rods under the sink, and a slim cart in your biggest dead gap. Those four budget-friendly moves cost under $60 and change how the kitchen functions.
Do the free stuff first — the purge, the declutter, re-zoning your whole kitchen — then spend strategically on the two or three products that solve your specific pain points. Every apartment kitchen has a different bottleneck; fix yours before copying someone else’s system.
Small apartment kitchen organization ideas work best when they’re reversible, because your next kitchen will have different dimensions and a different landlord. Build systems you can pack in a box and reinstall in an afternoon, and every rental kitchen after this one gets easier.


