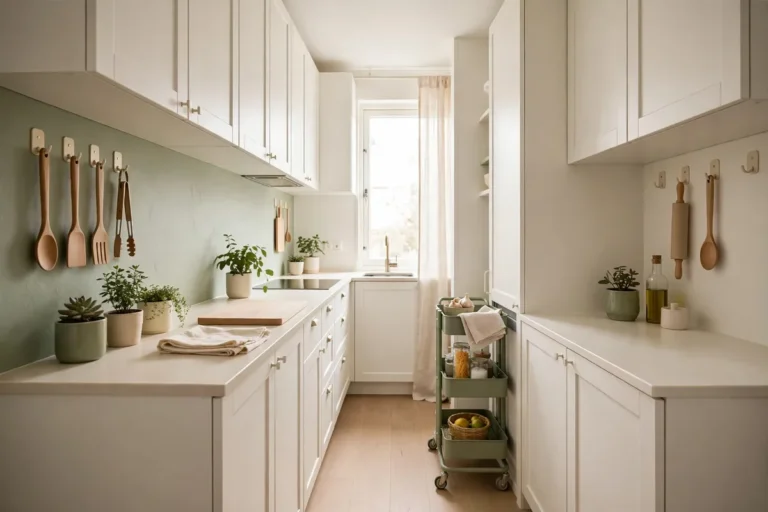
I organized my first small kitchen on a budget of basically nothing. I’d just signed a lease, my savings were gone, and the kitchen was a single wall of cabinets with stuff shoved in wherever it fit. So I gave myself a rule: fix it with what I had, plus one dollar-store trip. That constraint turned out to be a gift. It forced me to learn which small kitchen organization ideas on a budget actually work, and which ones just look good in photos.
Everything below costs under $10, and half of it is free. Skip the fancy container sets and custom organizers. Dollar-store finds, smart DIY, and reorganization wins cost nothing but an afternoon. Here are my favorite budget-friendly small kitchen organization ideas, ordered from free to cheap.
Purge the Duplicates: the Free Upgrade That Doubles Space
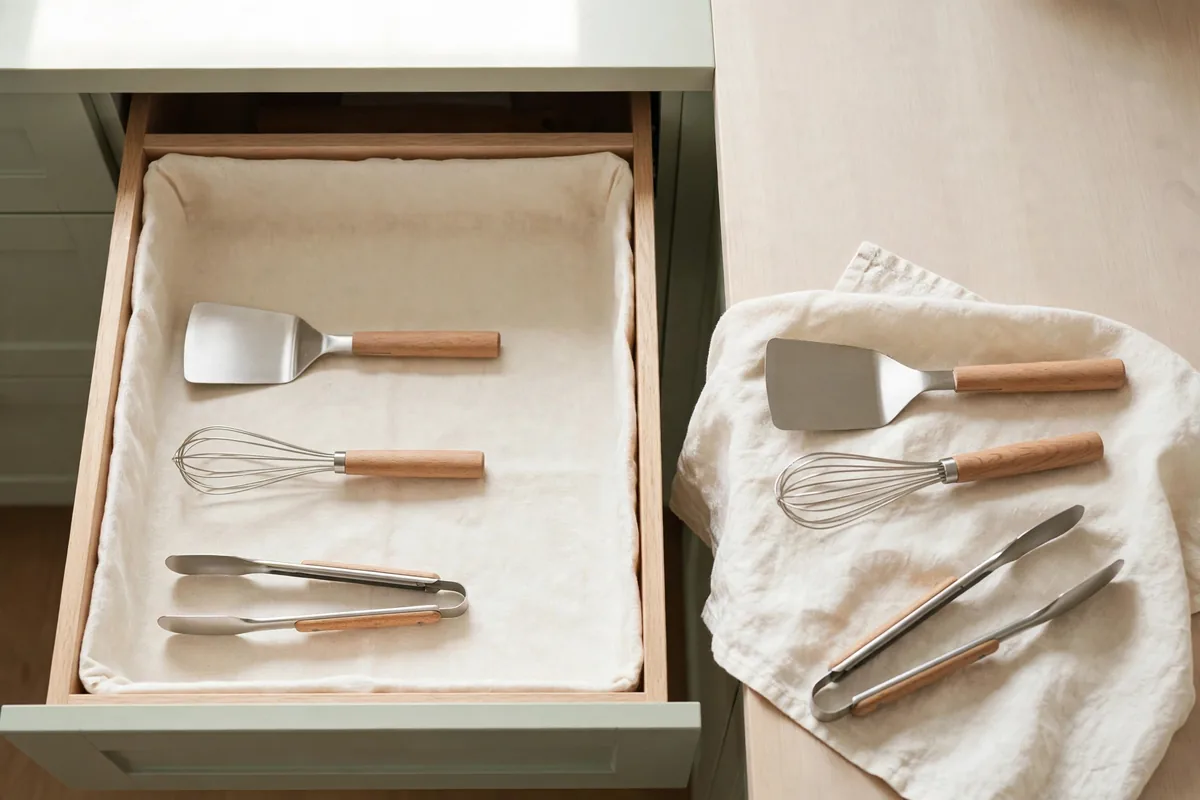
Before spending a single dollar, pull everything out of your cabinets and count your duplicates. I found four spatulas, three whisks, two garlic presses, and enough mismatched lids to roof a dollhouse. Most small kitchens aren’t short on space — they’re drowning in doubles.
Purge in this order:
- Duplicates. Keep the best one of each tool; box up the rest for donation.
- Broken. Chipped, warped, or missing parts — toss it.
- Unitaskers. The avocado slicer, the banana hanger, the third cutting board. Unused in six months? It doesn’t earn shelf space.
This one free afternoon gave me more usable space than any product I’ve ever bought, and it made every other idea on this list work twice as well. Small kitchen storage ideas on a budget start with owning less, not storing more.
Small Kitchen Organization on a Budget: Zone Every Cabinet With $1.25 Bins
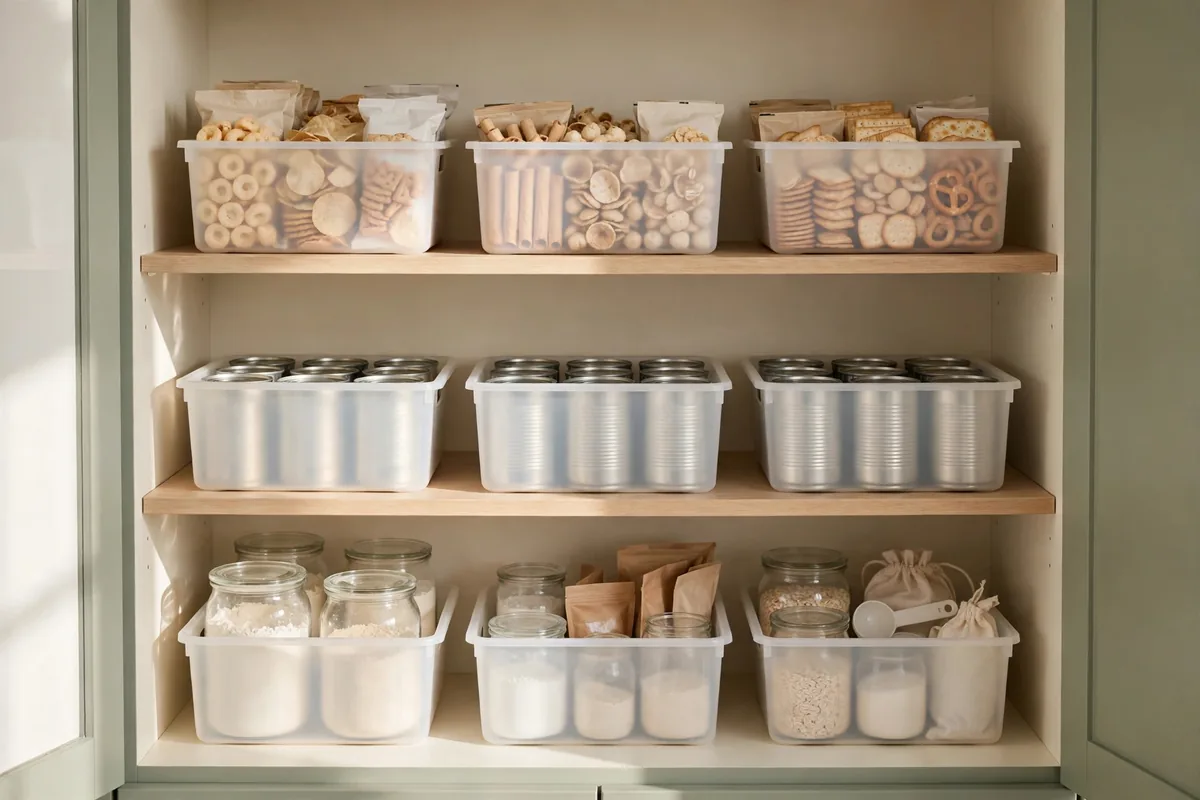
The highest-impact purchase in budget small kitchen organization is the humble dollar-store bin. At $1.25 each, ten bins cost less than a fancy coffee and they transform chaotic cabinets into zones: one bin for baking supplies, one for canned goods, one for snacks, one for packets and pouches.
The bins aren’t the magic; the boundaries are. Without zones, every cabinet slowly reverts to a junk drawer. With bins, everyone in the house knows the granola bars live in the snack bin, and putting groceries away takes seconds instead of a reorganization project.
Buy bins in one color for a calm, uniform look that photographs well for Pinterest. Rectangular bins waste less space than round ones, and open-top bins work better than lidded ones for daily-use categories. Measure your shelf height before you go. The tall bins don’t fit standard 12-inch cabinet spacing.
Free Small Kitchen Organization: Build Drawer Dividers From Cardboard Boxes
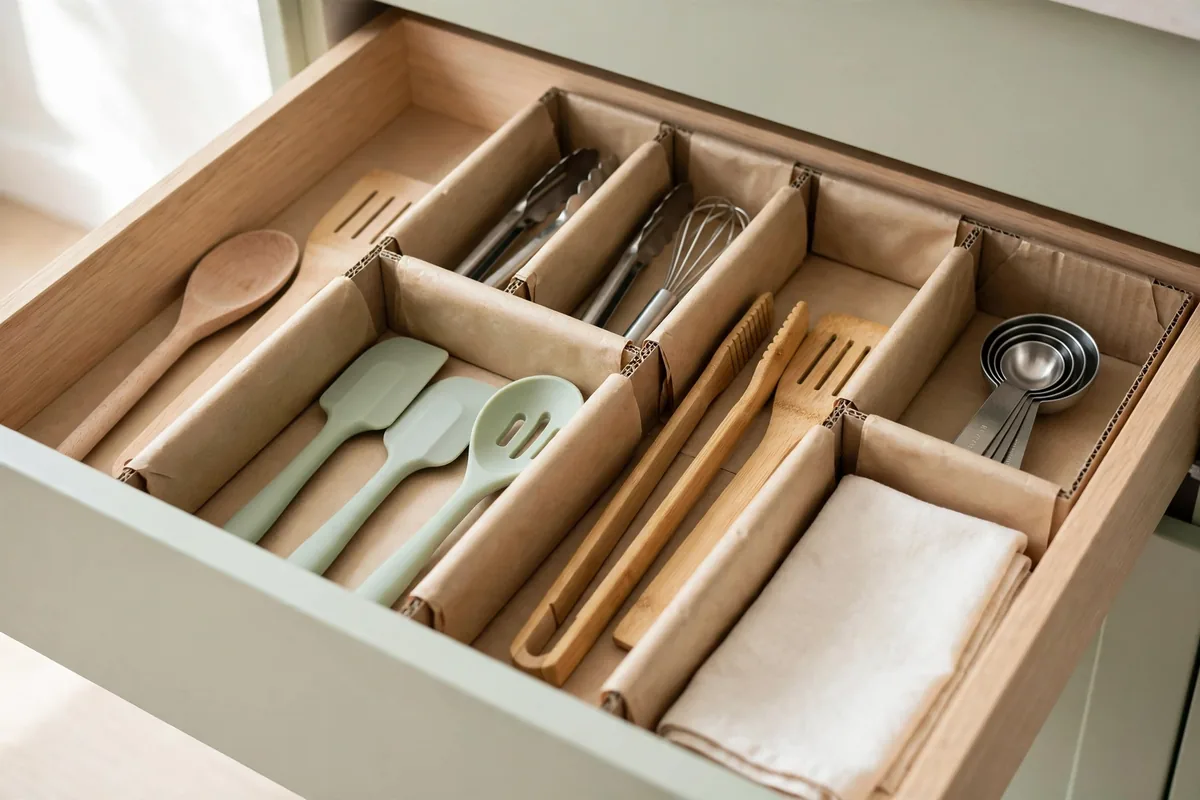
Custom drawer dividers cost $15 to $30 per drawer. Cereal boxes, shipping boxes, and a pair of scissors cost nothing. Cut cardboard strips to your drawer’s height, slot them together with simple notches, and you’ve got custom dividers that fit your exact drawer, because you made them for it. To make them last, wrap each strip in packing tape or contact paper. The tape makes them wipeable and surprisingly sturdy; mine survived two years of daily use before I upgraded. For a cleaner look, cover them in kraft paper first. They look almost store-bought.
This is my favorite small kitchen organization ideas budget DIY because it’s genuinely custom. Store-bought dividers come in fixed sizes that never quite fit; cardboard fits any drawer ever made. Trace your drawer’s interior on paper first, then cut. It’s a 20-minute project per drawer.
Thrift-Store Jars: Decant Dry Goods for Pennies
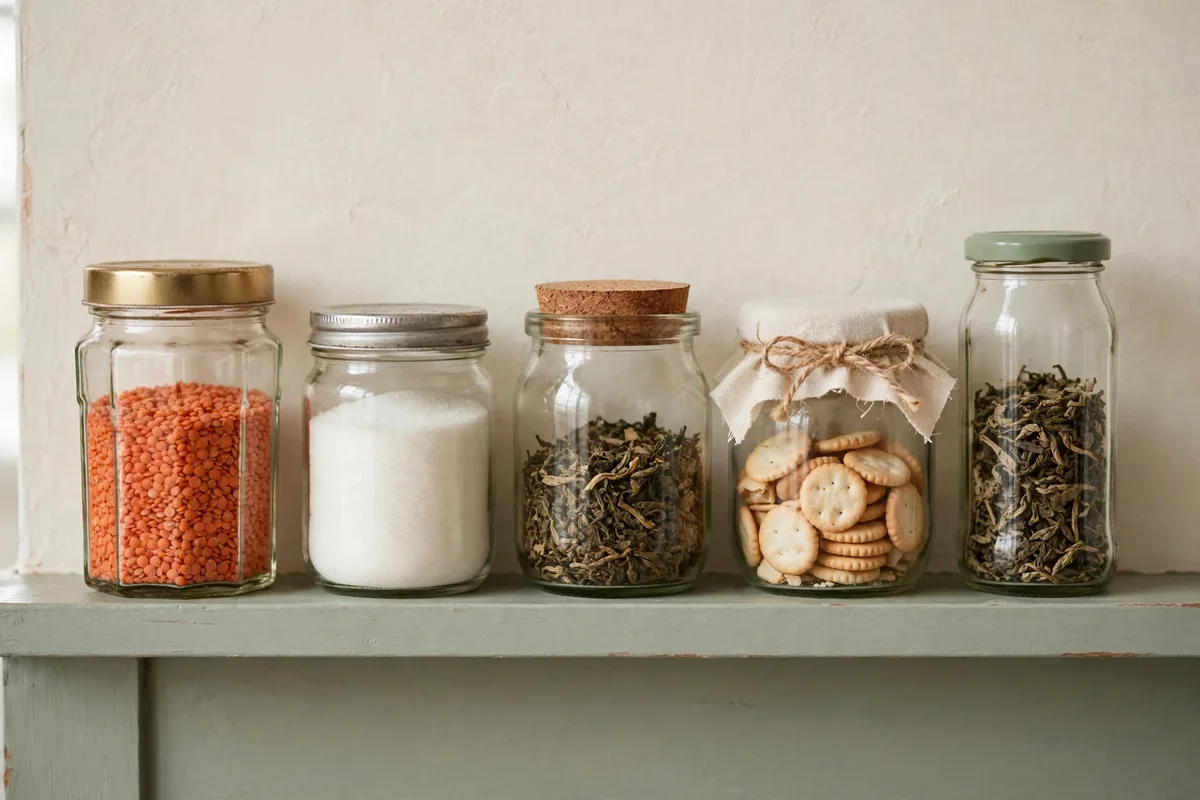
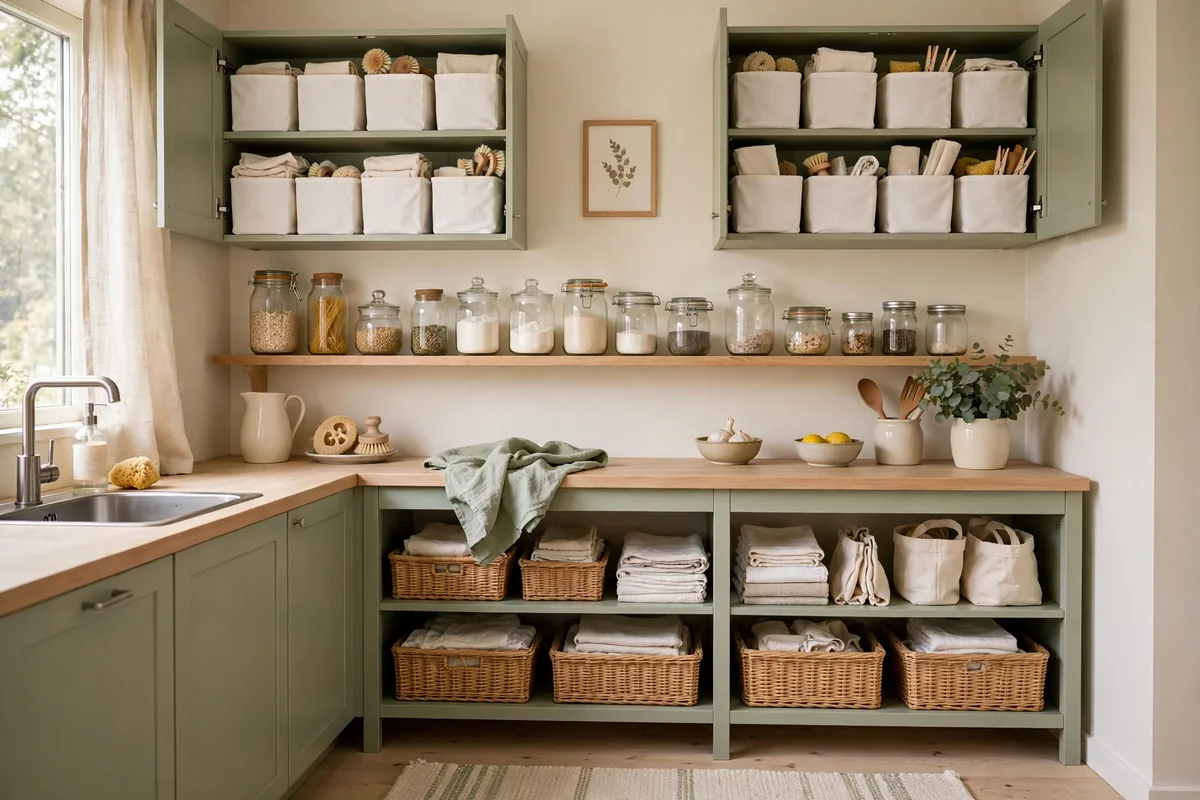
Matching canisters look expensive, but thrift stores sell glass jars for 25 to 50 cents each. I built a full set of twelve matching-ish jars for under $5 by buying every clean glass jar with a decent lid I could find, then unified them with the same simple labels. Flour, rice, pasta, oats, sugar — the visual noise of boxes and bags disappeared overnight.
Wash thrifted jars in hot soapy water and check the seals before trusting them with food. Bail-top jars with fresh gaskets are the jackpot find; screw-top pasta sauce jars are the reliable workhorse. Skip anything with chips around the rim.
Kitchen organization ideas on a budget live or die on uniformity. Twelve mismatched free jars still look cluttered; twelve thrifted jars with identical labels look intentional. A $1.25 pack of kraft labels from the dollar store ties everything together.
Turn a $1.25 File Sorter Into a Lid Organizer
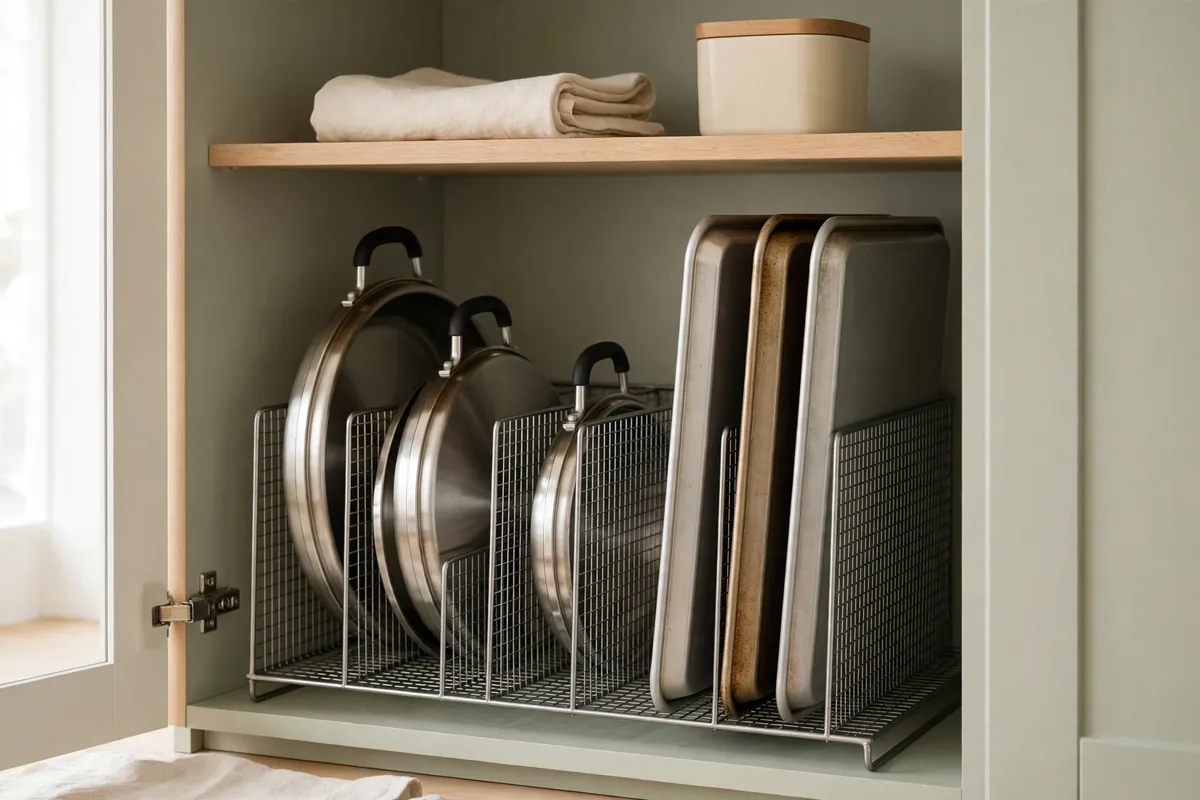
Pot lids are the enemy of small kitchen cupboard storage ideas on a budget. They don’t stack, they slide, and they turn every cabinet into a clattering pile. A metal mesh file sorter from the dollar store — yes, the office supply — stands lids upright like files in a drawer for $1.25.
Stand it inside a deep cabinet or budget-friendly pantry shelf and slot lids in vertically, biggest in back. It also works beautifully for baking sheets, cutting boards, and muffin tins. One $1.25 purchase solved three different clutter problems in my kitchen. (The same sorter corrals reusable grocery bags and cleaning cloths, since vertical filing beats horizontal stacking.)
If the mesh feels flimsy under heavy cast-iron lids, double up: zip-tie two sorters together for a sturdier version. Zip-tied, two sorters cost $2.50 total, still far cheaper than any official lid organizer.
Shop Your Own House First: Repurpose Trays, Baskets, and Tins
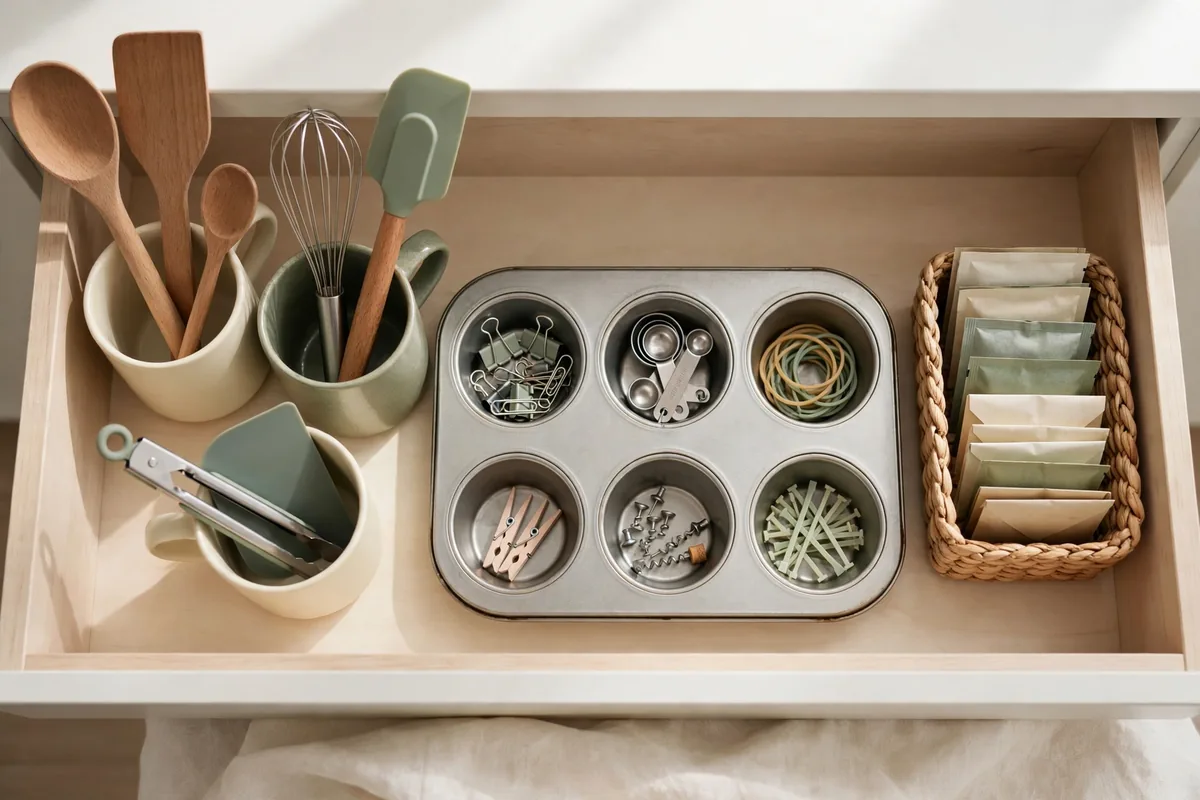
The cheapest organizer is the one you already own. Before buying anything, walk through your house with fresh eyes: that decorative tray becomes a coffee station corral, the gift basket becomes under-sink storage, the muffin tin becomes a junk-drawer organizer for batteries and clips, and old cookie tins become perfect canisters for tea and coffee. I organized my entire utensil drawer with two chipped mugs and a small flower vase. Free, and honestly cuter than the plastic tray I almost bought. A shallow shoebox covered in wrapping paper made a fine drawer organizer. Nobody sees inside your drawers but you, so “pretty” is optional and “fits” is everything.
The rule is simple: reassign before you purchase. Keep a running list on your phone of what you actually need, and check your closets before you check a store.
Add a $5 Turntable to the Spice Cabinet
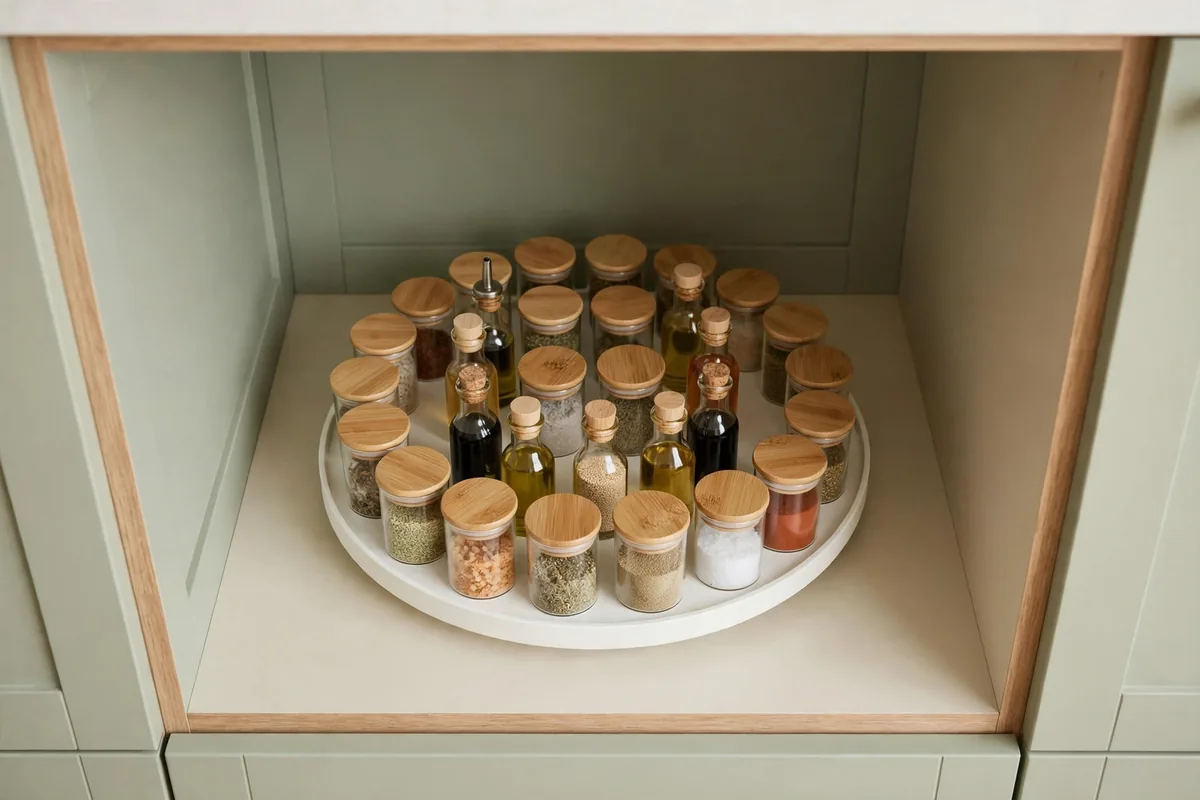
Dollar stores and discount shops sell small turntables for around $5, and they’re the cheapest way to make deep cabinets functional. Spices, condiments, vitamins, anything small that gets lost in the back, goes on the turntable, and you spin instead of excavate.
One turntable in the spice cabinet and one in the fridge covers the two worst zones in most small kitchens. Measure your shelf depth first; the 10-inch models fit standard cabinets, and anything bigger won’t clear the door.
For the truly broke version, check thrift stores. Turntables show up there constantly for a dollar or two because people buy them and never install them.
Clip $3 Under-Shelf Baskets Onto Existing Shelves
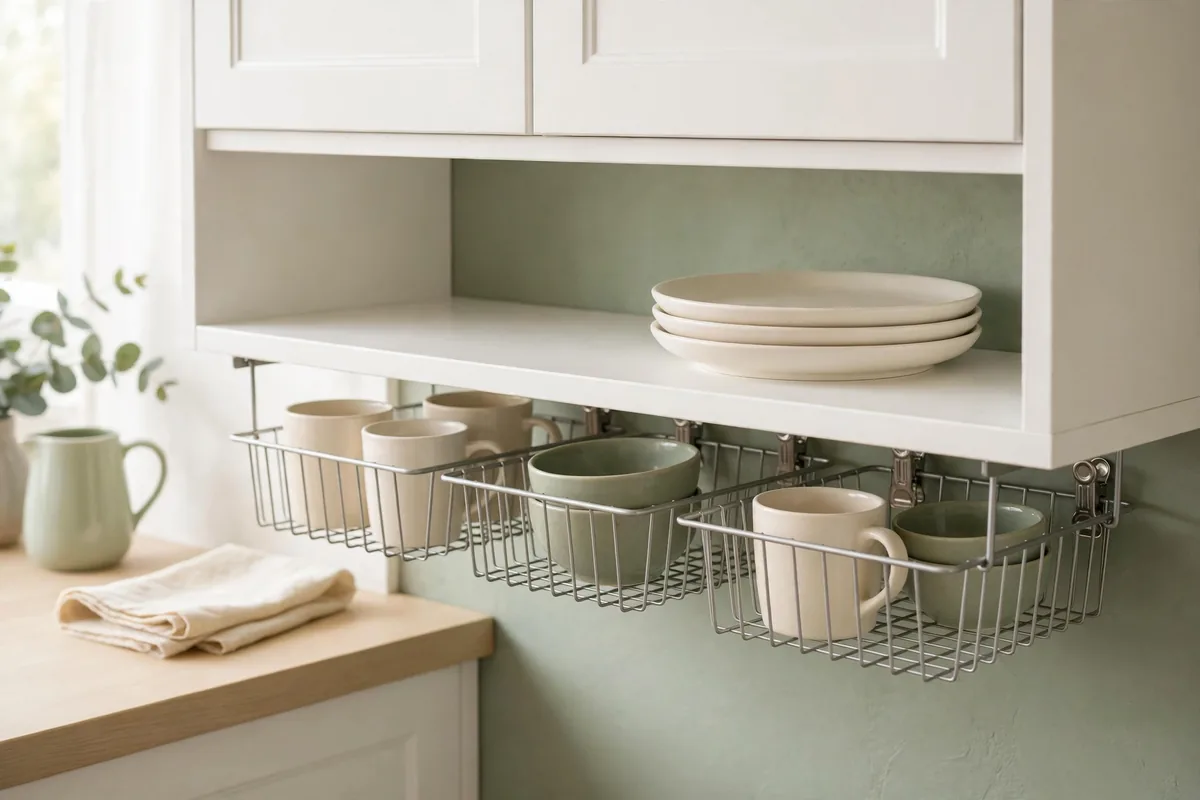
Every cabinet has dead air between the shelf and whatever sits on it. Wire under-shelf baskets hook onto the existing shelf with no tools and create an instant second level for mugs, small bowls, or wraps — about $3 each at discount stores, or a few dollars more for sturdier versions. They’re perfect for the awkward gap above short items: mugs on the shelf, bowls in the basket above them. I put two in my main cabinet and gained the equivalent of half a shelf without changing anything structural.
Don’t overload them. They’re rated for a few pounds, so mugs and plastic containers, not cast iron. And slide them toward the back of the shelf so they don’t interfere with the cabinet door closing.
Hang Mugs on $1.25 Cup Hooks Under the Cabinet
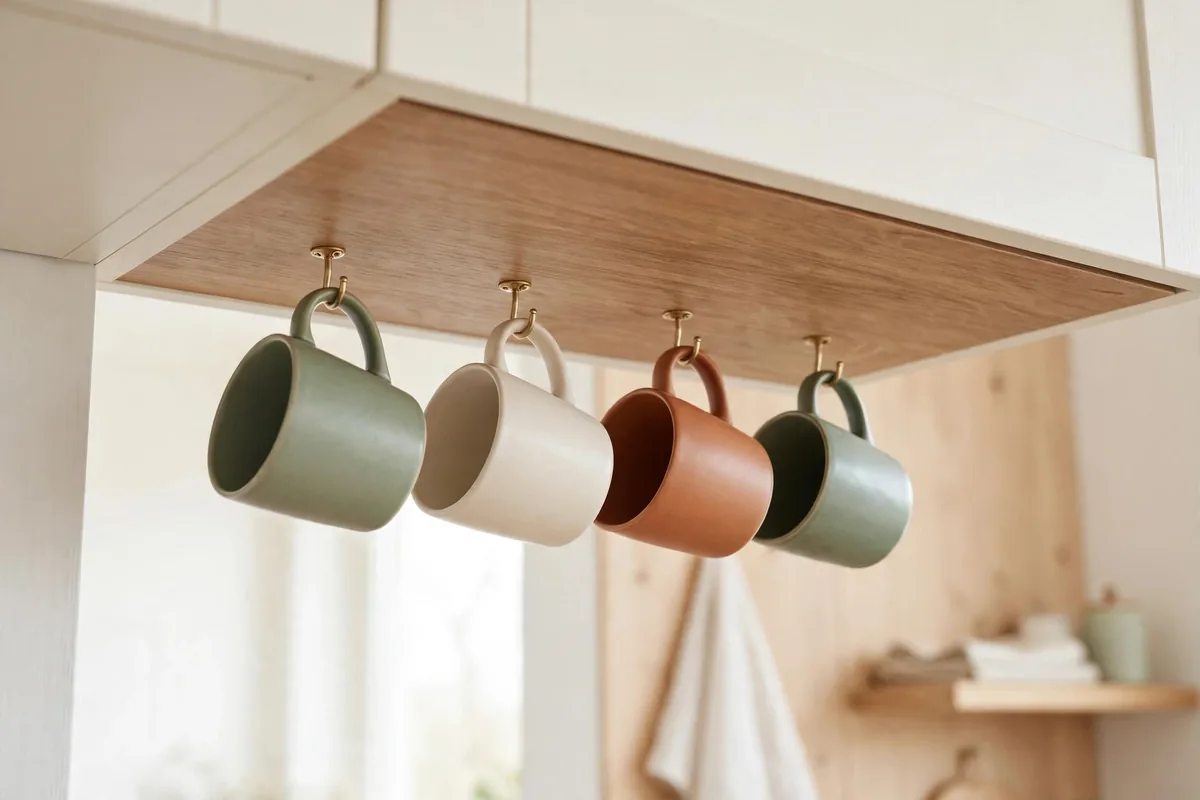
Mugs are space vampires: each one eats a full mug’s worth of shelf whether it’s tall or short. A strip of screw-in cup hooks under an upper cabinet — $1.25 for a pack of six — hangs six mugs in the dead air beneath the shelf, freeing real shelf space above.
Yes, this one needs four tiny screws per strip, so check with your landlord. The holes are pin-sized and fill with a dab of toothpaste-colored putty on move-out. For a zero-hole version, heavy-duty adhesive hooks work for lightweight mugs. (Pre-drill with a pin or nail before screwing cup hooks into cabinet bottoms: ten seconds, and it prevents the wood from splitting, which is the only real risk in this project.)
Hang your daily mugs here and store the occasionals up high. The visual effect is charming too — a row of hanging mugs looks like a coffee shop, which is a nice bonus for a budget kitchen glow-up.
Label Every Bin With Dollar-Store Labels
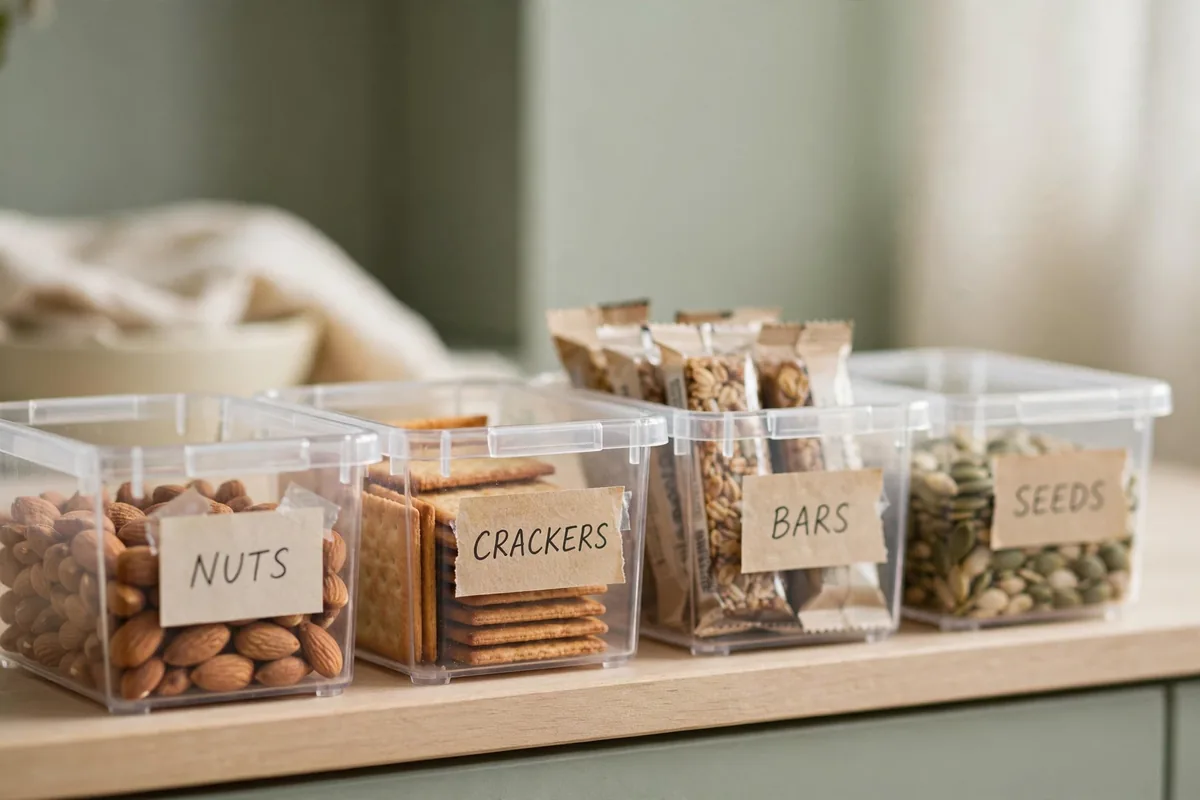
A $1.25 pack of adhesive labels tells everyone in the house where things go. (A roll of masking tape and a marker works too, for the truly committed budgeteer.) Systems without labels last about two weeks; labeled systems last years.
Three rules make labels stick:
- One word per bin: “BAKING,” “SNACKS,” “CANS”
- Same handwriting or font on every label
- Same placement on every bin
Stick to nouns, not cute phrases. Half asleep and unloading groceries, you’ll thank yourself.
Label the shelves too, if you’re feeling thorough. A strip of tape on the shelf edge marking each zone stops bins from drifting over time. This whole project costs under $3, and it keeps every other budget upgrade working.
Re-Zone by Task: the Free Reorganization That Changes Everything
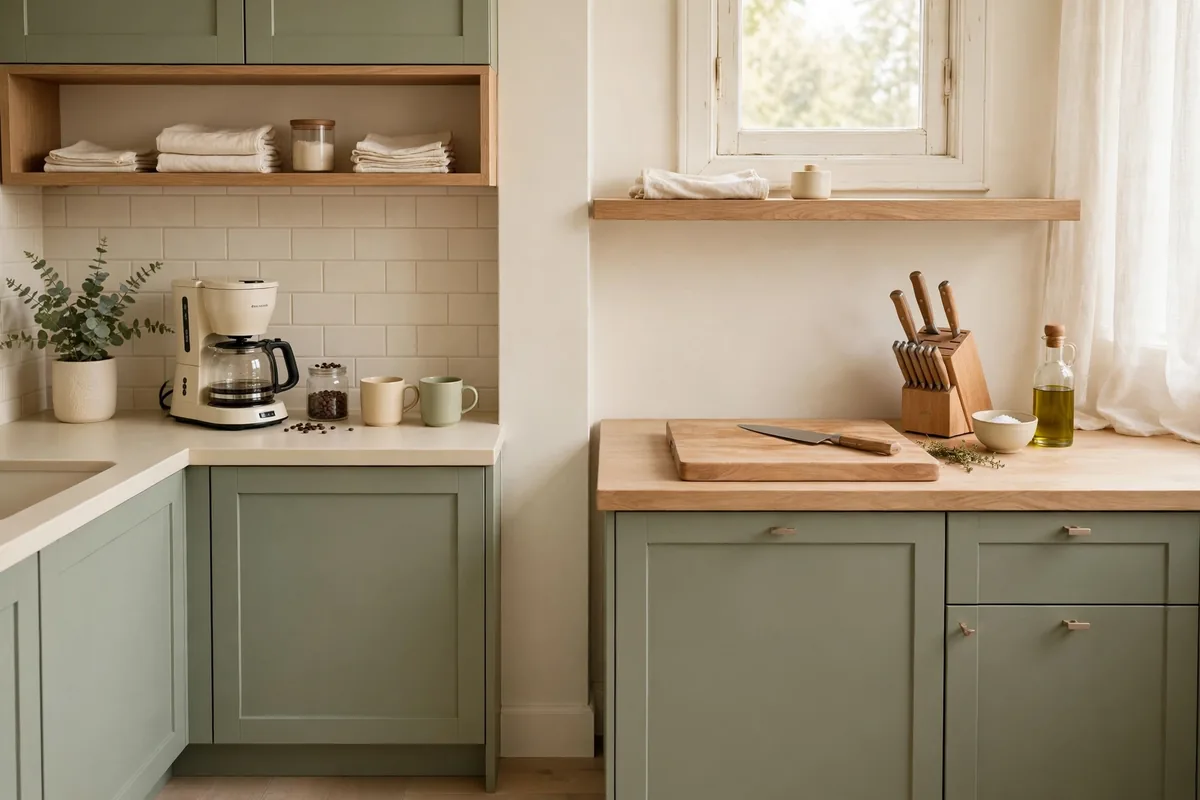
The most powerful small kitchen storage ideas on a budget DIY cost nothing at all: start organizing your kitchen by task instead of by category. Put the coffee, filters, mugs, and sugar together in a coffee zone, even if “beverages” used to live in three different cabinets. Cooking oils, spices, and utensils go by the stove. Prep tools live by the main counter.
This feels wrong at first because it breaks the “all baking stuff together” logic. But you don’t bake in the abstract. You make coffee every morning, so the coffee things should live together. Task zones cut your steps per meal in half, which matters enormously when your kitchen is six feet wide. Do this during the purge, while everything’s already out: group items by the job they do, assign each job a zone, and put the zones where the work happens.