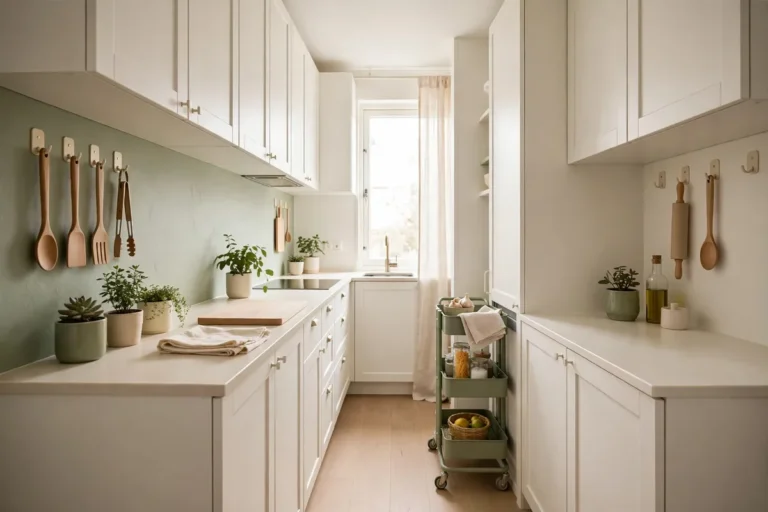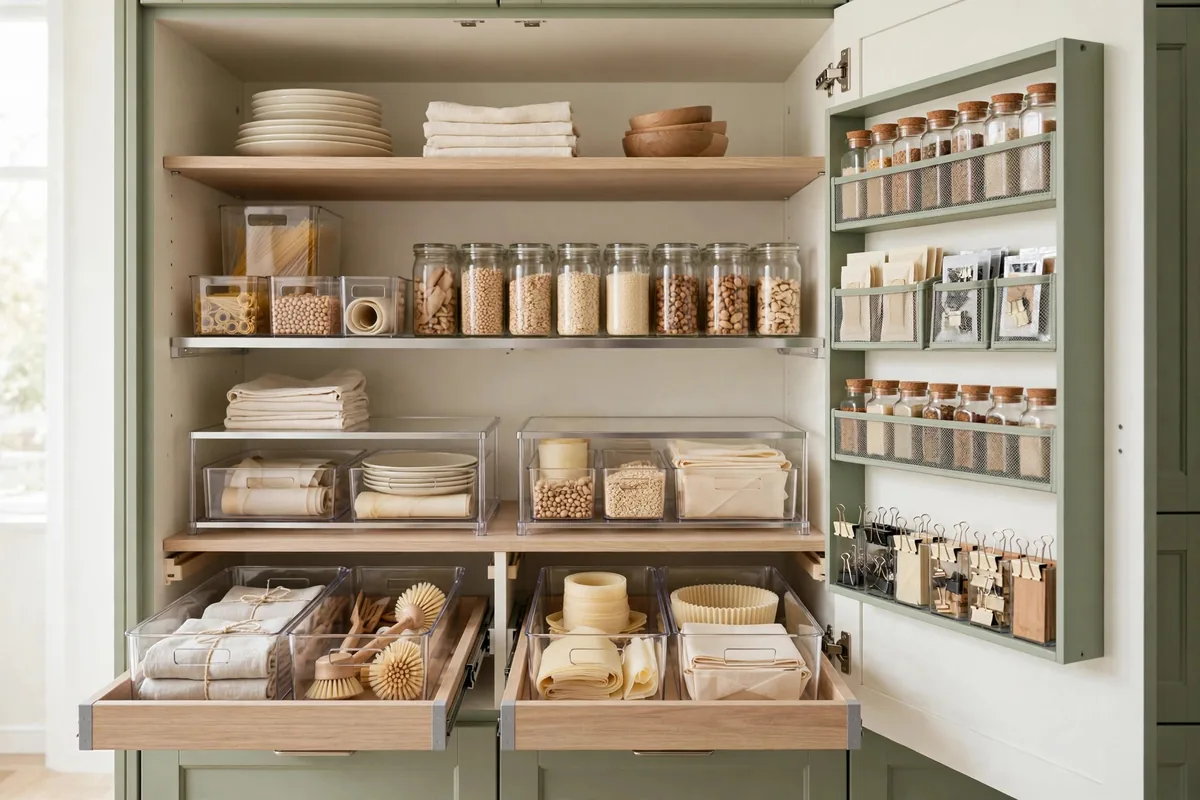
Small pantry cabinet organization ideas are most useful when they solve a daily reach problem, not when they simply add more containers. In a rented kitchen, you may be working with one deep cupboard, uneven shelves, or a cabinet door that cannot carry much weight. The goal is a compact system that shows what you own, protects food from spills, and can be restored after a busy grocery trip. Start with measurements and habits, then add only the storage tools that make the next meal easier.
Measure the Cabinet Before Buying Anything
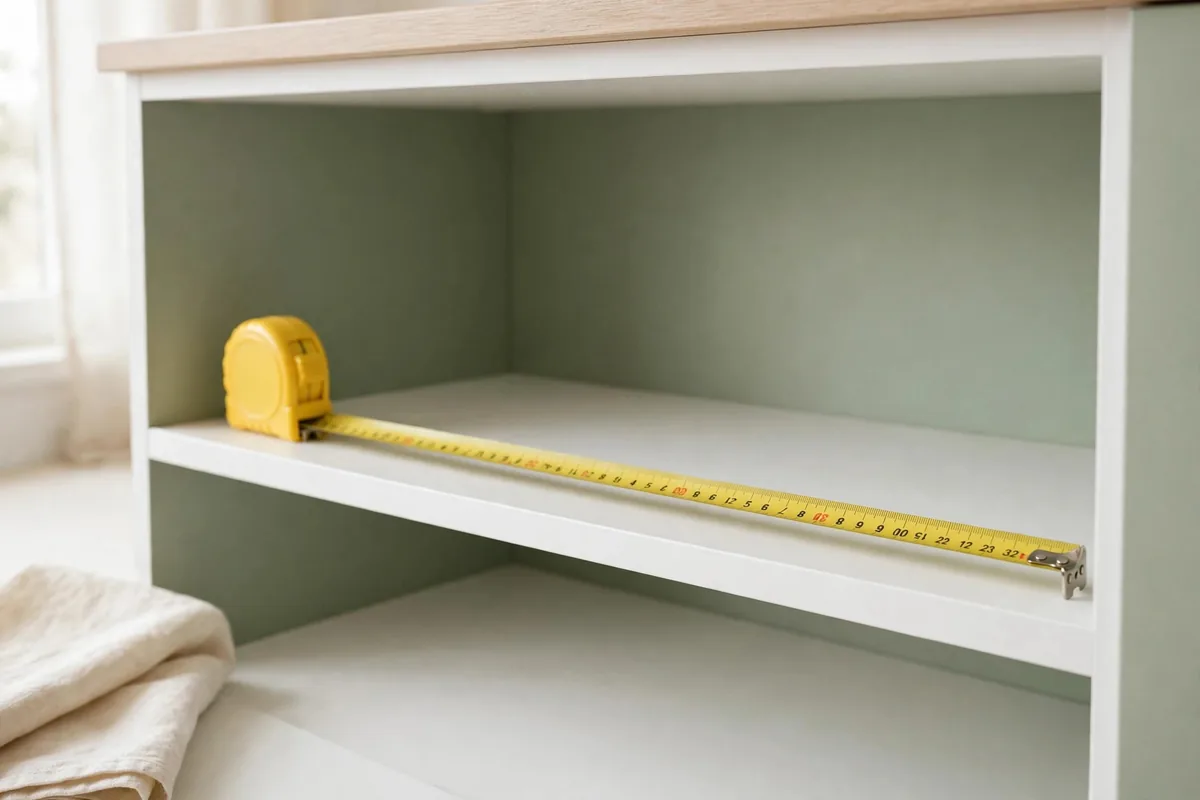
Take everything out of one cabinet and measure the inside space, ignoring the outside dimensions. Record the width between side walls, shelf depth from the front edge to the back wall, and clear height between shelves. Also check the opening width, hinge position, door thickness, and any lip that could block a bin or riser.
Make a quick sketch for each shelf. A shelf that is 12 inches deep may have only 10 inches of usable depth once the door frame and front edge are considered. Test the path of a removable bin by measuring the narrowest point at the opening. This small step prevents buying an organizer that fits on the shelf but cannot come out.
TinySpacer Tip: Keep a note of every measurement in your phone, including the cabinet opening. It saves a second measuring trip when you compare organizers.
Before you shop, decide whether the cabinet needs visibility, capacity, or easier access. A riser helps you see short cans. A shallow pull-out improves reach. Neither tool fixes overstocking or a shelf that is too crowded to reset.
Build Zones Around Your Grocery Routine
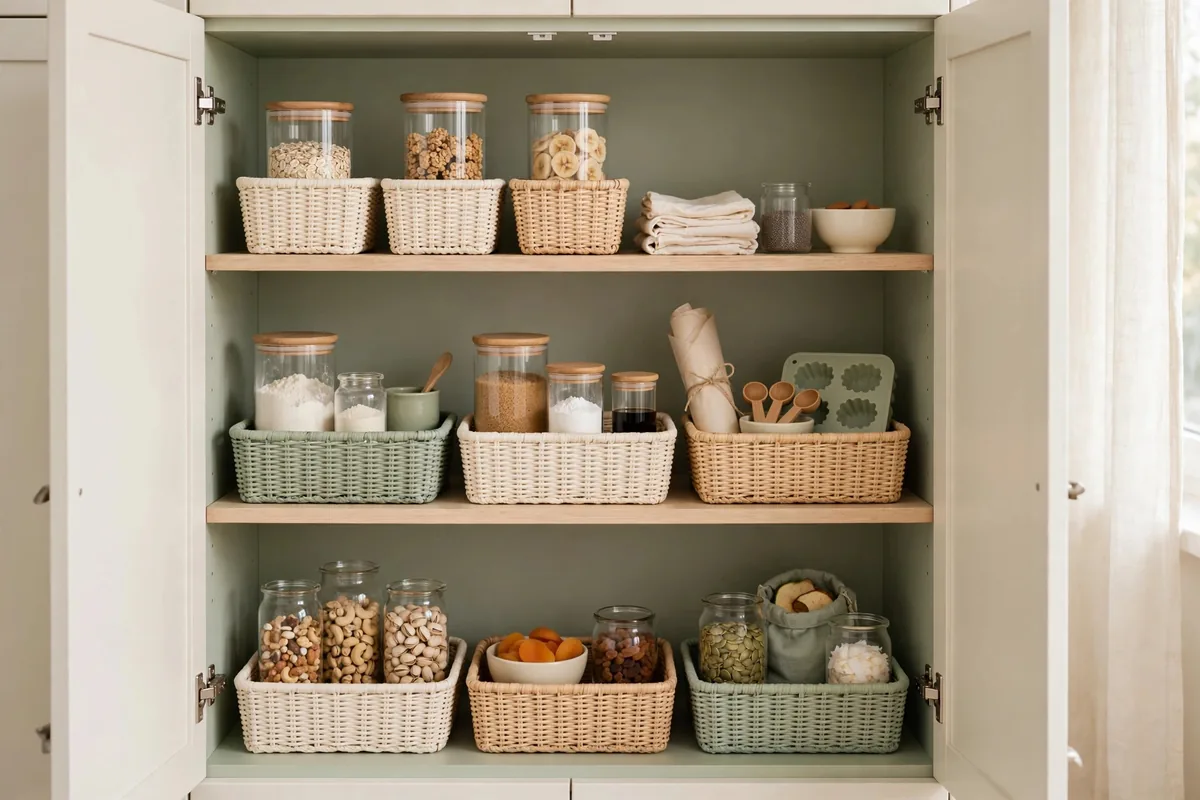
Group food into a small number of zones that match how your household uses it. Common zones include breakfast, cooking staples, snacks, baking, and backstock. In a small food pantry cabinet organization system, the categories do not need to look perfect. They need to help you find one item without moving five others.
Put daily-use foods between waist and eye level when possible. Place occasional baking supplies higher, and keep heavy cans, bottles, and glass jars on a low shelf.
A snack bin can sit near the front if it is lifted by one handle. For a child-accessible area, use a light bin and avoid placing breakable or spill-prone items within reach.
- Current items go at the front.
- Duplicates stay together in a labeled backstock area.
- Open packages get one clearly marked spot.
- Foods that need refrigeration after opening stay out of the dry pantry.
This approach supports pantry cabinet organization small space needs because every shelf has a job. Leave a little open area for new groceries. A system with no landing space becomes difficult after the next shopping trip.
Raise Short Items With a Stable Shelf Riser
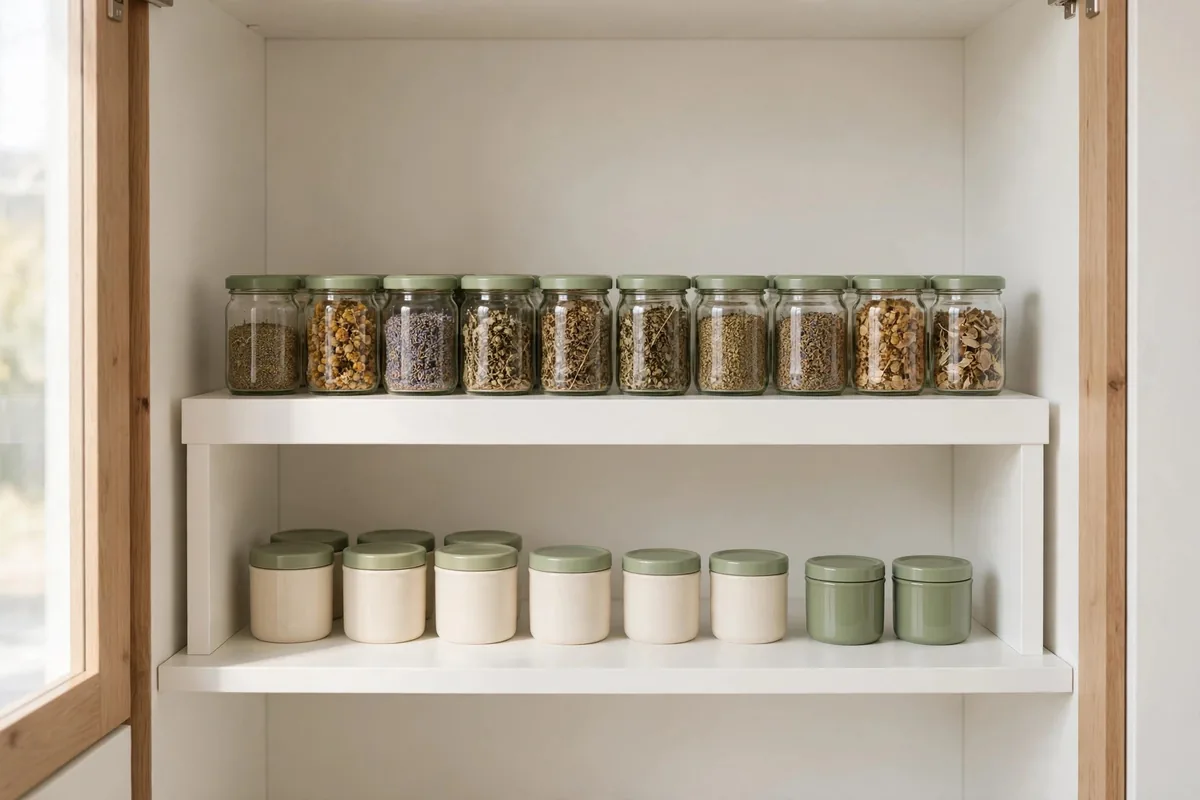
A shelf riser creates a second level for short cans, tins, jars, or small boxes. It is especially helpful when the cabinet has tall unused air above one row. Choose a riser that leaves enough clearance to lift items out, and confirm that its feet sit flat on the shelf. A narrow, stable model is more useful than a wide one that consumes the entire shelf.
Use the lower level for items you reach less often and the top level for the current supply. Keep labels facing forward and avoid stacking loose cans on top of one another. A riser is not a good fit if the shelf is shallow, the cabinet shakes, or the upper level makes the lower row hard to reach.
For a narrow pantry cabinet organization setup, measure the riser width with its feet and any side rails included. A few inches of clearance beside it can provide a useful grip. If every inch is occupied, the organizer may increase capacity on paper while slowing down access in practice.
TinySpacer Tip: Use one riser per shelf at first. A single clear view is easier to maintain than a crowded collection of tiers.
Put Deep Shelves on a Pull-Out or Tray
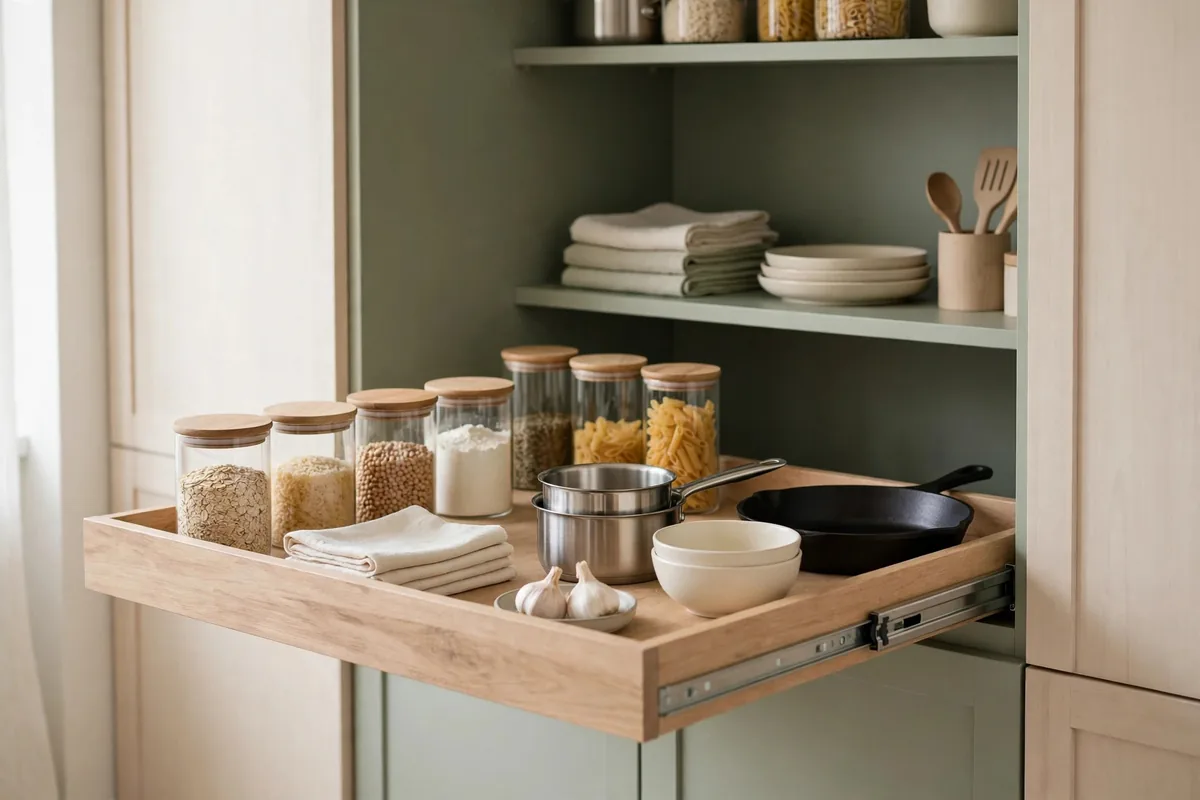
Deep shelves often waste food because the back row disappears. A pull-out drawer, handled bin, or smooth tray turns that hidden space into one movable group. Use it for one category, such as sauces, canned vegetables, or baking supplies. The container should be shallow enough to lift and light enough to move when full.
Check the organizer’s weight rating and the cabinet floor before loading it. Heavy glass, large bottles, and dense cans can make a tray awkward or unsafe to pull. Keep those items low and split a heavy category between two bins if needed. A pull-out also needs clearance from the door and hinges, so test the full path before filling it.
For small deep cabinet pantry organization, label the front edge rather than the top. You can identify the group while the tray is still inside. The trade-off is lost vertical space, so compare the reach benefit with a shelf riser before committing to both on the same shelf.
Use the Door for Lightweight Small Items
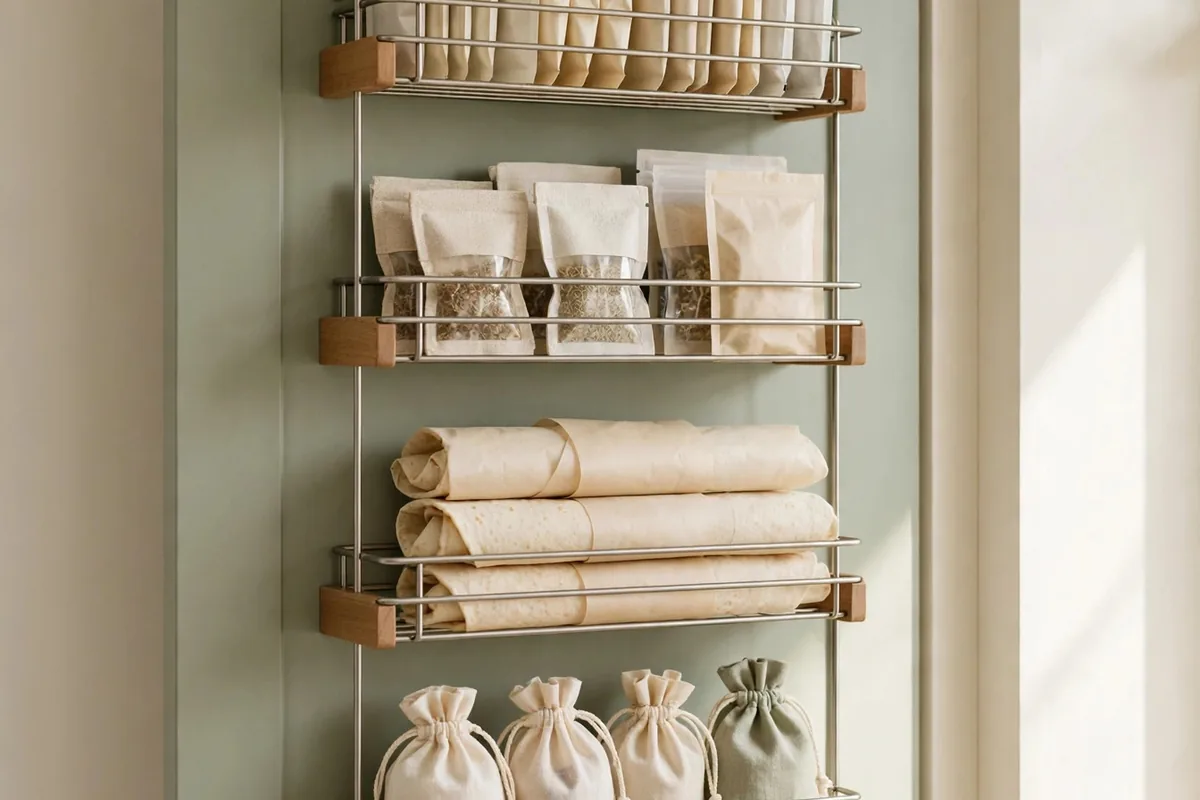
The cabinet door can hold useful overflow when its hinges and mounting points are strong enough. A slim rack or fabric pocket may work for sealed seasoning packets, tea, wraps, small baking tools, or unopened snack packs. Keep the contents light, check that the door closes without rubbing, and leave room for your hand around the cabinet opening.
Do not treat the door as a universal pantry shelf. Heavy jars, bottles, and overloaded racks can pull on hinges or make the door swing unexpectedly, and door storage will not help if the door is thin, the cabinet is already hard to close, or the rack blocks a pull-out tray. Fabric pockets suit lightweight sealed packets and wraps; potatoes and onions need a dry, ventilated location, which a door pocket may not be. Measure both the closed and open positions first.
Choose Containers That Fit the Food and Shelf
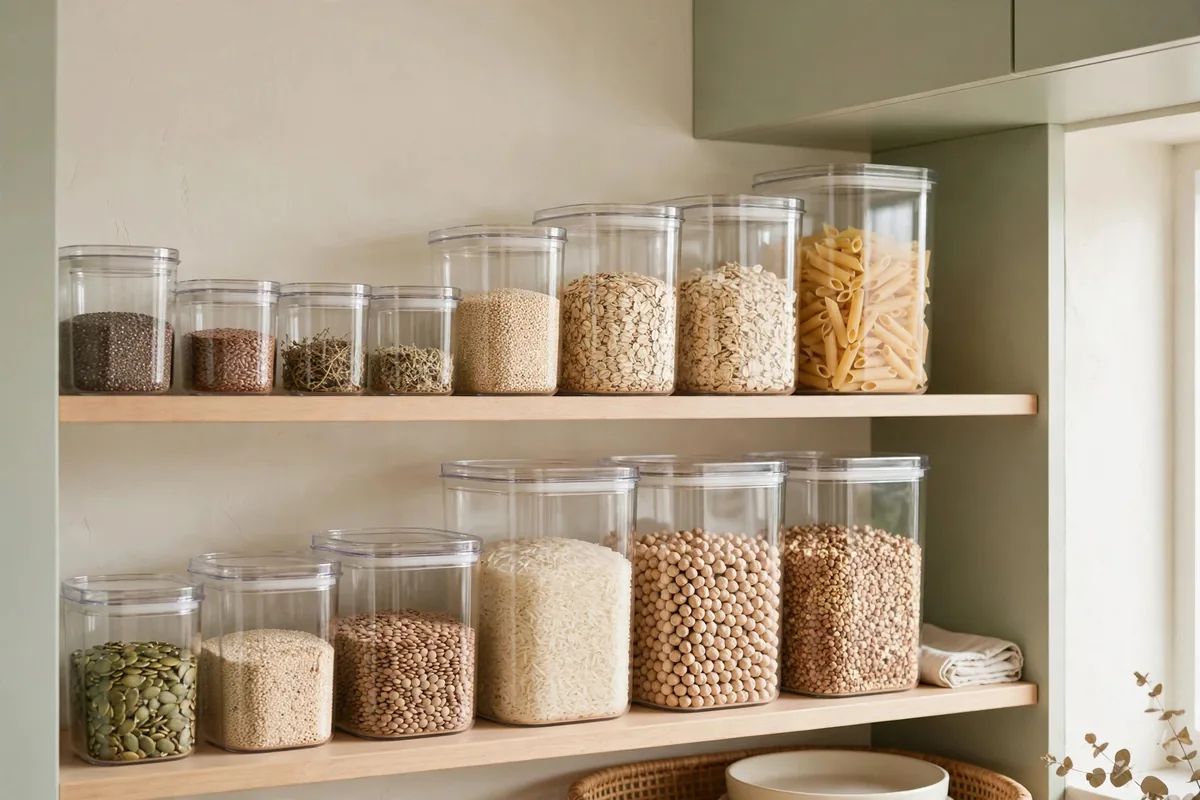
Containers should solve a specific problem. Match the container to the job:
- Clear bins corral small packets.
- Shallow trays keep loose baking items together.
- A firm-lidded container protects dry goods from spills.
Use the package label or a simple removable label so the food name and any useful date remain visible.
Do not decant every item by default. Original packaging can show preparation instructions, allergens, and expiration information more clearly. Reused jars are suitable only when clean and when the lid seals firmly. They are not automatically airtight or stackable, and heavy glass belongs on a low, stable shelf.
TinySpacer Tip: Buy one sample container before buying a set. Fill it with the food you plan to store and check the lid, grip, label area, and shelf clearance.
For small pantry cabinet storage, favor containers that are easy to lift and wash. A deep opaque bin can hide duplicates and crumbs, while a tall container may waste vertical space. Remember that foods needing refrigeration after opening do not become shelf-stable because they are placed in a tidy container.
Make a Freestanding Cabinet Work Harder
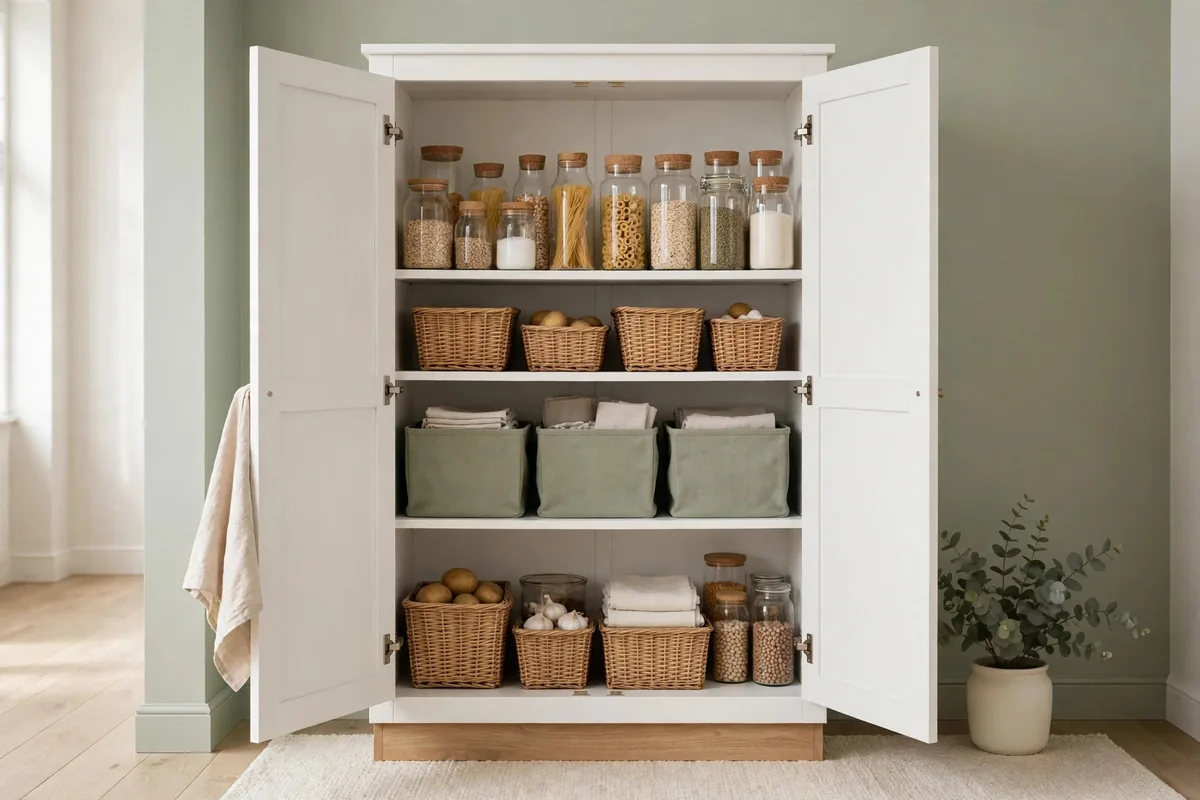
A freestanding pantry cabinet can add pantry storage in a rental, but its footprint and stability matter more than its advertised capacity. Measure the wall, baseboard, door swing, and walking clearance. Keep the cabinet level, follow its anchoring instructions, and avoid placing it where it narrows an exit or blocks a heat source.
Inside, use the same front-to-back zones as a built-in cabinet: dense cans on a low shelf, daily staples in the middle, light occasional supplies up top. If the cabinet is narrow, slim bins with handles help as long as they lift out without tipping neighboring items. When the room cannot spare floor space or the unit would be unstable, skip the extra furniture. One tray or shelf riser in an existing cabinet gives more usable storage.
Adapt When There Is No Pantry
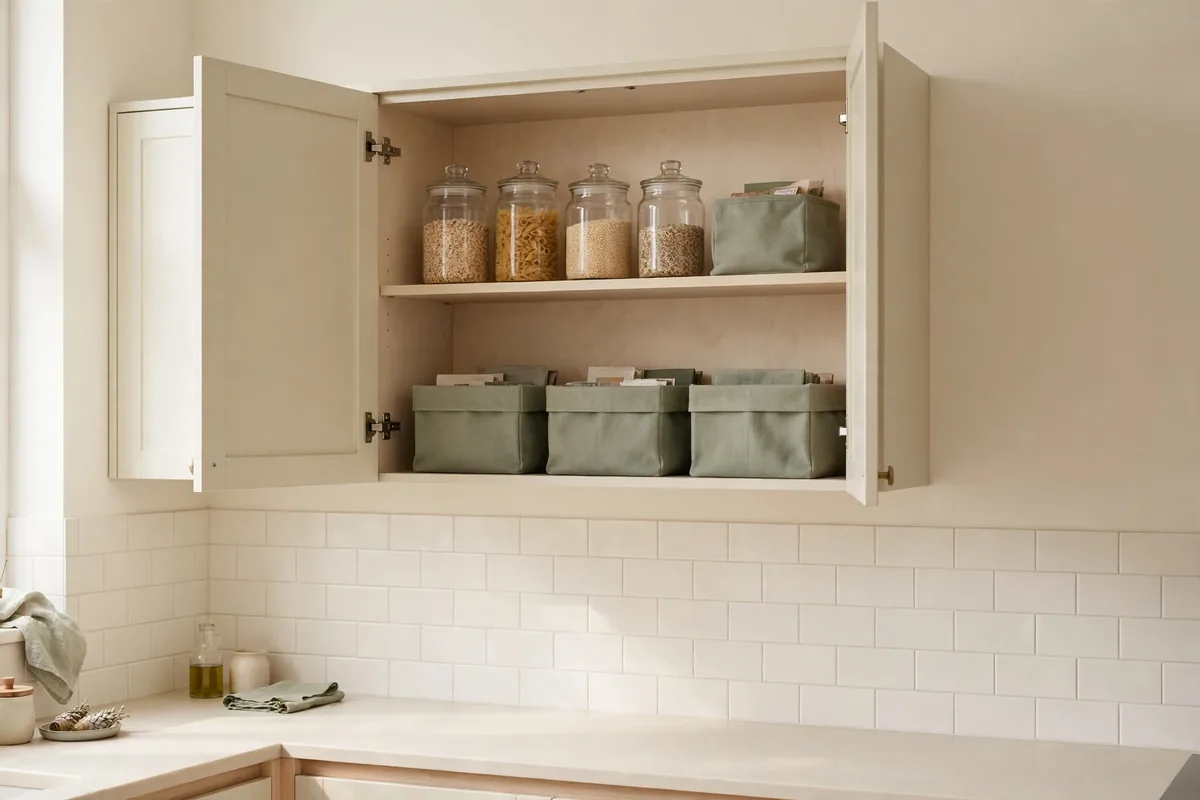
A kitchen without a pantry can still support a clear food system. Reserve one or two cabinet shelves for dry staples, use a drawer for flat packets, and keep a small basket for unopened backstock. If cabinet space is limited, a lidded, washable container on a suitable shelf can group food without adding a large piece of furniture.
Small kitchen cabinet organization no pantry works best when the locations are predictable. Keep cooking ingredients near the preparation area, snacks where they can be reached without opening several doors, and rarely used supplies higher or farther away. A narrow rolling cart can help only when it has a safe parking spot and does not obstruct movement.
Do not store food beside cleaning chemicals, under a leaking sink, or near heat and moisture. For storage guidance on particular foods, check the USDA FoodKeeper rather than relying on a generic pantry rule.
Common Mistakes
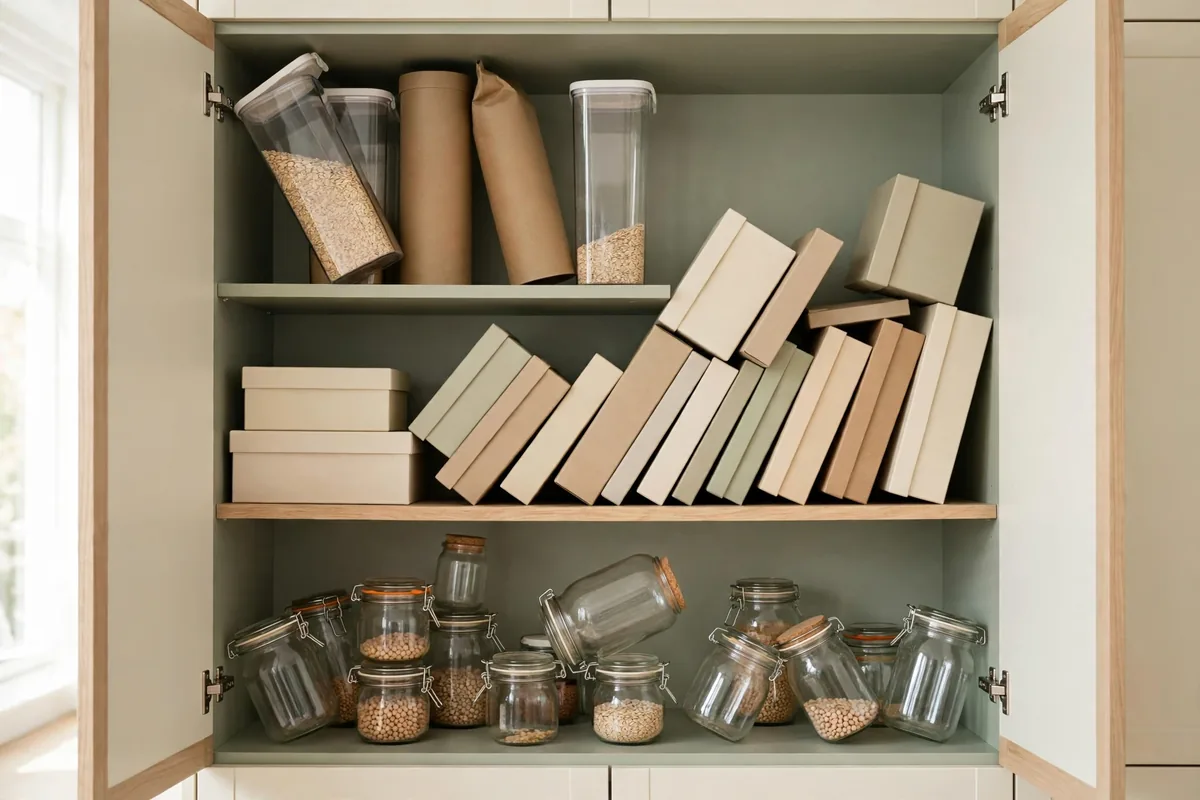
Cabinet systems rarely fail on day one. They fail three weeks later on grocery day, when the backstock bin has quietly filled with duplicates and there is nowhere to put the food you actually cook with. Keep a short inventory of staples and check it before shopping.
Bad measurements create a second failure. An organizer that fits the shelf but catches on the door frame becomes a permanent obstacle. Inaccessible storage is another warning sign. If you must unload a whole bin to reach one item, split the category or move that item to a higher-frequency zone.
Finally, avoid systems that are too hard to reset. Too many tiny containers, unmarked bins, and complicated stacking rules turn a five-minute tidy into a chore. Choose open, handled storage where possible and leave a landing space for groceries.
Where to Start
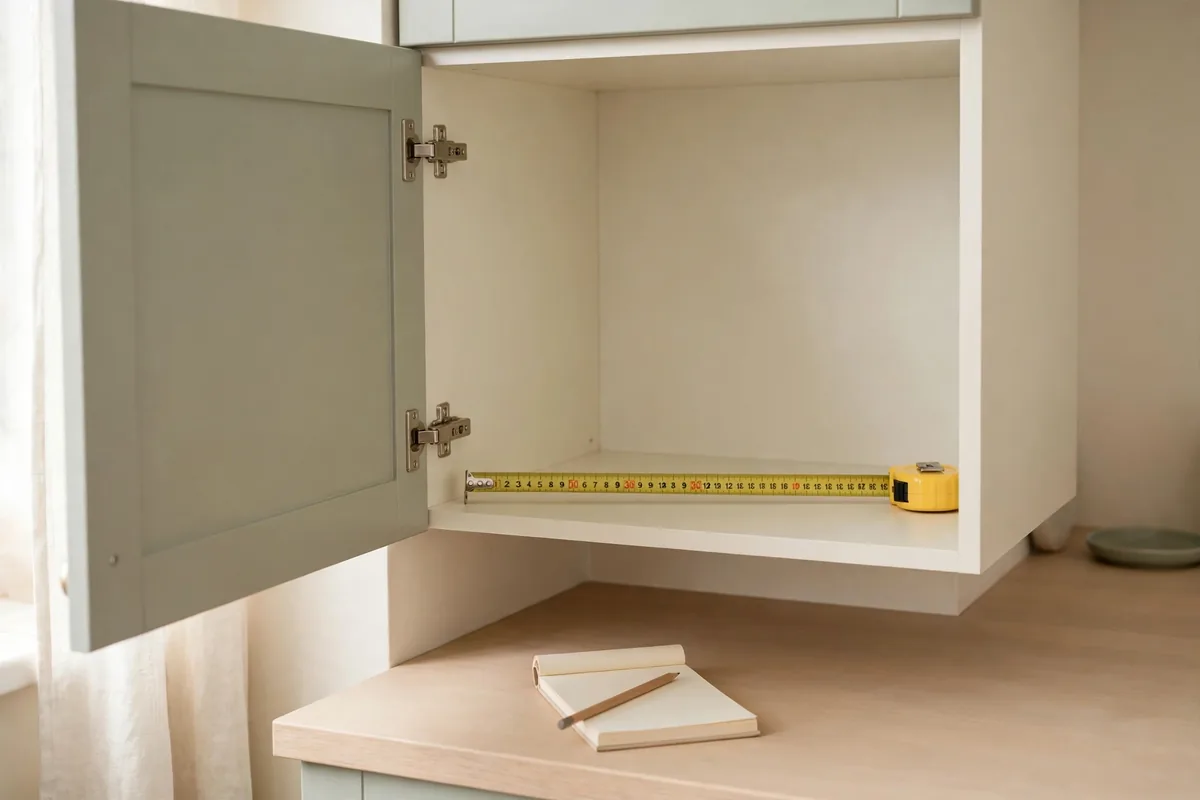
Pick the shelf you open most and start there. Set aside 20 to 30 minutes to empty it, wipe crumbs with a suitable clean cloth, check dates and package condition, and group what remains. Then measure the shelf and choose one change that addresses the biggest problem.
- Measure width, depth, height, opening, and hinge clearance.
- Remove duplicates and move older items forward.
- Assign three to five zones based on daily use.
- Test one riser, tray, or shallow bin before buying more.
- Leave a small open area for the next grocery trip.
After a week, notice what still gets buried or left on the counter. Adjust that location first. For the wider system around your cabinets, these small pantry organization ideas are the natural next step. Favor changes that make putting food away as easy as taking it out.