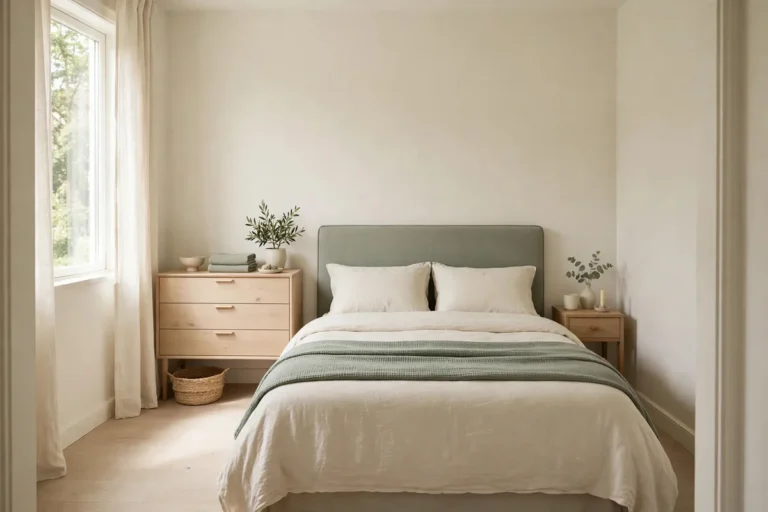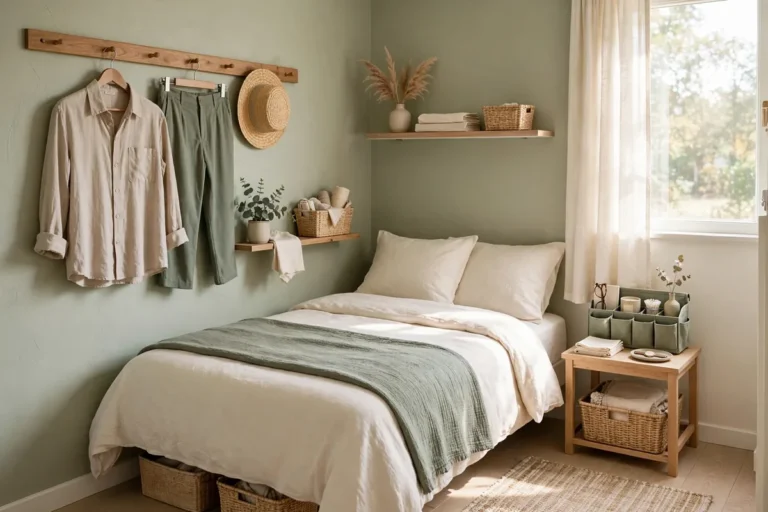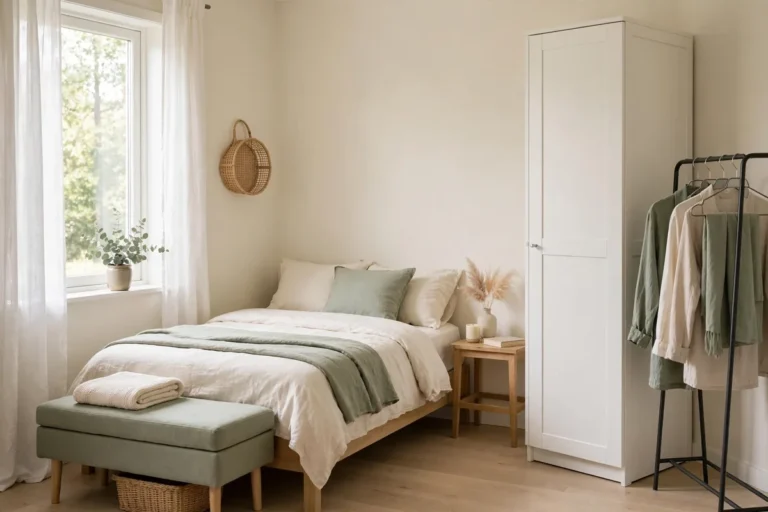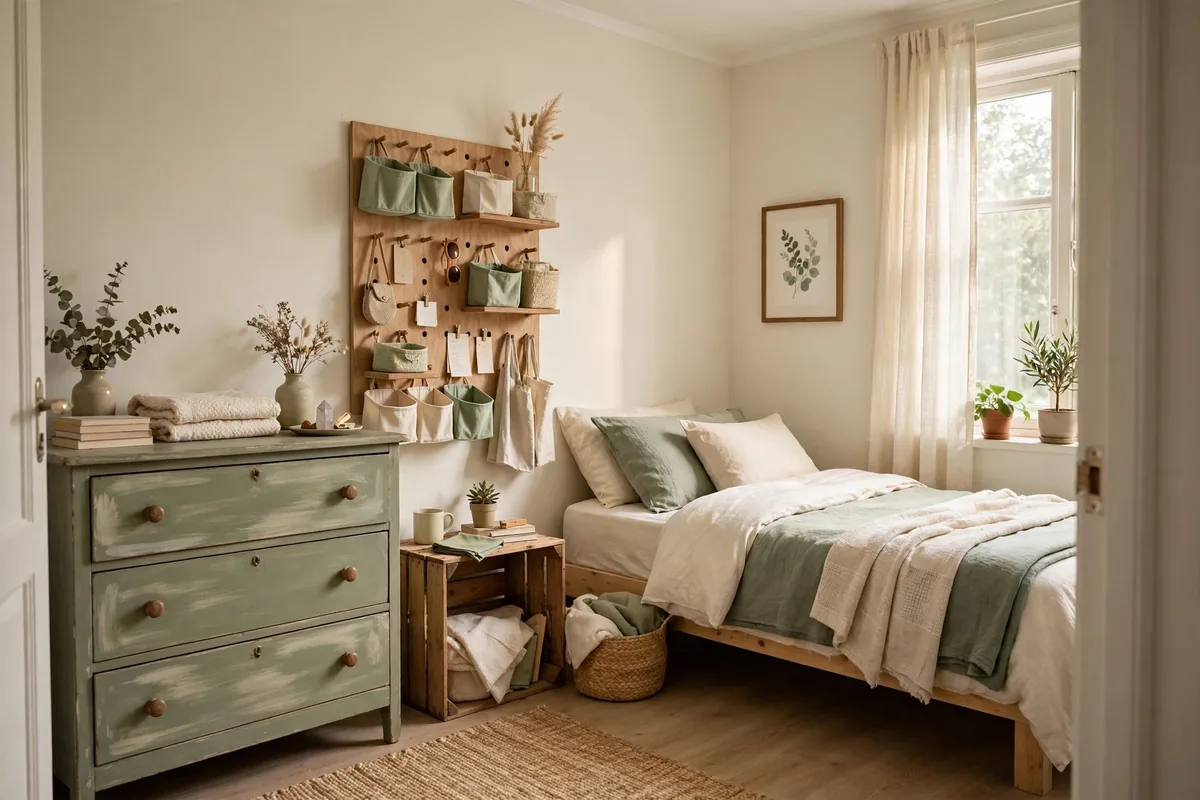
In college, my entire bedroom organization system came from a single thrift store run on a Saturday when I had about thirty dollars to my name. A basket for the closet shelf, a small mirror, a lamp with a shade I did not love, and a wooden crate that became my nightstand. None of it matched. All of it worked. That room stayed organized for two years on that haul, which taught me the lesson this whole guide is built on: budget organizing is not about cheap products, it is about spending where it counts and improvising everywhere else.
These eleven ideas organize a small bedroom for very little money: thrift flips, dollar-store finds, one-board DIY builds, and the free moves that cost nothing at all. Every idea includes a real price so you can plan the whole room, not just one corner of it.
Shop Your Home Before You Shop a Store
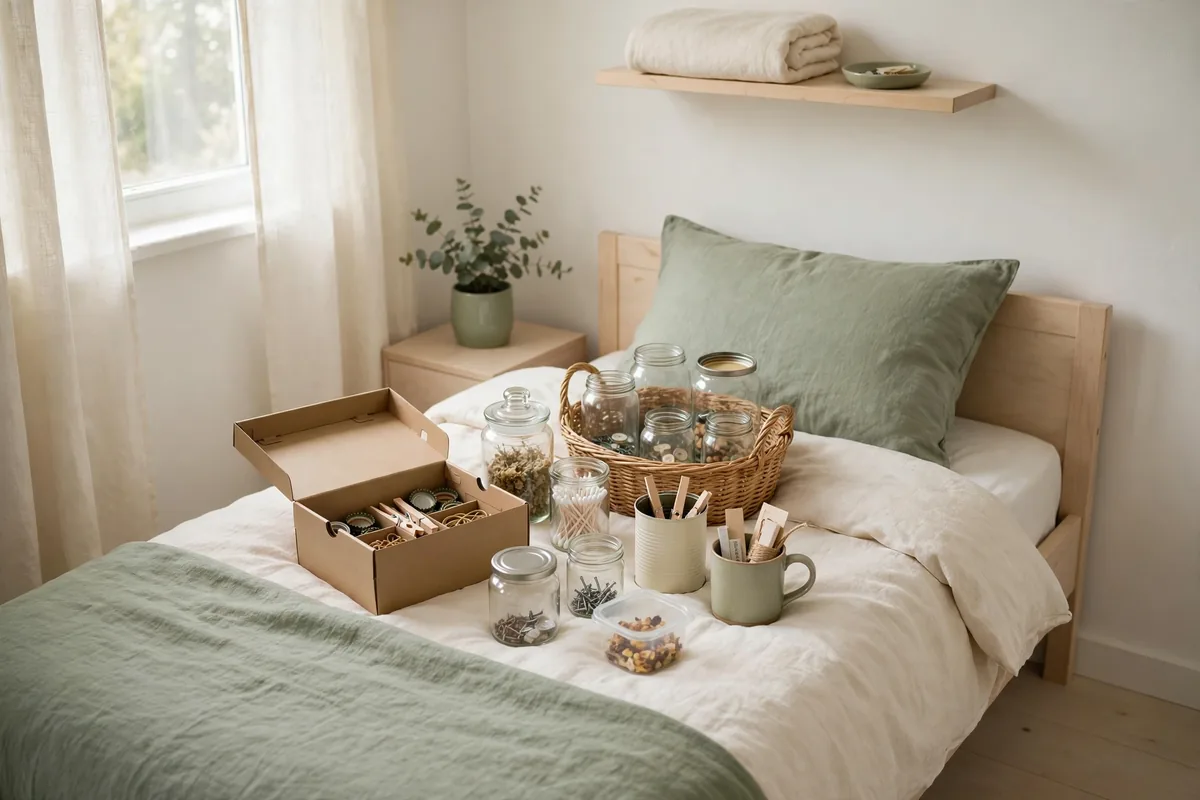
The cheapest organizer is the one you already own. Before spending anything, walk through your home with fresh eyes: the basket in the bathroom, the spare hooks in the junk drawer, the shoebox that fits the drawer perfectly, the mug that could hold pens on the dresser. Small bedrooms are small enough that one repurposed container per zone covers most of the room.
This costs nothing and it prevents the classic budget mistake: buying organizers for stuff you were about to donate. Purge first, then shop your home, then make a list of the actual gaps. The list is usually shorter than you expect, which is the whole point.
Hit the Thrift Store With a List
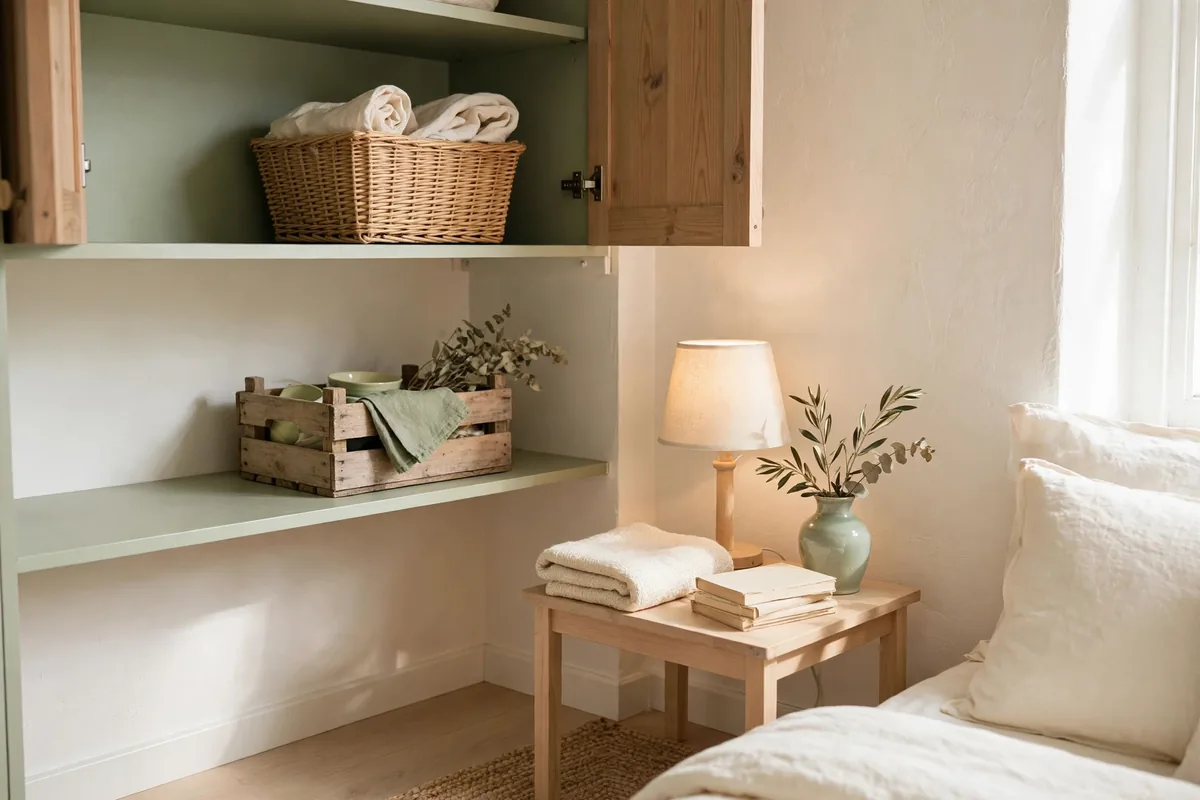
Thrift stores are the best source of bedroom storage on a budget, but only if you walk in with a list. Baskets ($2 to $5), small shelves, picture frames, wooden crates, and solid-wood small furniture all show up regularly for a few dollars each. Without a list, you walk out with a ceramic rooster and no storage.
Go on weekday mornings if you can, when new donations hit the floor. Check the basket and container aisle first, then small furniture. While you are in the furniture aisle, look for a cheap wardrobe or garment rack too: with no built-in closet, these bedroom storage ideas without a closet are the budget answer. Test drawers and hinges before you buy, and sniff upholstered pieces. A $5 basket that holds the closet shelf together beats a $20 set of new bins that does the same job.
Set a per-item ceiling before you go. Mine was five dollars in college, and it forced creativity instead of compromise. The ceiling is what keeps a thrift run a budget move instead of a shopping trip.
Stick to hard goods and washable fabrics. Baskets, crates, shelves, solid wood, and metal are all safe bets. Pass on used mattresses, pillows, and anything upholstered that you cannot fully clean, and give soft items a hot wash before they enter the bedroom.
Build a Headboard Shelf From One Board
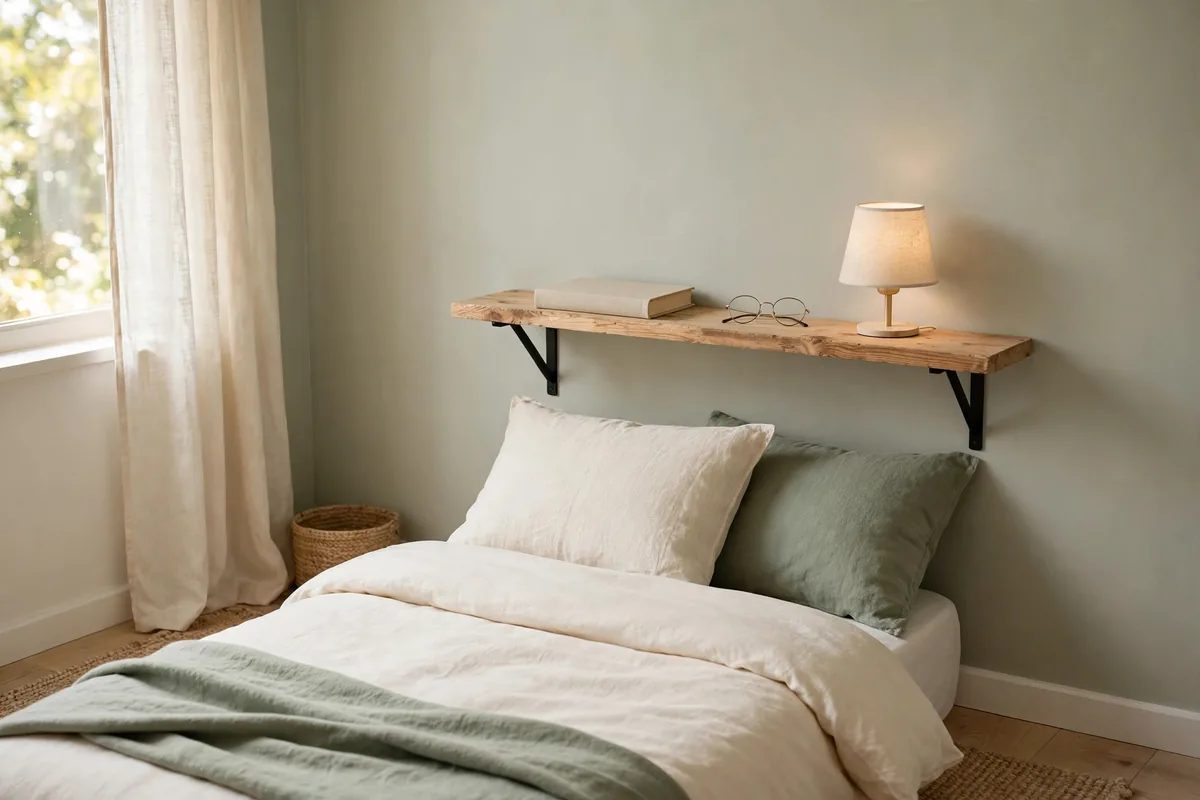
A headboard with a shelf ledge replaces a nightstand, which in a small bedroom saves both money and floor space. One pine board ($8 to $12), two brackets ($5), and a free afternoon give you a ledge behind the bed that holds a book, a phone, glasses, and a small lamp. Sand it, stain it or paint it white, and it looks built-in.
Mount the board at mattress height plus a few inches, and keep the depth under eight inches so pillows do not knock things off. If you rent, use heavy-duty adhesive brackets or a freestanding design that wedges behind the bed frame. No holes, same shelf.
This is the kind of small DIY that pays off fastest: one simple change, like a headboard upgrade or a fresh coat of paint, that transforms the room for less than dinner out. Worth keeping in mind for the next project after this one.
Turn Crates Into a Nightstand
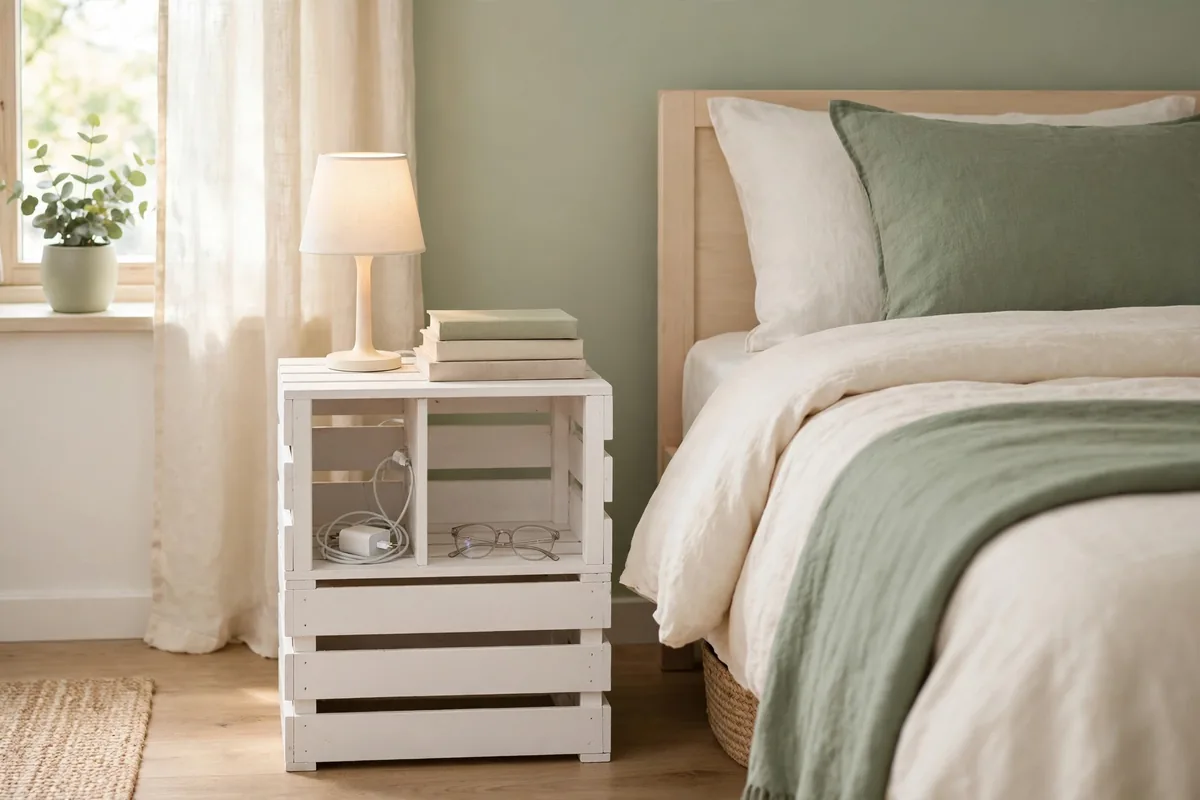
Wooden crates ($5 to $10 at thrift stores, craft stores, or hardware stores) stack into a nightstand with cubbies. Two crates stacked vertically hold a book, a charger, and the glasses; the top is your lamp surface. Sand the rough edges, and stack them with the openings facing out.
Secure stacked crates to each other and to the wall with a couple of L-brackets ($3). A wobbling crate tower next to the bed is a 3 a.m. disaster waiting to happen. Painted white or stained dark, crates stop looking like produce boxes and start looking like intentional furniture.
Decant Dollar-Store Bins and Label Everything
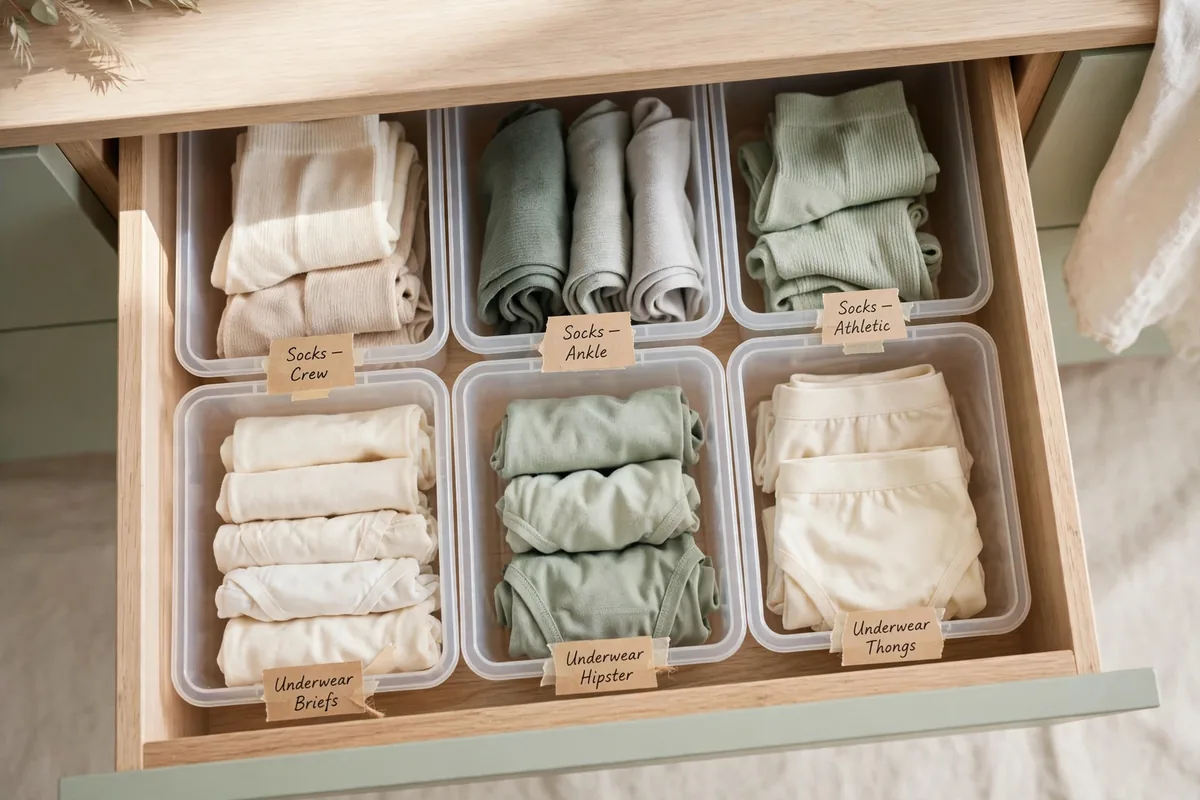
Dollar-store bins work fine; they just look like dollar-store bins until you decant and label them. Buy one style in multiples ($1.25 each), peel the stickers, and label every bin with painter’s tape and a marker. Uniform bins with clean labels read as a system instead of a pile of cheap plastic.
Use them where they shine: inside drawers as dividers, on closet shelves for categories, under the bed for the rarely touched stuff. Skip them where they do not: as open display storage, where the thin plastic always looks tired. Closed doors and drawers are the dollar bin’s natural habitat.
One honest limit: dollar-store adhesive labels fall off within months. Painter’s tape and a marker outlast them by years, and the tape peels off cleanly when the bin’s job changes.
Make a Pegboard Organizer for Under $20
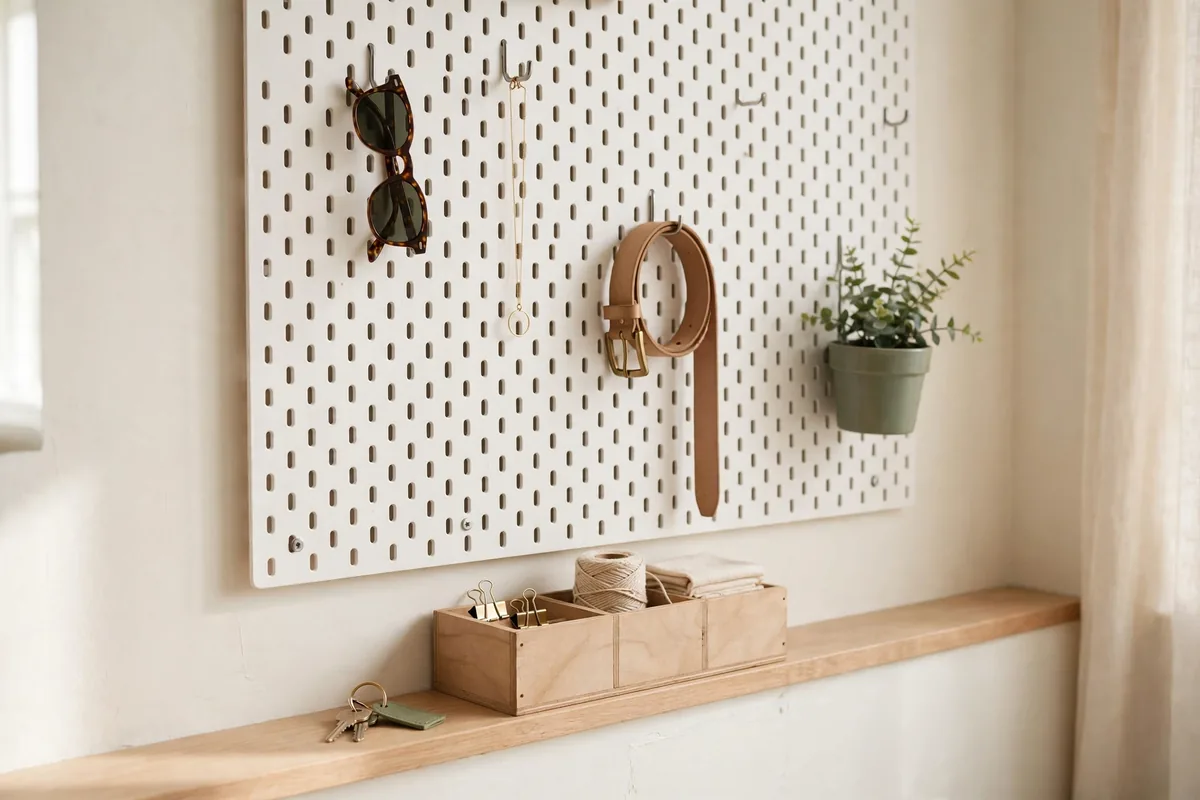
A two-by-four-foot pegboard panel ($10 to $12) plus a bag of hooks ($5) is the cheapest wall storage that actually works. Mount it inside the closet door or on the wall beside the dresser, and hang jewelry, sunglasses, belts, tomorrow’s outfit, and the headphones. Everything visible, nothing in a pile.
Paint the pegboard before you hang it. White disappears into the wall; a bold color turns it into decor. A small ledge at the bottom of the panel ($3 shelf board) catches the sunglasses and keys that otherwise end up on the dresser.
Renters can skip the screws entirely. Heavy-duty adhesive strips hold a loaded pegboard on a smooth wall, and they remove cleanly at move-out. Test one strip’s hold overnight before you hang the whole panel.
Sew (or No-Sew) Your Own Storage Bags
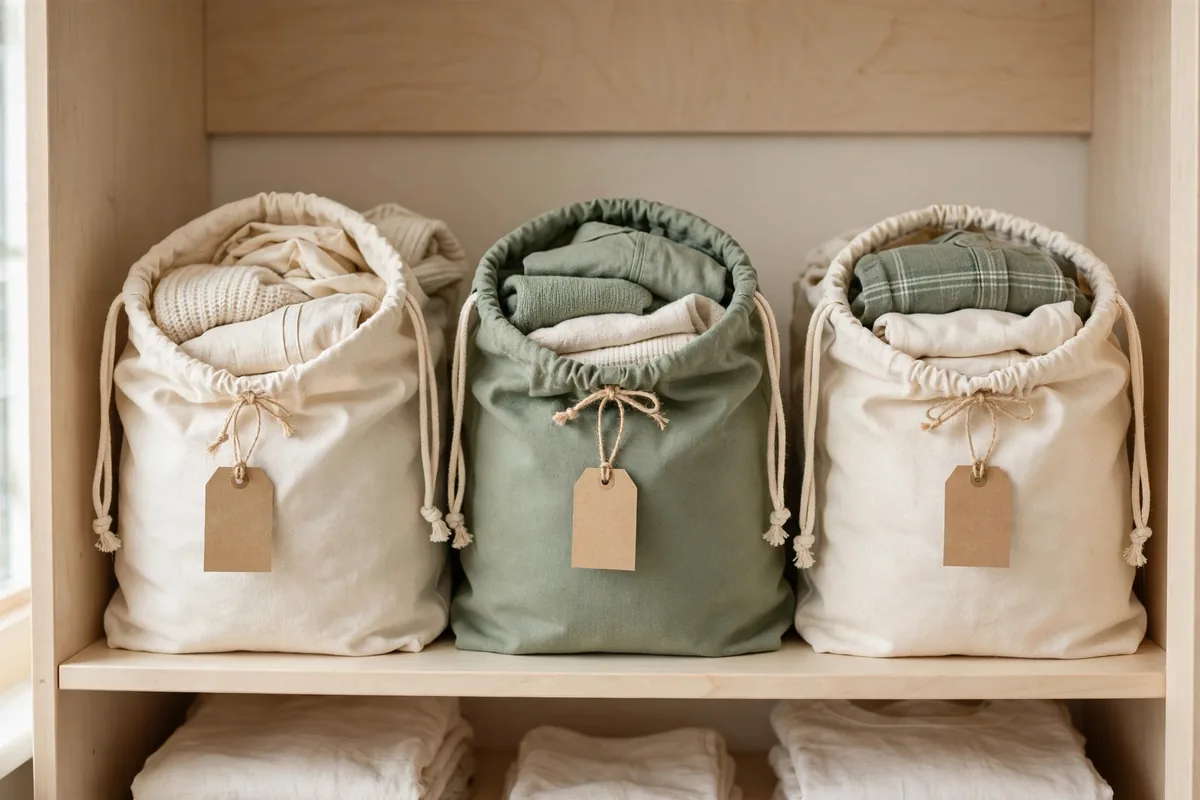
Fabric storage bags cost $8 to $15 each in stores and about $2 in materials. A yard of canvas or a thrifted bedsheet becomes four or five drawstring bags that hold off-season clothes, shoes, or the bedding overflow on the closet’s top shelf. If you can sew a straight line, this is a one-evening project.
No sewing machine? Fabric glue or iron-on hem tape ($4) makes a perfectly good no-sew bag, and a pillowcase with a ribbon tied around the top works in a pinch. Label each bag with a luggage tag so you are not opening all five to find the winter scarves.
Flip a Thrifted Dresser in a Weekend
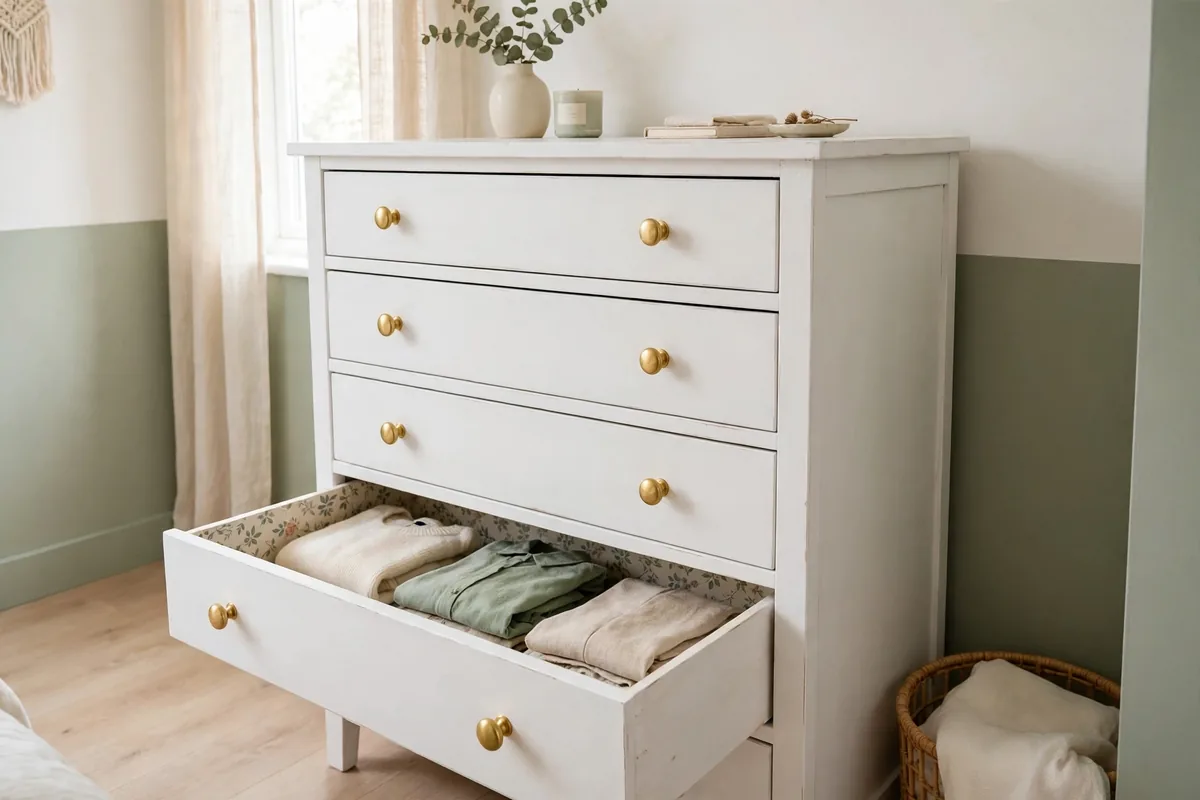
A solid-wood thrifted dresser ($20 to $40) plus a quart of paint ($15) and new knobs ($10 for a set) becomes the best-looking piece in the room. Sand lightly, paint two coats, swap the hardware, and a dresser that looked tired in the store looks intentional in your bedroom. Total cost stays under $70 for furniture that would cost $200 new.
Check the bones before you buy: drawers that slide, a frame that does not wobble, solid wood rather than particleboard with peeling veneer. Cosmetic ugliness is fixable in a weekend. Structural wobble is a project you will regret.
While the paint dries, line the drawers with free wrapping paper or leftover wallpaper samples. It costs nothing, it protects the paint, and opening a drawer that looks finished changes how the whole piece feels every single day.
Pick the paint color with the small room in mind. White, cream, or the same color as the walls makes the dresser recede instead of looming. Dark colors look dramatic in the store and heavy in a ten-by-twelve room.
Use Tension Rods as Drawer Dividers
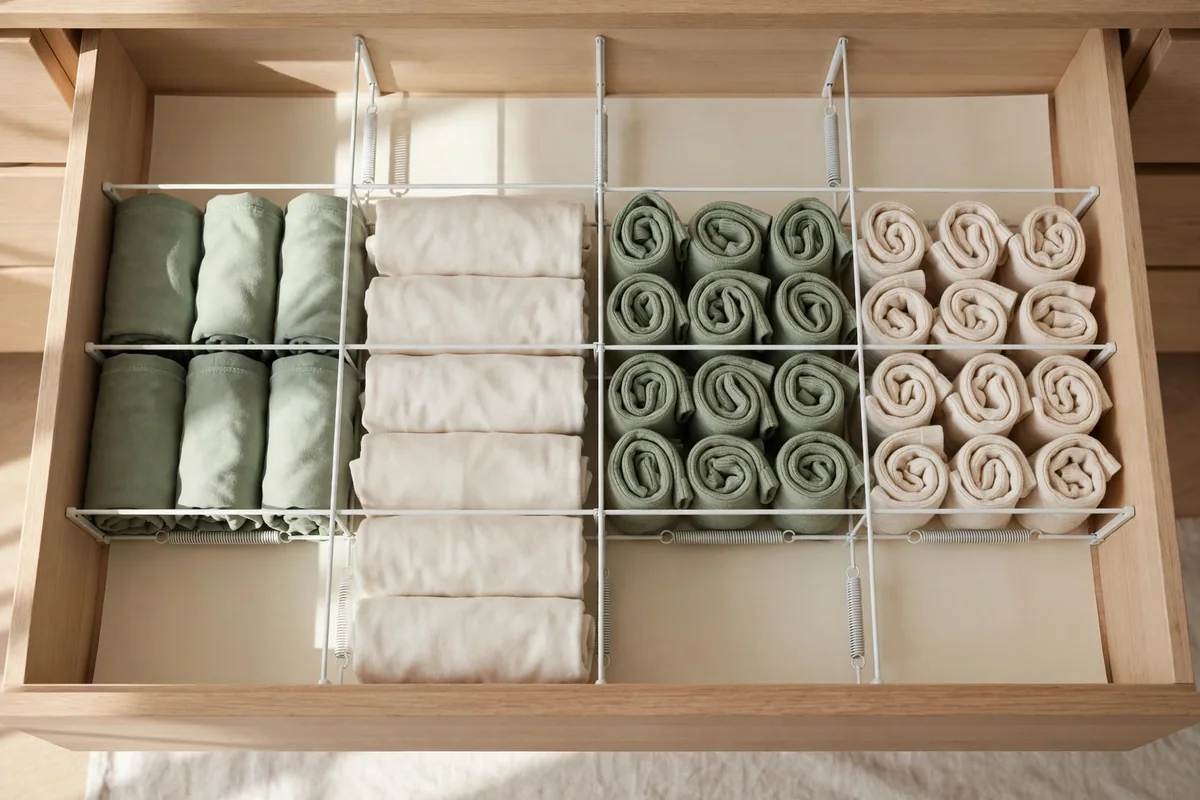
Spring tension rods ($3 to $5 each) are the cheapest drawer dividers ever made. Wedge two or three across a deep dresser drawer to create sections for rolled tees, underwear, or socks. They adjust to any drawer, need no tools, and move when your system changes.
They work vertically too. A tension rod across the inside of a cabinet or under the sink (if your bedroom has an attached bath nook) creates a second tier for stacking. Anywhere you have two walls facing each other and a gap between them, a tension rod is a shelf waiting to happen.
Hang Hooks on Every Door for Free Vertical Storage
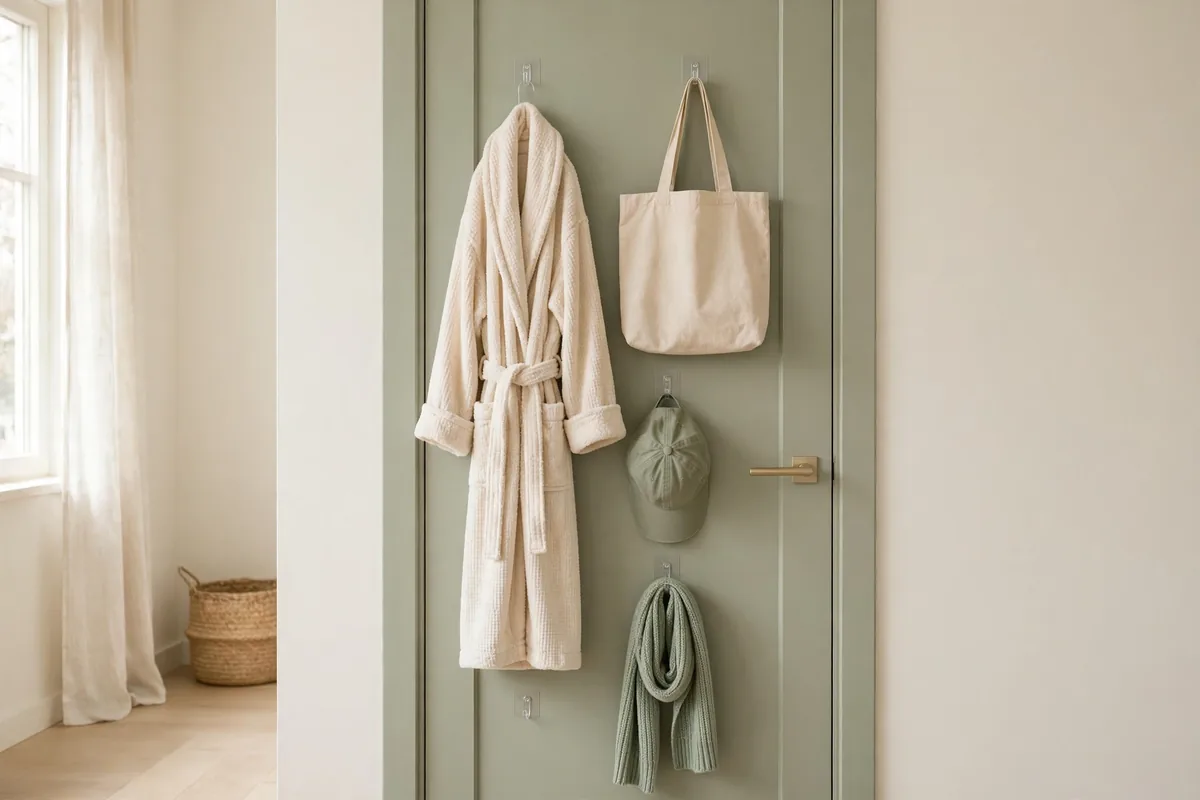
Adhesive hooks ($5 for a large pack) turn every door and smooth wall into storage. Inside the closet door for accessories, on the bedroom door for tomorrow’s outfit and the bathrobe, on the side of the dresser for the gym bag. A dozen hooks placed with intention replace a whole organizer.
Place them where the habit already happens. Hooks by the door catch the jacket you actually drop there; hooks across the room become decoration. Watch yourself for a week, then put hooks where your stuff lands. The system follows the behavior, not the other way around.
Buy the weight-rated strips and clean the surface with rubbing alcohol first. Most adhesive hook failures are dirty-wall failures, not hook failures. Done right, they hold for years and remove without a mark.
For heavy daily items like bathrobes and backpacks, prefer over-the-door hooks to adhesive ones. Adhesive hooks are perfect for the light stuff; the things you grab with force every morning deserve a hook that cannot peel.
The $75 Room Reset: A Sample Budget
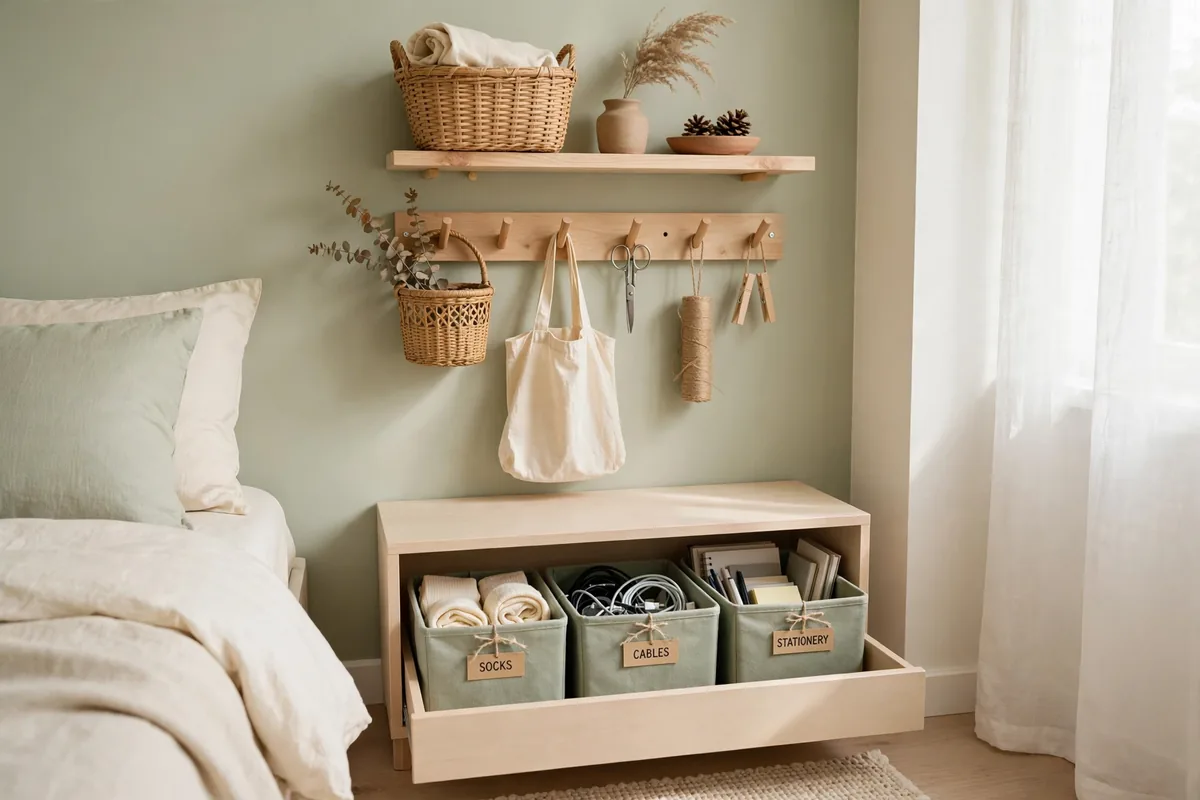
Here is what a full small-bedroom organization reset costs when you spend with intention: thrifted baskets and crates ($15), a pegboard with hooks ($18), a pack of vacuum bags ($14), painter’s tape and labels ($5), adhesive hooks ($5), and tension rods for the drawers ($9). That is $66, with room left for the lamp shade you actually like.
The order matters more than the total. Purge first (free), shop your home (free), thrift with a list ($15), then fill only the remaining gaps with new purchases. Every dollar goes to a measured gap instead of a hopeful guess.
For the bigger picture beyond storage, the layout and decorating side matters too: floating furniture, light colors, and arrangement tricks that make the organized room feel bigger. Organization gets you the space; the layout makes it feel like more.
This Weekend: The Thrift Run
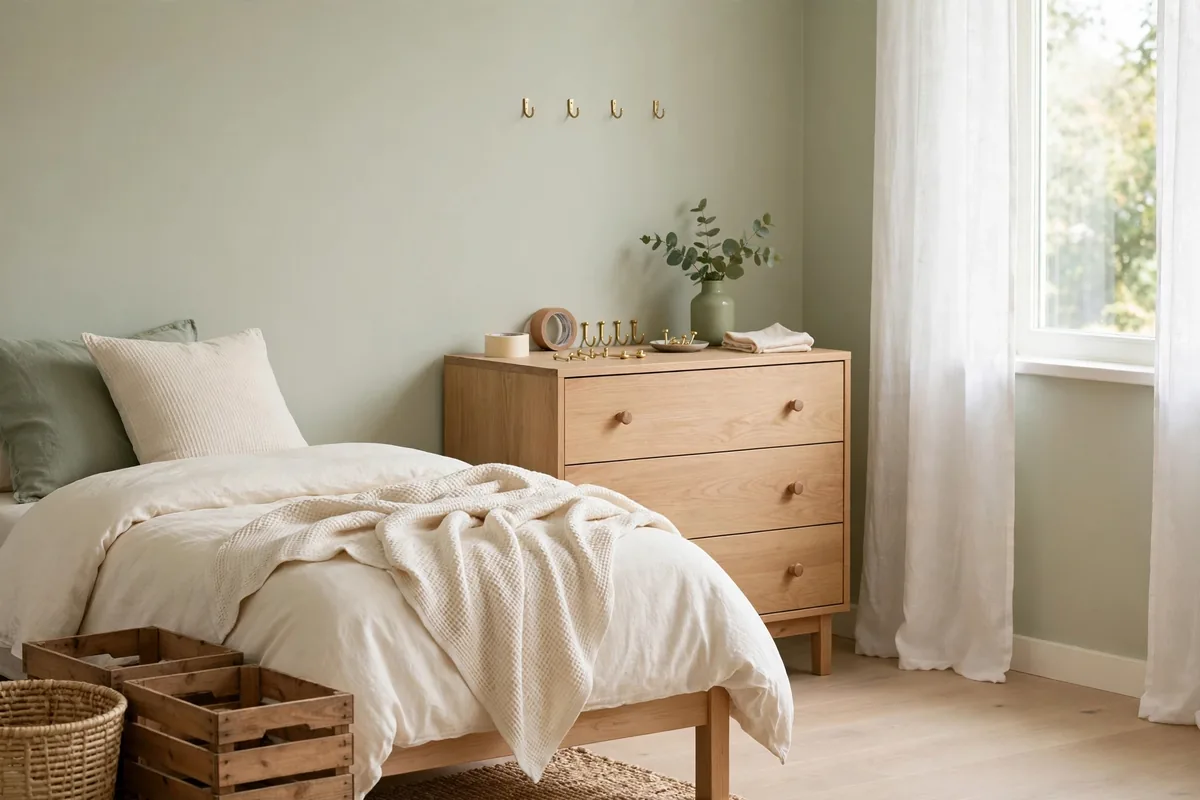
Saturday morning, list in hand, thirty dollars in your pocket. Hit the thrift store for baskets, crates, and one piece of small furniture with good bones. Sunday, purge the room, shop your home for the free containers, and install the hooks and pegboard. By Sunday night the room holds only what fits in systems you built yourself, and the whole project cost less than a single new dresser. That is the budget move: not spending less on the same stuff, but building a room that never needed the expensive version.