I used to think a pantry makeover meant ripping out shelves and starting from scratch. Then I priced it out — custom shelving, a contractor, two weekends of dust — and closed the spreadsheet. My pantry was a narrow cabinet with wire shelves and a single sad bulb, and it stayed that way for two years because I assumed anything better would cost a fortune.
Turns out, the makeovers that actually transform a small pantry are the cheap, cosmetic ones. Paint, peel-and-stick wallpaper, better lighting, and matching containers do 90 percent of the work for a fraction of a rebuild. Every idea below is weekend-friendly, most are renter-friendly, and none require power tools beyond a drill. Here are the small pantry makeover ideas I’d do again in a heartbeat, in the order I’d do them.
Paint the Back Wall a Rich Accent Color
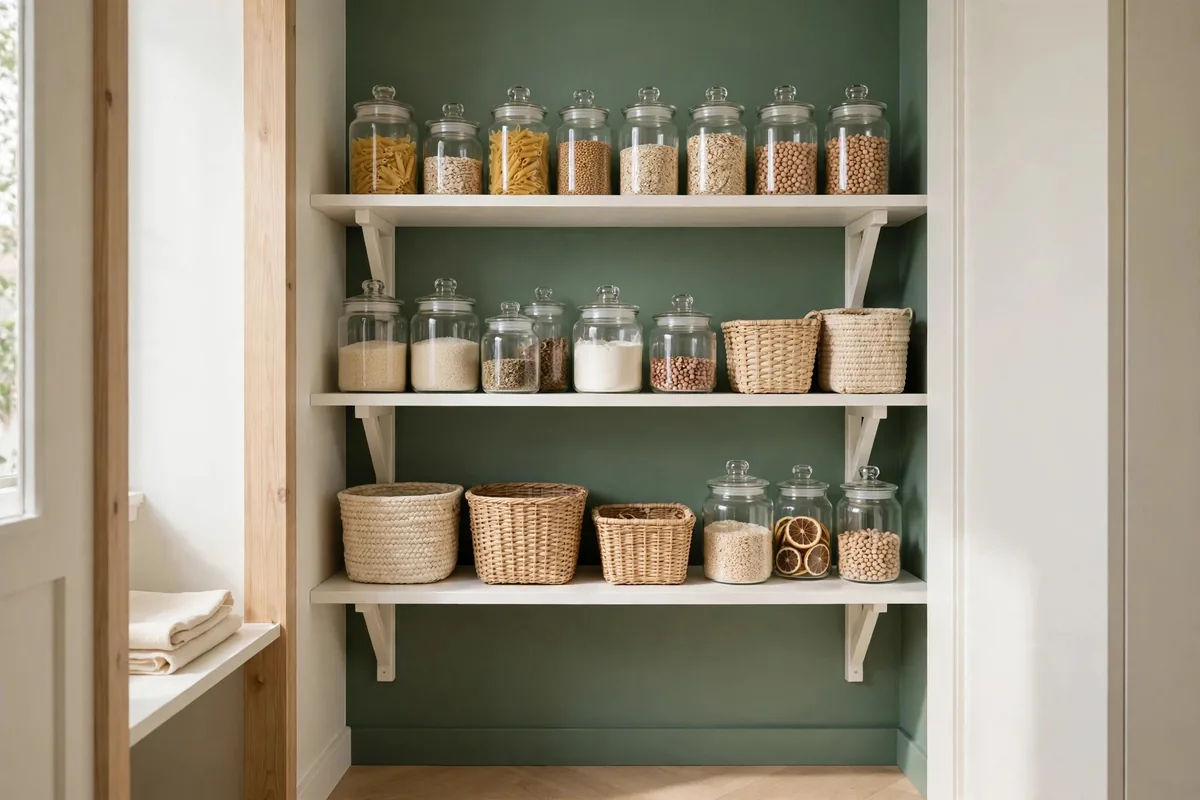
One quart of paint is the highest-impact $15 you’ll spend on your pantry. Pull everything off the shelves, tape the edges, and paint just the back wall in a deep, saturated color: forest green, navy, or warm charcoal. The shelves themselves stay white, which makes the contrast pop and food labels easier to read.
Dark walls recede visually, which sounds wrong for a small space, but in a pantry it creates depth instead of a flat white box. It also hides scuffs and stains far better than white. Use a satin or semi-gloss finish so you can wipe it down; flat paint in a food zone is a mistake you’ll regret within a month.
I did this on a Saturday morning and the “after” genuinely looked like a different room. If you rent, check whether your landlord allows paint. Many do if you return it to white, and a single accent wall takes one coat to cover back.
Not sure which color to commit to? Hold paint swatches against your most-used items (olive oil bottles, cereal boxes, spice jars) and pick the shade that makes them look best. Warm woods love deep green; white shelving pops against navy. When in doubt, go one shade darker than you think. Small spaces can handle drama.
Peel-and-Stick Wallpaper: the Easiest Small Pantry Makeover Win
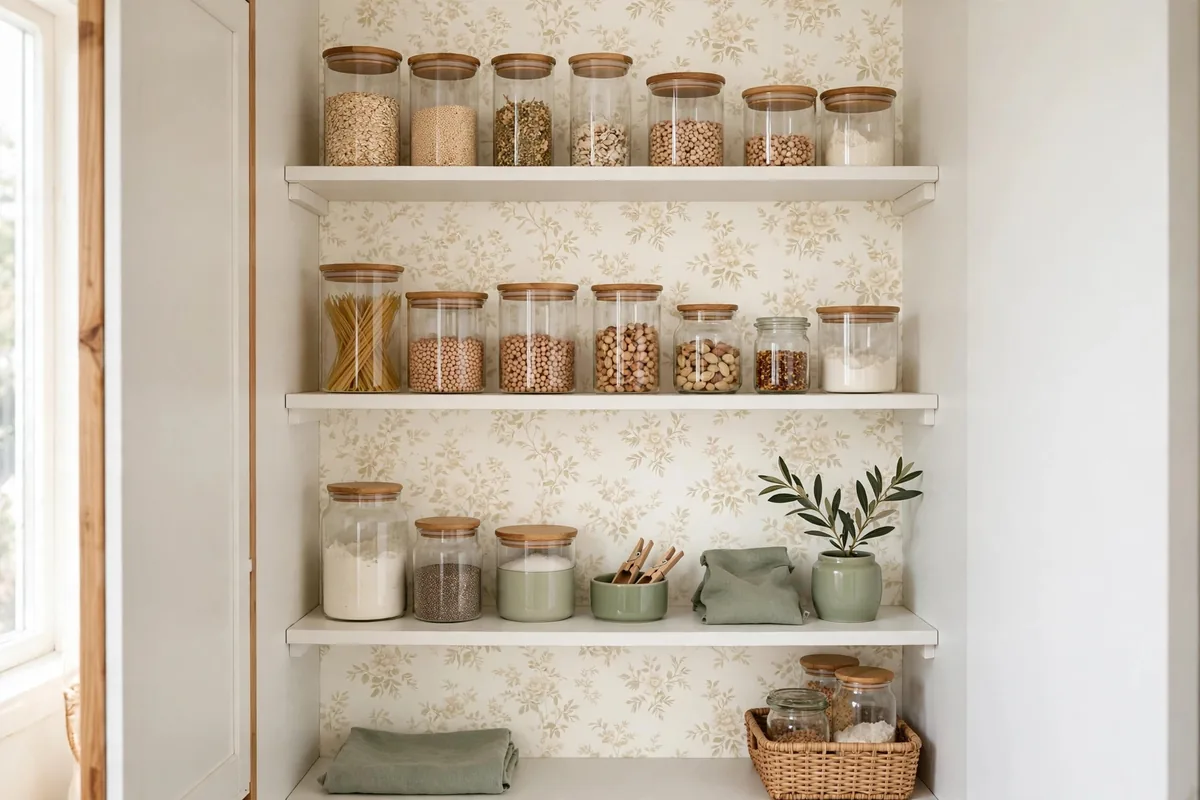
If paint feels permanent, peel-and-stick wallpaper is the renter’s answer. Measure the back wall, order two rolls of a small-scale pattern (tiny florals, subtle stripes, or a faux shiplap), and apply it panel by panel with a smoothing tool. The whole job takes about an hour.
Stick to small patterns. Large prints overwhelm a narrow pantry and fight with the visual noise of food packaging. A soft, light background with a delicate pattern photographs beautifully too, which matters if you ever want to pin the result.
Start applying from the top and work down, smoothing as you go. Gravity is not your friend with a full unrolled panel. If a seam won’t lie flat, peel it back and re-stick rather than forcing it; the adhesive is forgiving for the first few minutes. Trim excess with a sharp utility knife and a straightedge for clean edges.
Light It Right: a Small Pantry Makeover That Costs Under $25
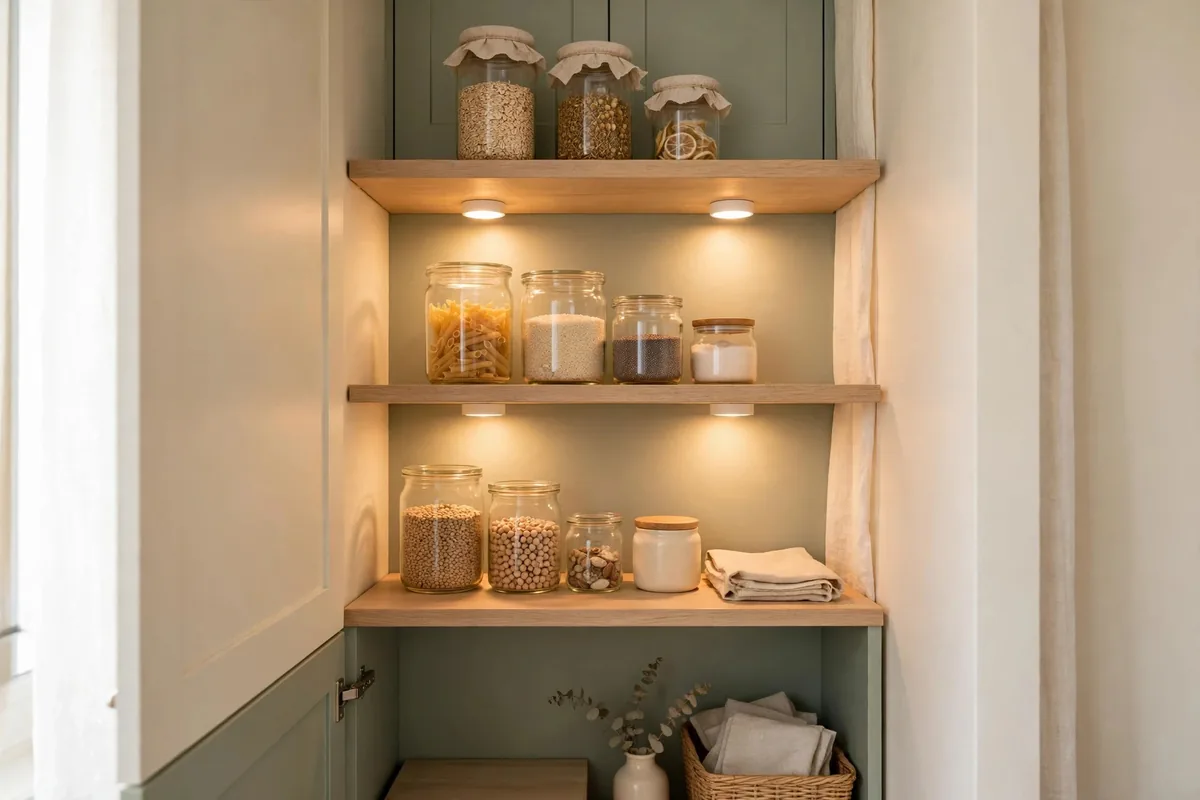
Most pantries have one harsh overhead bulb that casts shadows exactly where you need to see. A three-pack of battery-powered LED puck lights with a remote costs under $25 and changes everything. Stick them under each shelf with the included adhesive, and suddenly every jar is visible.
Choose warm white (2700–3000K). Cool light makes food look clinical and the space feel like a laboratory. Warm light makes wood shelves glow and turns the pantry into somewhere you don’t mind lingering. Motion-sensor pucks cost a little more and switch on when the door opens.
Decant the Chaos Into Matching Jars
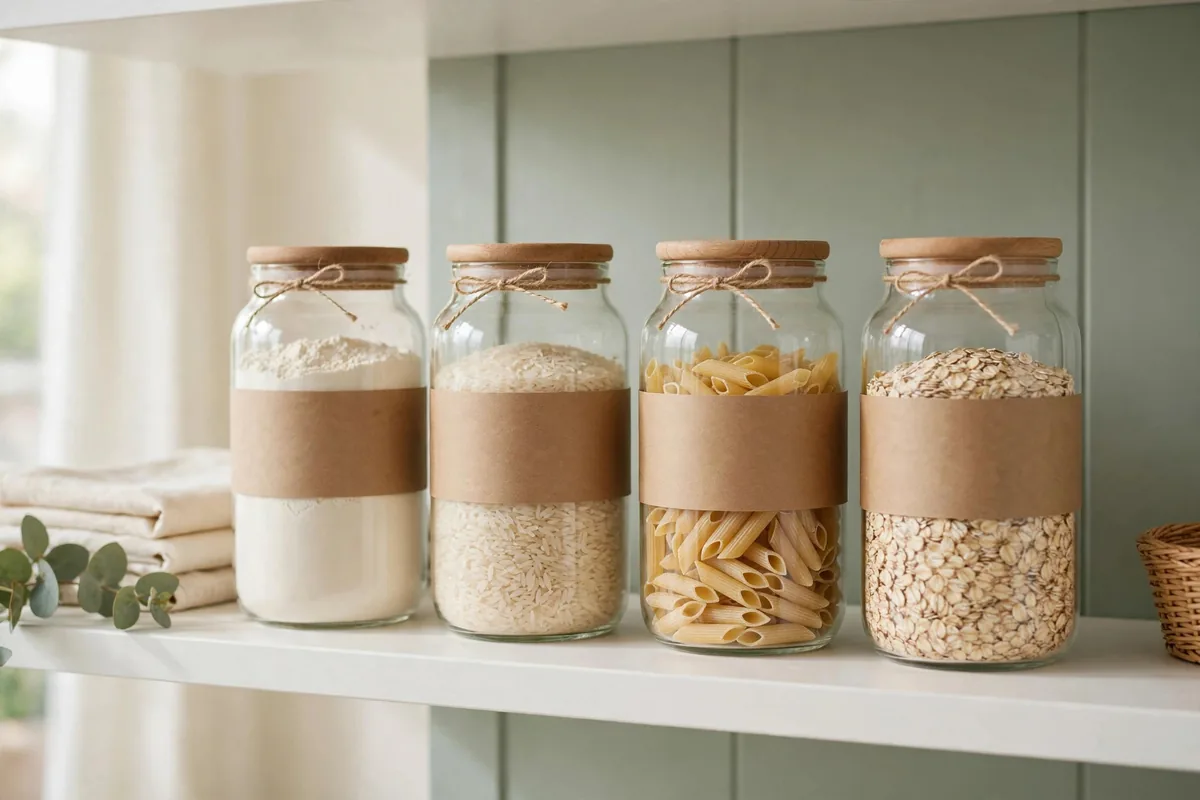
Nothing says “makeover” faster than visual uniformity. Those half-empty cereal boxes, crinkly chip bags, and mismatched pasta boxes are 80 percent of pantry visual clutter. Decant dry goods (flour, rice, pasta, oats, snacks) into matching clear jars or canisters with simple labels.
You don’t need a $200 container set. Start with a 12-pack of uniform glass jars with bamboo lids and decant the worst offenders first. Square or straight-sided jars waste less shelf space than round ones. Add a label maker or simple kraft labels so everyone in the house knows what goes where.
This is also the step where you finally throw out the expired stuff hiding at the back. Decanting forces you to touch everything, which is a built-in decluttering session.
For labels, keep it simple and consistent: contents on the front, and the expiry date on the bottom in pencil. Chalk labels look charming but smudge; a basic label maker wins on durability. Whatever system you choose, use it on every jar. Half-labeled shelves look worse than none at all.
Hang a $15 Over-the-Door Rack
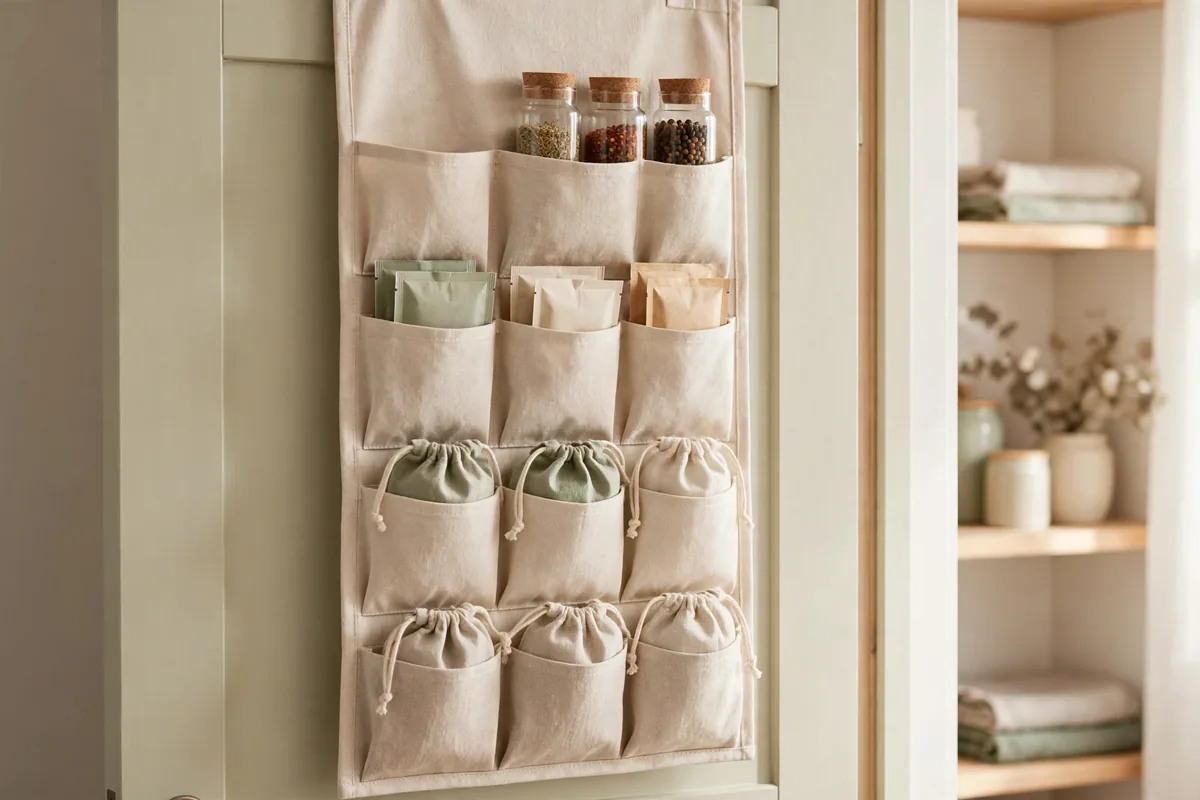
The inside of the pantry door is free real estate most people ignore. A wire over-the-door rack — no screws, no damage — instantly adds the equivalent of an extra shelf. Use it for spices, small cans, packets, and oils you reach for daily.
Measure your door’s thickness and clearance before buying; some racks rattle on hollow doors or block the door from closing fully. Look for one with adjustable baskets so tall bottles fit. This single addition took my most-used items off the main shelves and freed a full shelf for bulk storage.
Fake a Tile Floor With Peel-and-Stick
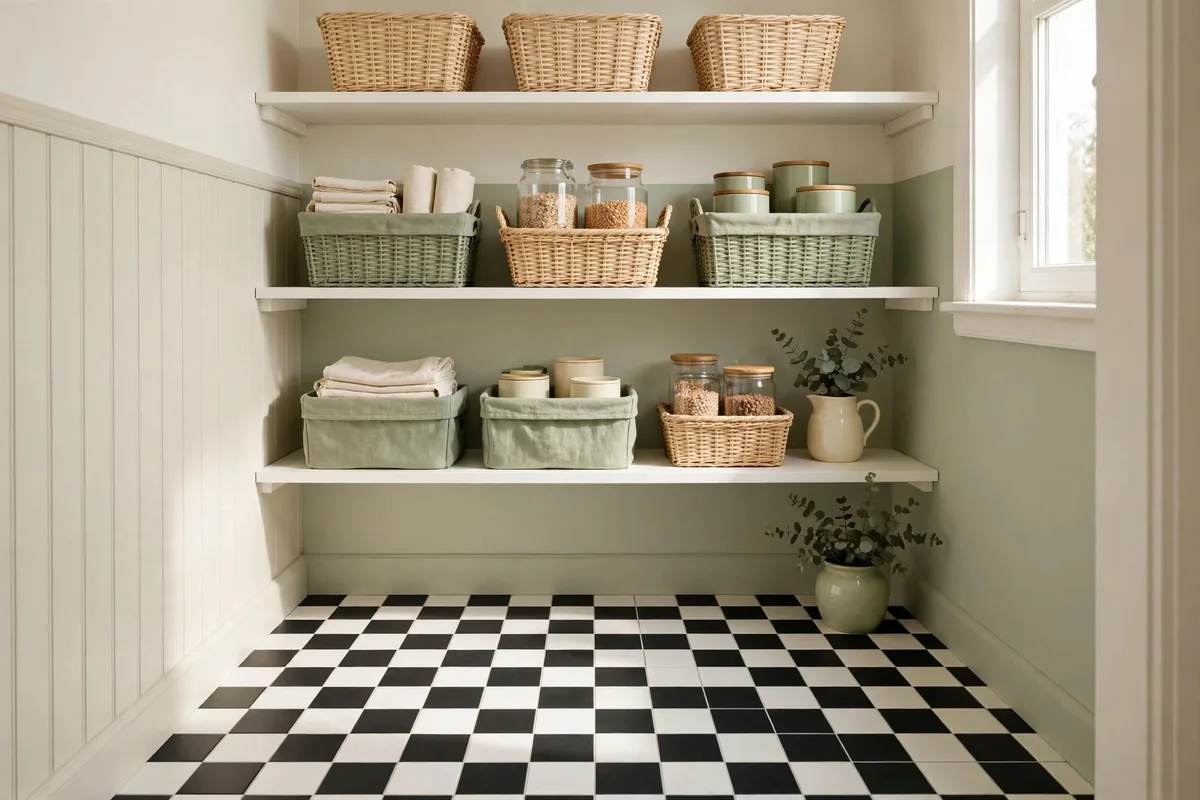
Pantry floors take a beating: flour dust, drips, scuffed linoleum from 1998. Peel-and-stick vinyl tiles cost about $1 per square foot and lay directly over the old floor. A typical small pantry needs one box and an afternoon.
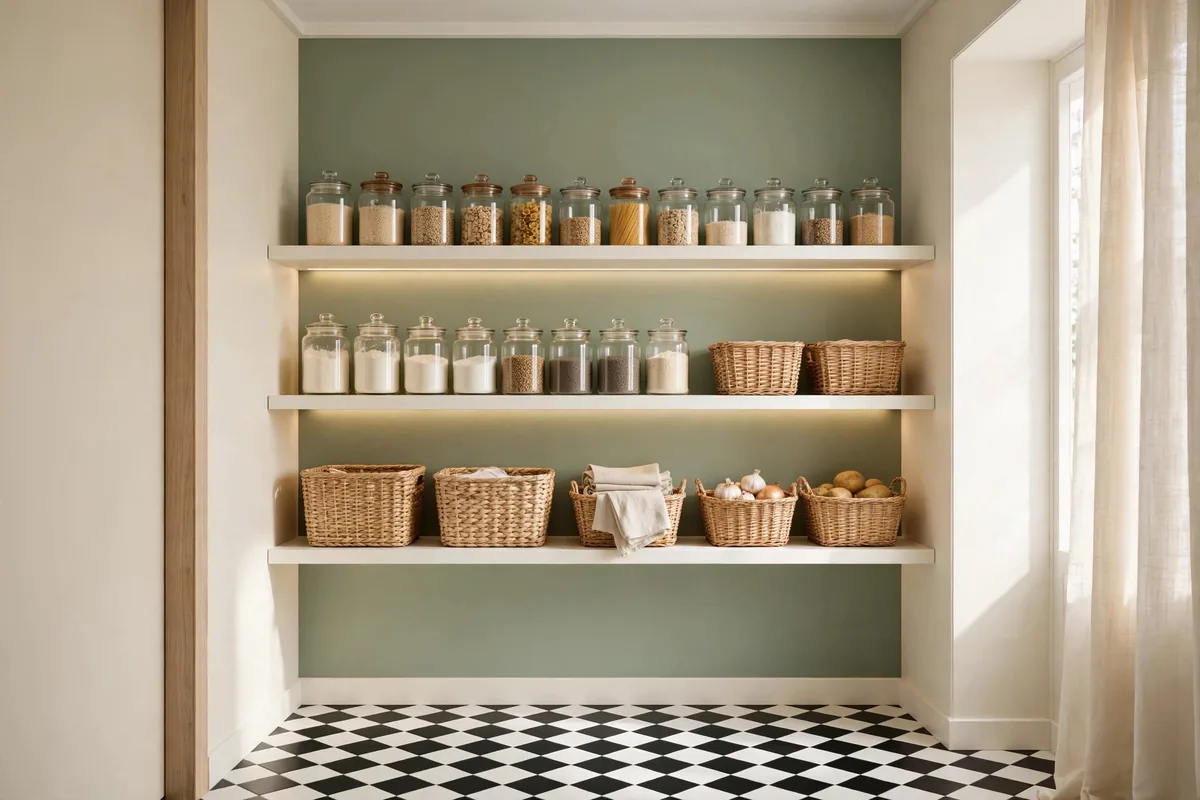
Pick a classic pattern like black-and-white checkerboard or soft terracotta encaustic. The floor is the last thing people expect to look good in a pantry, which is exactly why it delivers such a strong before-and-after moment. Clean the old floor thoroughly first and let it dry completely. Adhesion is everything.
This is fully renter-friendly. When you move out, the tiles peel up with a little heat from a hair dryer. Keep a few spare tiles in case one gets damaged; dye lots vary between boxes.
For a more realistic tile look, choose tiles with printed grout lines and stagger the seams like real tilework. Once laid, roll over the whole floor with a rolling pin or laminate roller to press out air bubbles. Skipping this step is what makes it look like stickers instead of tile.
Build a Shallow Spice Ledge on the Door
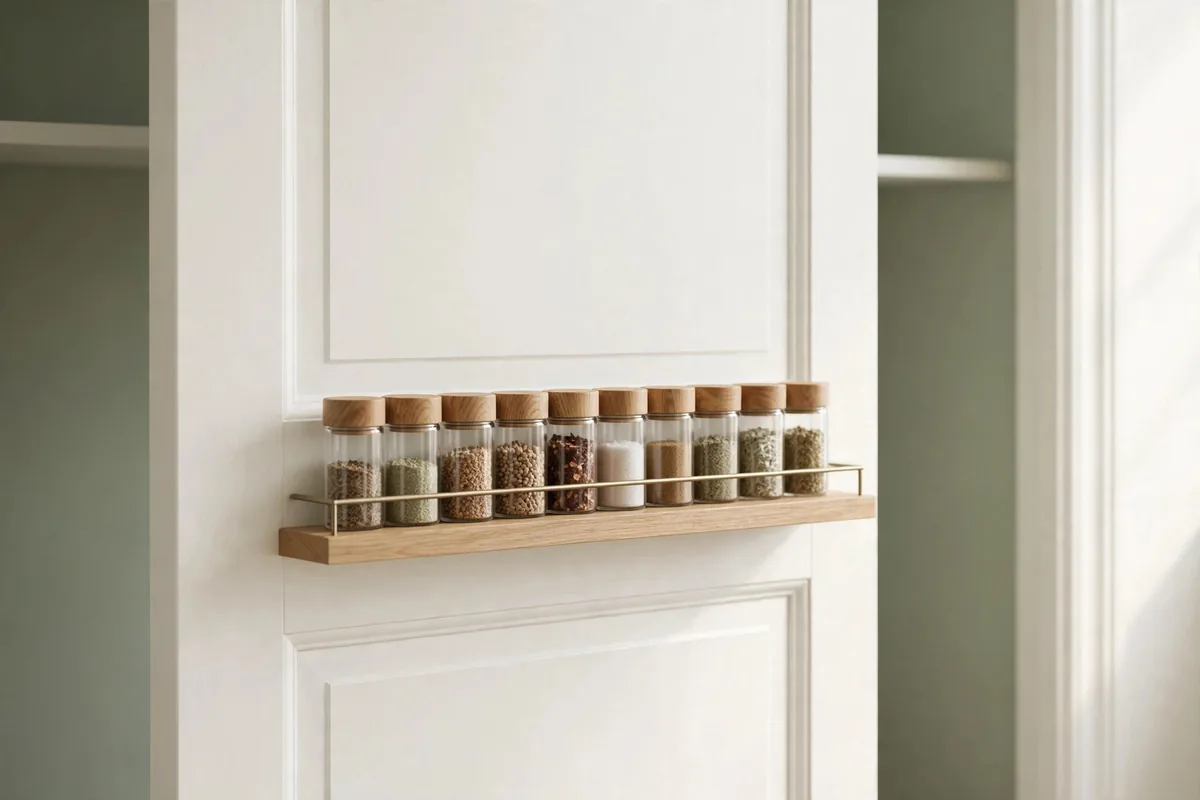
If an over-the-door rack feels too bulky, a slim wooden spice ledge screwed to the inside of the door is the custom-looking alternative. A 1×3 pine board, two small brackets, and a length of dowel or leather strap as a guard rail: total cost under $12, total time under an hour.
Stain or paint it to match your shelves so it looks built-in rather than bolted-on. Keep the ledge shallow (spice jars only) so the door still closes. It reads as custom work for about $12 in materials.
Carve Out a Coffee or Snack Station
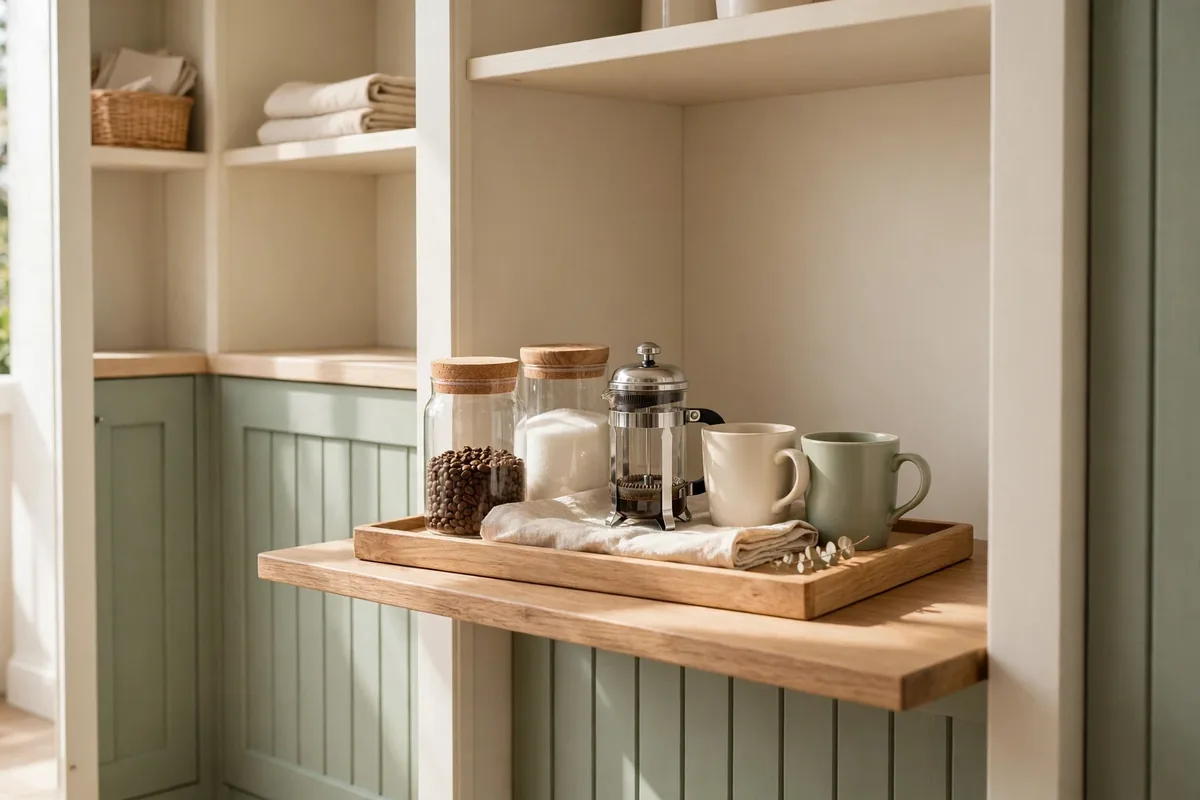
Give one shelf a job and the whole pantry feels intentional. Clear a single shelf at counter height and turn it into a coffee station (machine, mugs on hooks underneath, beans in a labeled canister) or a kids’ snack station with bins they can reach themselves.
The trick is containment: a tray or low basket under the station keeps it from sprawling across the shelf. Add a small LED strip above it and it becomes a little moment of joy every morning (if the station needs power, run a flat extension cord along the back corner, secured with cord clips, and never overload one outlet with a kettle and a coffee maker at the same time). My coffee shelf is the reason I finally stopped leaving the machine on the counter.
Frame the Opening With Simple Trim
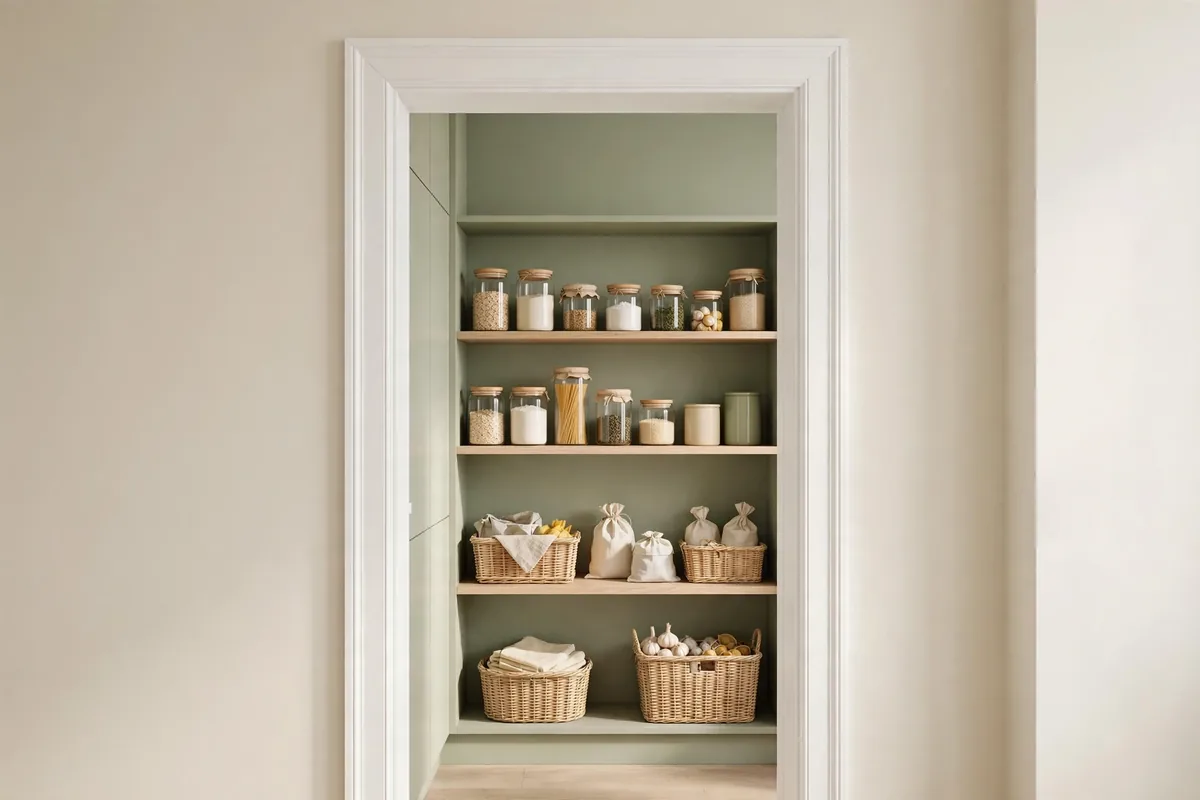
A plain drywall pantry opening looks unfinished no matter what’s inside. Adding simple casing trim around the opening (pre-primed pine from any hardware store, cut with a miter box) frames the pantry like a doorway and instantly elevates it.
Measure the opening before you buy trim, and cut the two side casings first. The top piece goes on last, hiding any small gaps where the corners meet.
Paint the trim the same white as your shelves for a seamless built-in feel. This is a $20, two-hour project that renters should skip (it involves nails), but homeowners will notice the difference every single day. Caulk the seams before painting for that crisp, professional edge.
Add Pull-Out Drawers to Deep Shelves
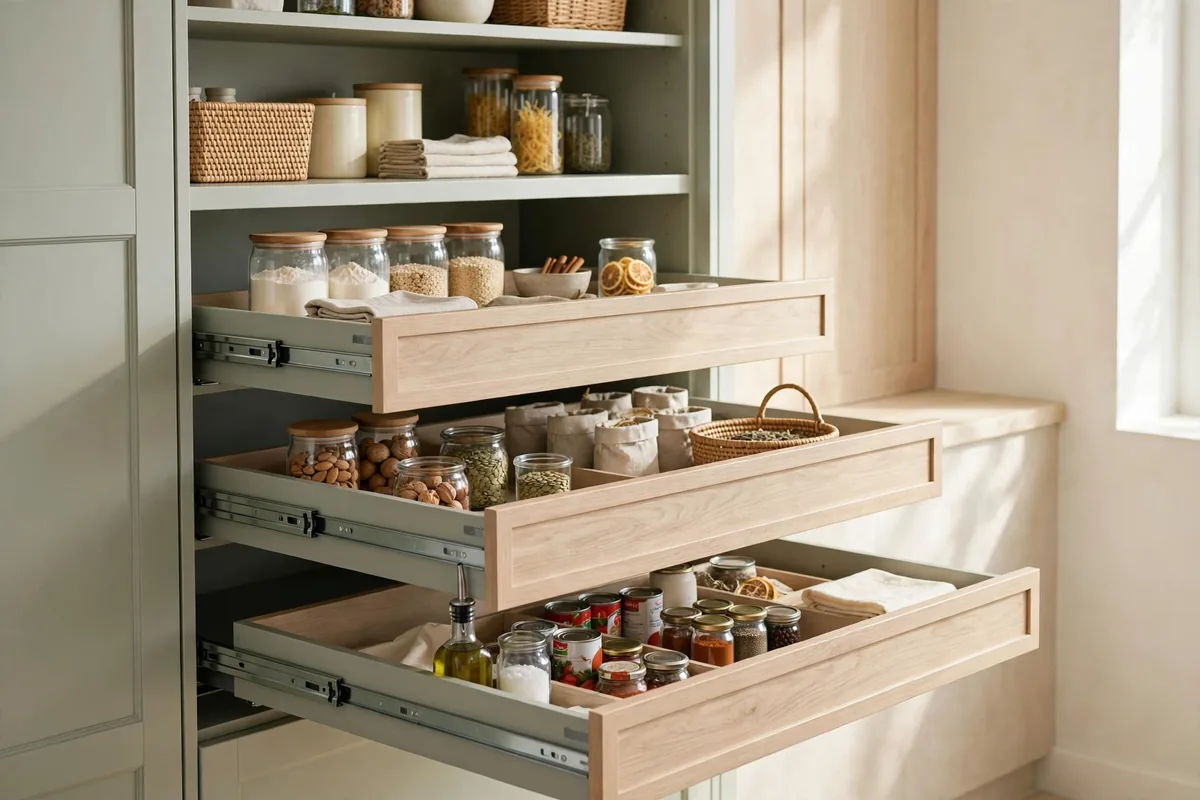
Deep pantry shelves are where food goes to expire unseen. Slide-out wire or bamboo drawers convert that dead depth into accessible storage: pull the drawer, see everything, push it back. No more excavating the back row on your knees.
Measure the interior width and depth carefully, then buy drawers 1 inch narrower than the opening so they glide freely. Freestanding stacking drawers need no installation at all; screw-mounted slides are sturdier for heavy cans. Either way, this is the most functional upgrade on this list: it changes how the pantry actually works.
Assign each drawer a category and label the front: baking, snacks, canned goods, backstock. The labels matter more than you’d think — they’re what stop the drawers from slowly reverting to junk drawers over the next three months. Heavy items always go in the lowest drawer.
Style It Like a Photo (Then Live In It)
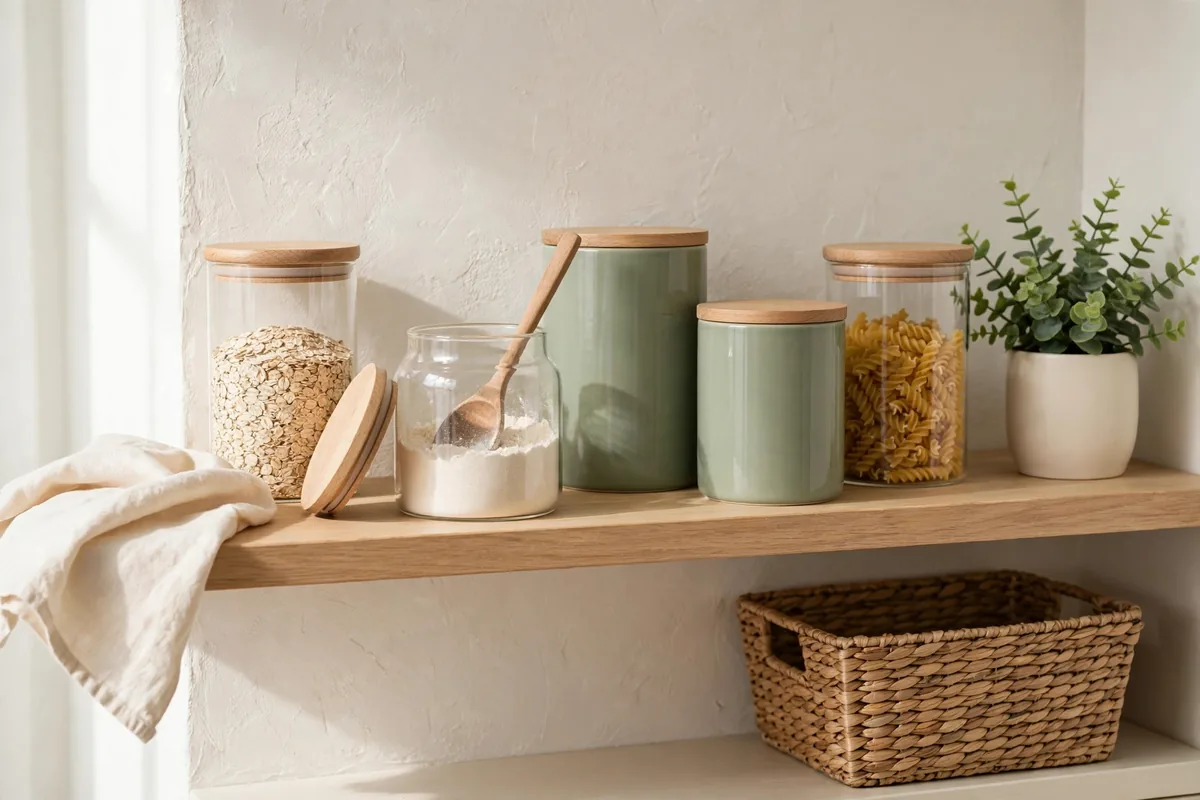
Here’s the secret of every pantry photo you save: restraint. Leave breathing room on each shelf instead of packing it edge to edge. Group like items, turn labels forward, and put one pretty thing (a small plant, a wooden bowl, a framed print) on the top shelf where it won’t get knocked over.
But style for real life. Keep daily items at eye level and backstock up high. The prettiest pantry is the one that still works on a busy Tuesday. Take your before-and-after photos, pin them, and then enjoy a space that finally feels finished. Done in the order above, the whole project is a pantry makeover for under $75. Pair it with these small pantry organization ideas so it works as well as it looks.