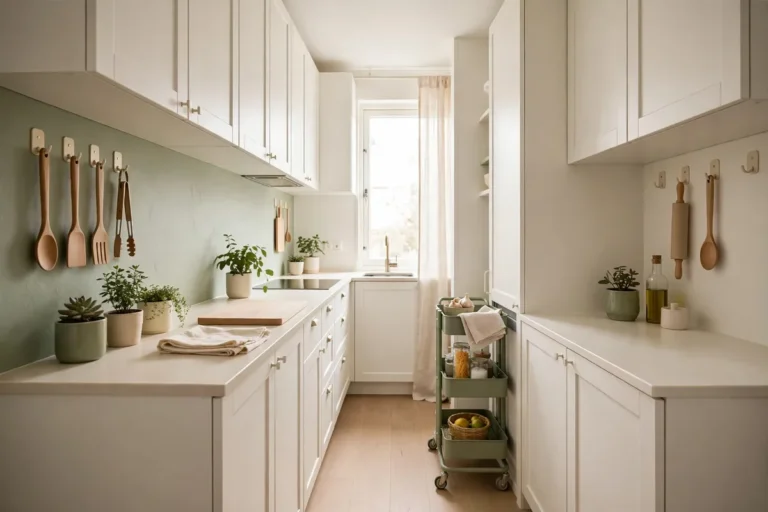
Picture this: you reach for the brown sugar and a wave of spice jars tumbles out, setting off a domino effect across your one and only pantry shelf. For years, this was my reality. And honestly, as a renter on a tight budget, buying a set of $100 custom organizers was not in the cards. So I started collecting the cheapest fixes that actually hold up for small pantry organization ideas on a budget, from dollar-store hacks to outsmarting awkward corners. Here are the nine real-world ideas that freed up hidden space and helped me actually keep my tiny pantry usable.
Common Mistakes
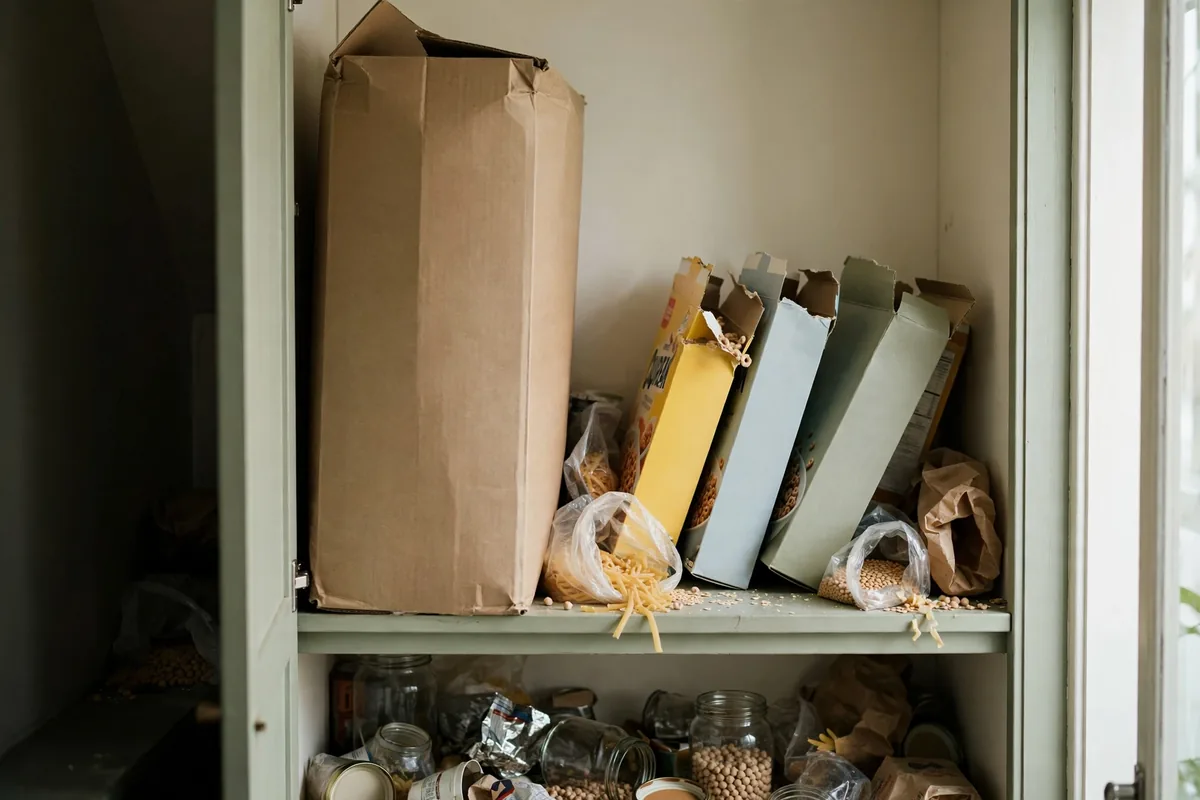
Most small pantry fixes fail for the same three reasons: too many loose bags, no labeling, and systems that are too fussy to reset. I’ve learned that if you need to decant every snack into a matching jar or stack bins with no breathing room, you’ll give up after one grocery trip. Another common blunder: buying bins before measuring shelves. If your baskets are too deep or too tall, they’ll block the door from closing or make it impossible to see what’s in back. And without clear, simple labels, even the best system falls apart as soon as someone else puts groceries away.
When I first tried to get organized, I bought cheap bins that were too long for my wire shelves. Every time I slid them out, they’d catch on the door frame or tip sideways, spilling half the contents. I also skipped labeling, thinking I’d just remember which bin held which snacks. That lasted all of two weeks. Soon, my partner started tossing new groceries wherever they’d fit, and the chaos returned.
The solution is to use containers that fit your shelves, add easy labels (masking tape works!), and leave a little room for overflow or surprises. If you want to check storage times for pantry goods, the USDA FoodKeeper App is a helpful guide for shelf life and food safety. Don’t forget to check for leaks and crumbs every few weeks, small problems add up fast in a tiny space.
One more pitfall: over-complicating your system. If you have to decant every ingredient or use containers that need to be perfectly stacked, maintenance becomes a burden. Try to make your system forgiving. For example, leave one bin or section as a “miscellaneous” spot for odd-shaped or overflow items. That way, you always have a buffer for weeks when grocery shopping doesn’t go as planned.
Turn Cans and Jars into a $3 Tiered Display
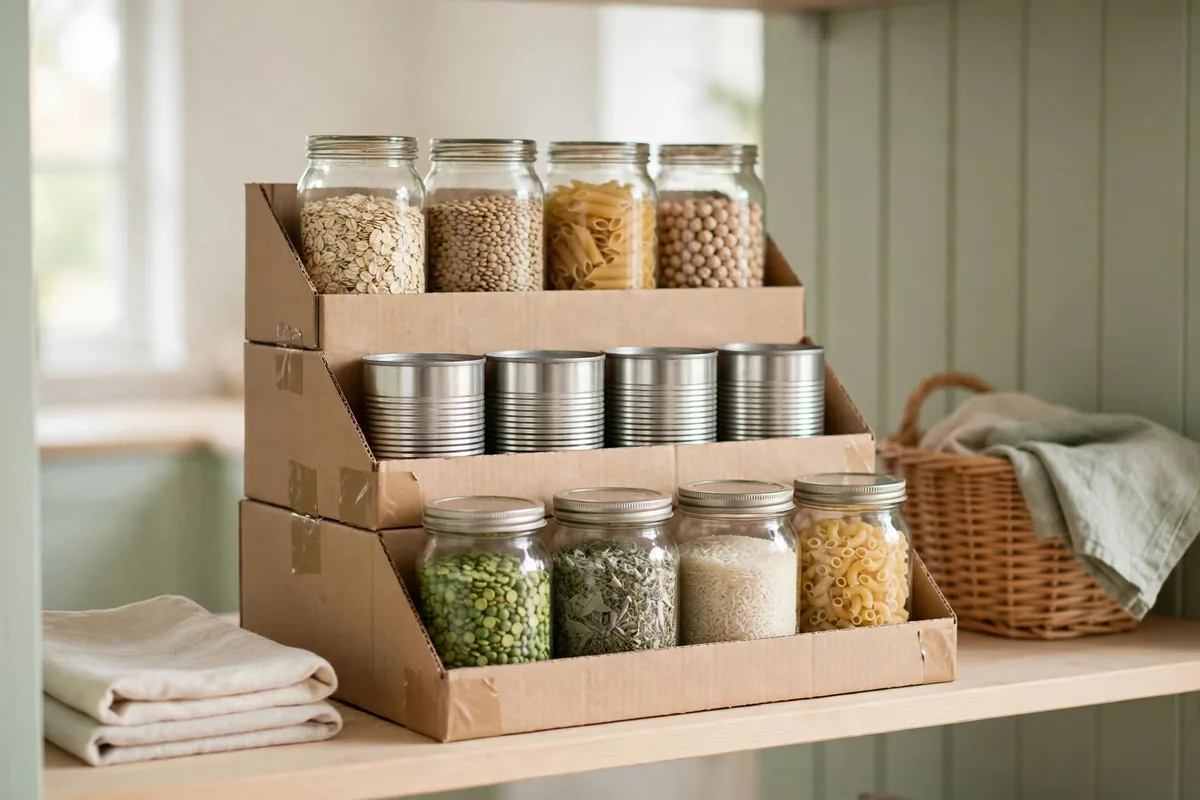
One of the best ways to free up pantry storage space and keep cans from toppling is with a tiered riser. If you can’t afford a fancy expandable metal one (IKEA VARIERA is about $10), grab three sturdy shoe boxes or two bricks wrapped in shelf liner. Stack them to make a simple DIY riser in the back of your shelf. This lets you see every can and jar at a glance, even when your shelf is only 12 inches deep. The catch: homemade risers can slide, so cut a piece of non-slip drawer liner to put underneath. You’ll never again forget what’s hiding in the back row, and restocking takes seconds.
To make your own, measure the depth of your shelf and stack boxes or bricks so the highest tier is at the back. Place shorter cans in front and taller ones in back. For extra stability, tape the boxes together or use a bit of museum putty underneath. If you want a more durable option, you can use leftover wood planks or thick books as risers. This trick costs almost nothing and works in pantries, cabinets, or even open shelves in a studio apartment.
Maintenance is easy: just wipe down the risers every few months and rotate cans so older items come to the front. If you want to upgrade, keep an eye out for expandable plastic risers at discount stores. But honestly, my cobbled-together riser has lasted for years and made a massive difference in avoiding forgotten food. When everything is visible, you fit noticeably more on the same shelf.
Stash Snacks in Dollar-Store Clear Bins
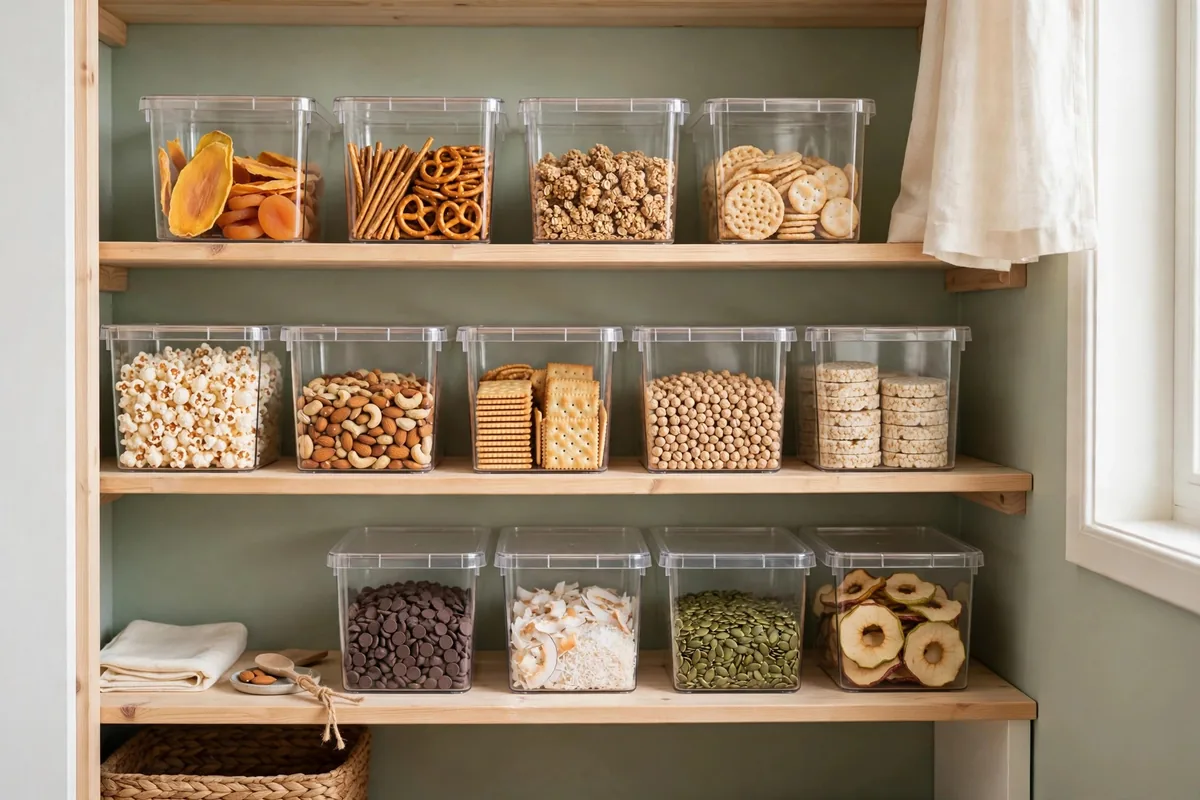
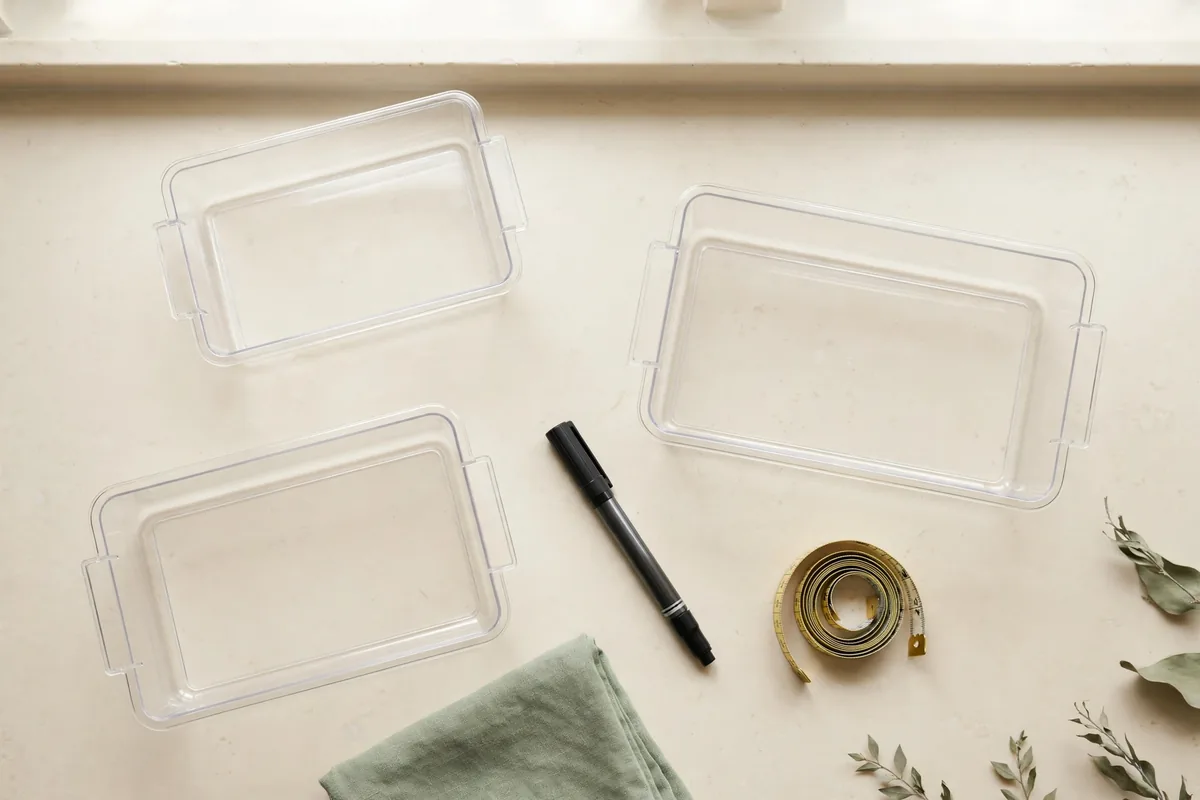
For snacks, baking supplies, or loose bags, clear bins from the dollar store are hard to beat, usually $1.25 to $3 each. I use a deep bin (10 x 6 inches) for chips and a smaller one for granola bars. The key is to label the front using painter’s tape for easy swapping. Sorting by snack type, like “sweet” and “salty,” keeps it simple. The downside: if bins are too big, they become bottomless junk drawers. Go for bins that fit comfortably front-to-back on your shelf, and don’t overfill. Bonus: these bins wash up easily if something spills.
Dollar-store bins come in a variety of sizes and shapes, so measure your shelf before shopping. I recommend sticking to two or three bin types for a neater look. For families with kids, assign each child a bin for their favorite snacks. If you want to go the extra step, add expiration dates to the tape labels so you can keep track of what needs to be eaten first. Stack lighter bins on top of heavier ones to make the most of vertical space, but avoid stacking so high that items become inaccessible.
To keep bins from sliding, place a strip of non-slip shelf liner underneath each one. When you need to clean, just pull out the whole bin and wipe it down. If you’re short on budget, even repurposed plastic food containers or sturdy cardboard boxes can work in a pinch. Just be sure to label everything clearly. This method is renter-friendly, easy to update, and cheap to expand.
Add an Over-the-Door Rack for Spices and Oils
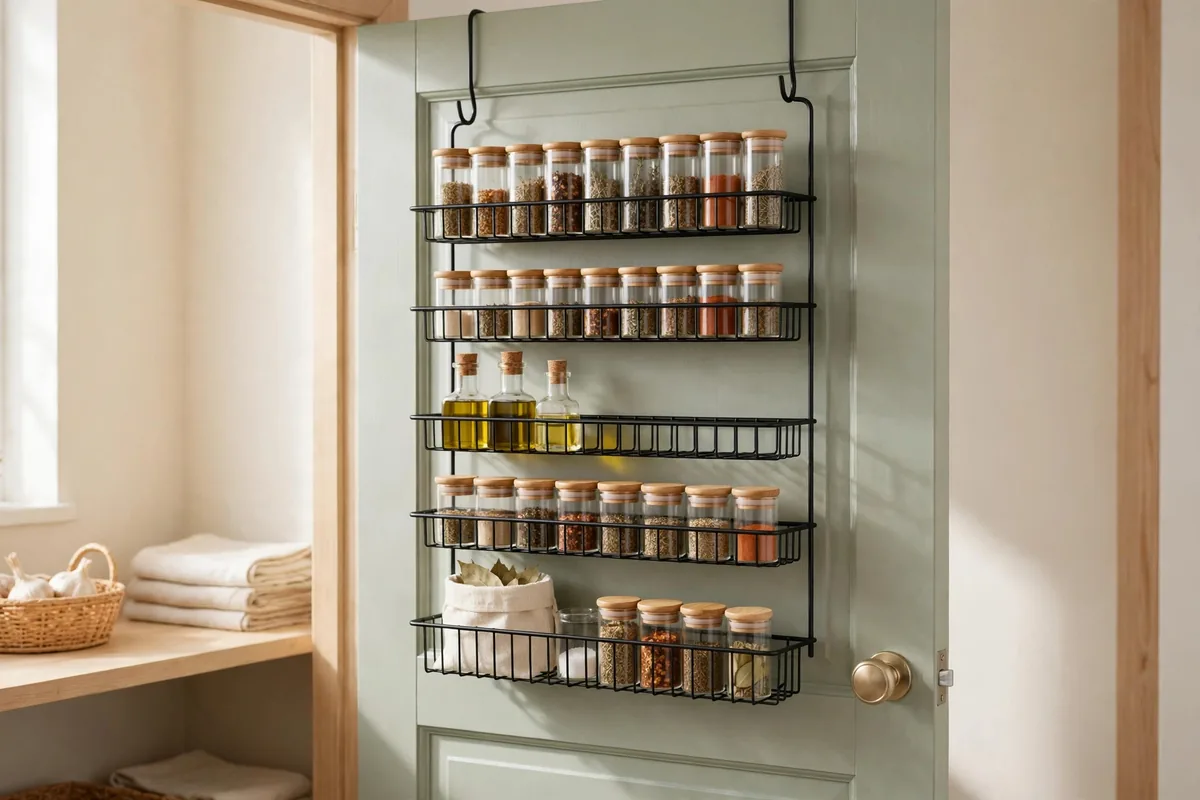
If you have a pantry door, hang a wire rack or pocket organizer on the back. Even the cheapest ones (around $15 at Target or Walmart) can hold dozens of spice bottles, small jars, or oil sprays. I use the bottom pockets for potatoes and onions.
The trade-off: some racks rattle or scrape paint, so add felt pads or command hooks for extra stability. Just measure your door thickness first, and avoid overloading with glass jars if the door is flimsy. This trick instantly frees up a whole shelf inside the pantry for bulkier items.
If you don’t want to buy a new rack, check your local thrift store or search for used ones online, people often sell these for just a few dollars. Some over-the-door racks have adjustable shelves, which is great if you have tall spice bottles or want to store larger condiments. For renters who can’t drill holes, look for racks that use hooks or adhesive strips instead of screws. I’ve also seen hanging shoe organizers used to stash snacks or seasoning packets, which works well for soft or lightweight items.
Maintenance is simple: wipe down the rack monthly to keep dust and oil from building up. If you’re storing oils or sauces, put a paper towel or plastic liner in the bottom of each pocket to catch drips. With everything at eye level, you’ll use your spices more often and avoid buying duplicates. Around $15 frees up roughly a whole shelf.
Make a DIY Lazy Susan from a Cake Pan
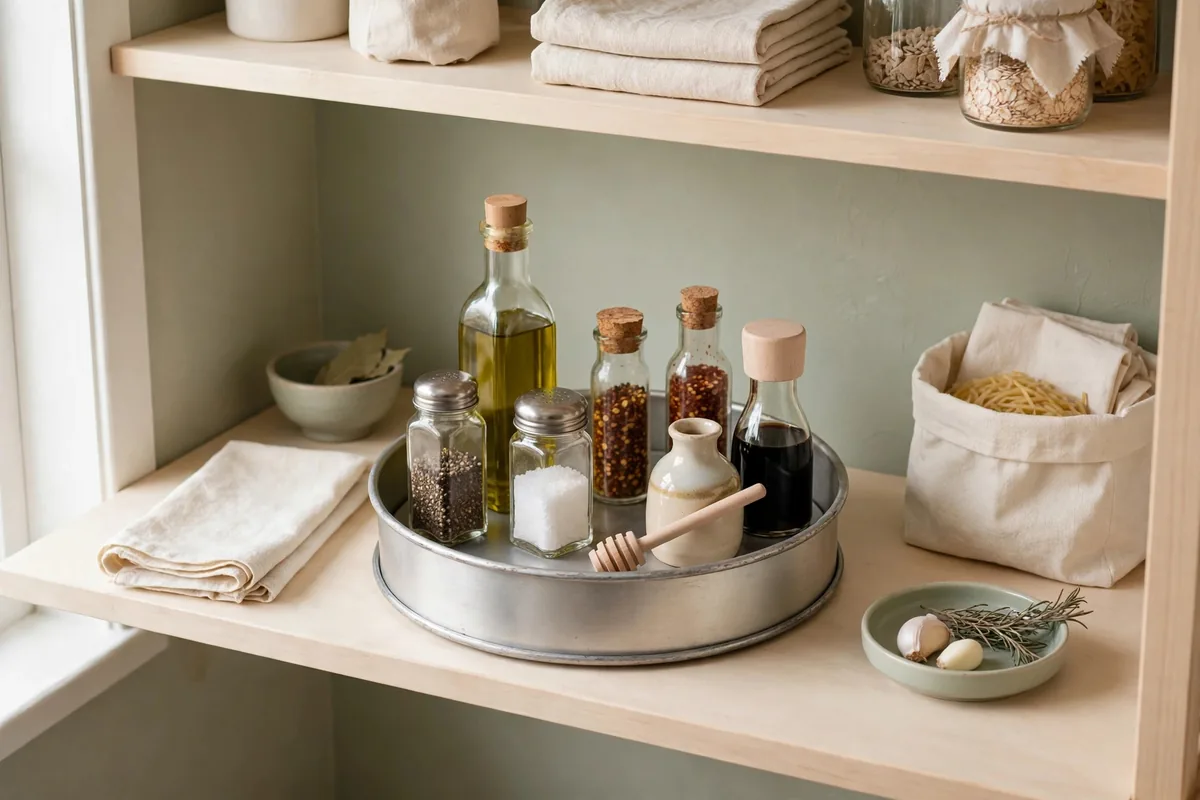
Dead corners are the bane of every small pantry. My favorite fix: turn a $3 cake pan and a bag of marbles into a lazy Susan. Pour marbles in the pan, add another pan or a plate on top, and you have a spinning tray for sauces or nut butters. This is especially useful on deep shelves where items get lost in the back. The catch: don’t overload it (keep under 5 pounds), and check that marbles stay contained. For higher-end look, you can upgrade to a real turntable later, but this DIY version works surprisingly well for the price.
To assemble, pick two cake pans of the same size. Place a layer of marbles or small ball bearings in the bottom pan, then set the second pan on top. Add jars or bottles, spin to test stability, and you’re done. If you don’t have marbles, some people use a set of round furniture sliders or even a plastic lazy Susan from the thrift store. The main thing is to keep the weight balanced and check that the top pan doesn’t tip off.
Maintenance is minimal: occasionally remove the top pan and wipe out any crumbs or spilled liquids. If you find yourself using certain condiments more than others, rotate them to the front. This homemade lazy Susan costs less than most store-bought organizers and handles light jars just as well.
Hang a $2 Tension Rod for Cling Wrap and Foil
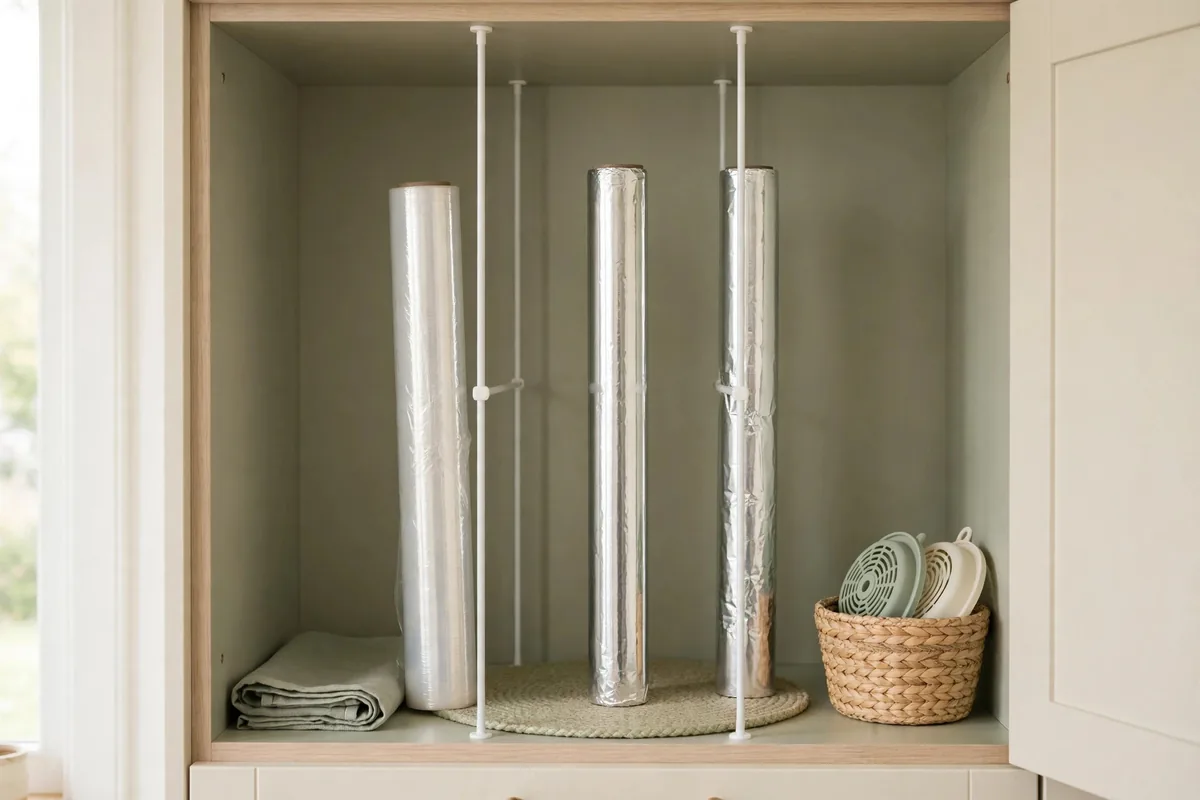
You don’t need a drawer for wraps and foils. A spring tension rod (the kind for curtains, $2-$5 at Dollar Tree or Walmart) can be wedged between pantry walls about 10-12 inches above a shelf. Balance rolls of plastic wrap, foil, and parchment on top. This keeps them upright, easy to grab, and stops them from hogging precious shelf space. The catch: tension rods won’t hold heavy items, so keep it to lightweight boxes. If the rod slips, add a little rubber band on each end for extra grip.
For best results, measure the width of your pantry before buying a tension rod. Install it at a height just above your tallest box of wrap, so you can slide boxes in and out easily. If you have extra space, consider adding a second rod below the first for storing rolling pins or reusable bags. This hack is completely removable and won’t damage walls or shelves, which is ideal for renters.
If you don’t want to buy a rod, you can sometimes repurpose a sturdy wooden dowel or even a broomstick.
To keep things tidy, label the ends of each box with a marker so you can quickly see which type of wrap you’re grabbing. If you store food wraps in original boxes, make sure the cutting edge faces outward for easy access. Every few months, wipe down the rod to remove any dust or crumbs. For about $2, it clears a drawer or frees up shelf space.
Repurpose Jars as Airtight Storage
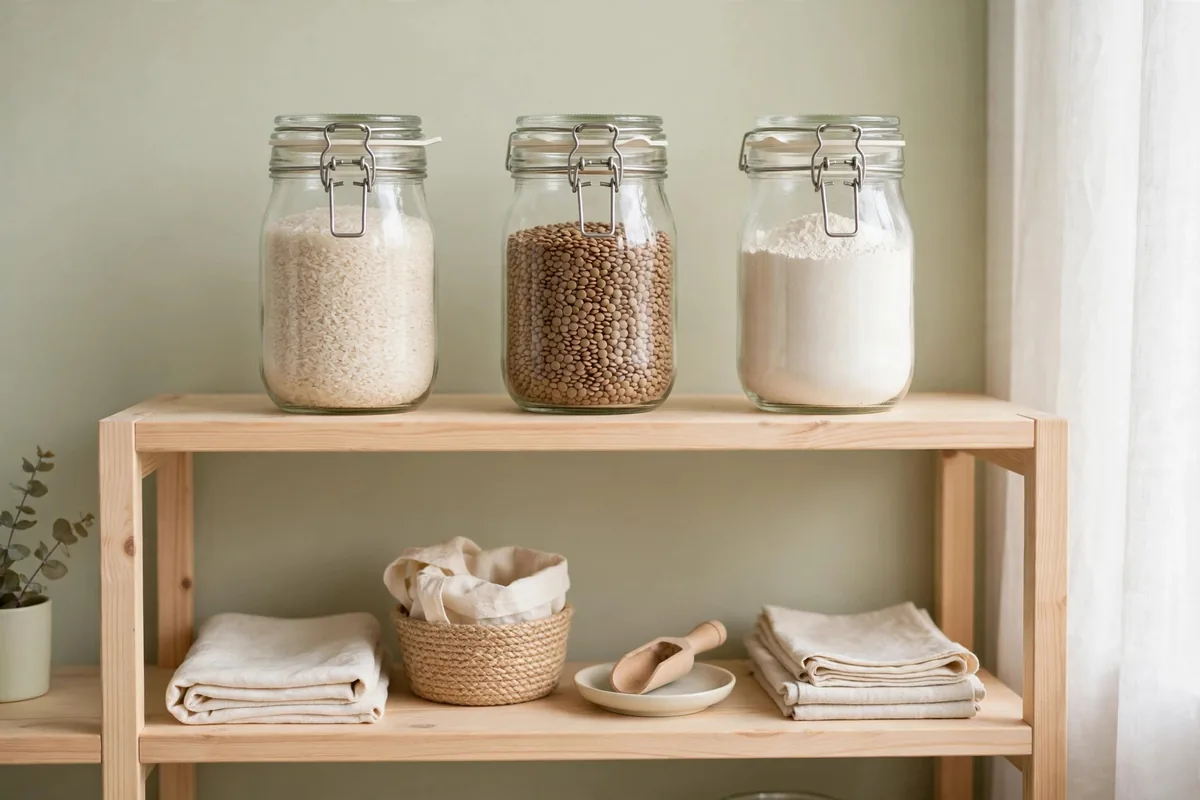
Instead of buying a matching set of containers, save glass jars from pasta sauce, nut butters, or salsa. Wash thoroughly and use for rice, flour, or dried beans. They’re airtight, stackable, and free. I use a strip of masking tape on the lid for labeling. The glass lets you see how much is left, so you don’t buy doubles by accident. The catch: mismatched jars can look cluttered, but grouping by size or adding simple labels helps. Don’t use for bulk goods that need extra space, keep those in open bins or bags on a lower shelf.
To remove stubborn labels, soak jars in hot water and baking soda, then scrub with a sponge. Dry jars completely before filling to prevent clumping. If you have a small shelf, line up jars by height for a neater appearance. You can also use chalkboard stickers or paint for reusable labels. Store heavier jars on lower shelves to prevent accidents, and keep lighter jars of spices or nuts higher up.
Maintenance is straightforward: wash jars when empty, and check seals every few months to make sure they stay airtight. If you want to avoid glass, sturdy plastic food containers or even coffee tins with tight lids work too. Repurposing jars costs nothing and gives your pantry a cozy, lived-in makeover that’s easy to update as your needs change.
Slide in an Under-Shelf Basket for Bread and Onions
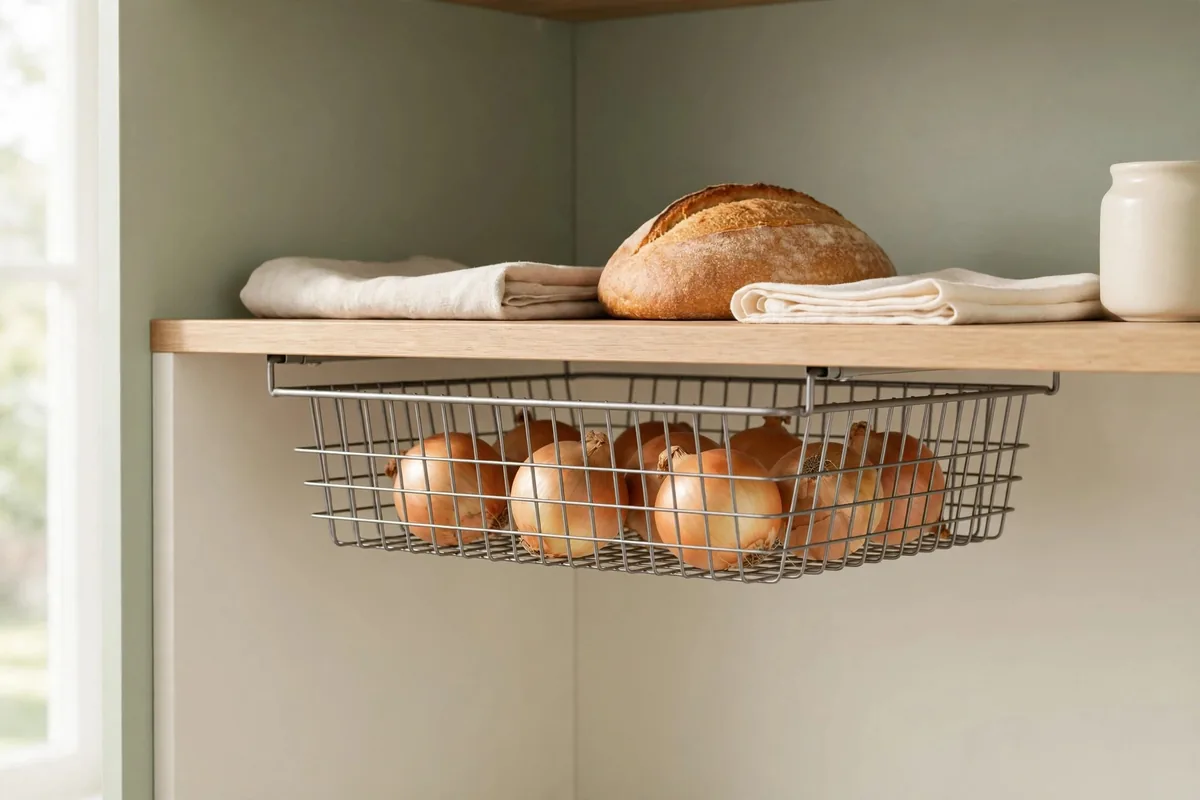
Most pantries have at least one shelf with wasted air space underneath. Wire under-shelf baskets (usually $5-$8, like the Mainstays brand at Walmart) hook onto the shelf above and create a bonus drawer for bread, onions, or snacks. I keep tortillas in mine.
The key is to check your shelf thickness, most baskets fit standard wire or wood shelves but may not work on extra-thick particleboard. Don’t overload or you’ll bow the shelf above. These baskets are easy to pull out and clean, and they work in rented kitchens since there’s no drilling required.
Installation is quick: slide the basket’s hooks over your shelf, making sure it sits level. For extra grip, add a strip of rubber shelf liner between the basket and the shelf. If you’re storing produce, line the basket with a paper towel to absorb moisture. Under-shelf baskets are perfect for items you use often but don’t want cluttering the main shelf, like sandwich bread or bags of chips. If you have tall bottles or jars below, measure to make sure the basket doesn’t interfere.
To clean, just remove the basket and wipe with a damp cloth. If you want to organize further, use small bins or dividers inside the basket for separating snacks or produce. Under-shelf baskets are one of the most flexible, affordable upgrades you can make to a cramped pantry, and you can take them with you if you move.
Where to Start
If you’re staring at a jumble of food and feeling stuck, start with this simple checklist:
- Grab a trash bag and toss expired food.
- Group similar items (cans, snacks, baking) on your counter.
- Measure your shelf depth and height before buying anything.
- Pick one idea above, like a tiered riser or clear bins, and try it with what you have first.
- Label as you go, even if it’s just masking tape and pen.
- Leave 10-20% of your shelf empty for new groceries or odd-shaped items.
Most importantly, keep it simple. The best small pantry organization on a budget is the one you can actually keep up with week after week. If your first try falls apart, tweak and try again. What matters is that the system survives your real routine, not that it looks perfect.
Once you’ve tried one or two ideas, give yourself a week to see how it works in real life. Don’t be afraid to rearrange bins or swap out containers if something feels awkward. Get your family or roommates involved by letting them pick a bin or section for their favorite snacks. And remember, maintenance doesn’t have to be a chore. A quick five-minute tidy each week keeps your system running smoothly and saves you money by preventing food waste. When you’re ready for the full system, these small pantry organization ideas tie it all together.