My last rental had a reach-in closet with mirrored sliding doors, and I spent a full year never reaching the back corners. The doors only opened halfway, the far side was a cave, and I treated it like two closets: the front half I used daily, and the back half where things went to be forgotten. The fix wasn’t a bigger closet. It was admitting the doors were part of the design problem and organizing around them.
Reach-in closets are the most common small closet in homes and rentals, and they have a specific personality: shallow depth, sliding or bifold doors, one rod, and one shelf. The general principles live in my small closet organization guide; everything below is reach-in-specific. These ten small reach-in closet organization ideas are built for exactly that shape, including the doors, the depth, and the rental-friendly constraint that you probably can’t drill into anything.
Measure the Depth Before Anything Else

A reach-in closet’s depth is its entire personality. Standard bedroom closets run 24 inches deep, but hallway and older-home reach-ins can be 18 to 20. A standard hanger needs about 22 inches of clearance to hang straight. If your closet is 20 inches deep, every shirt will bunch at the doors.
Measure three things: depth at the rod height, depth at the floor, and the width between the side walls. Some reach-ins taper, full depth at the floor but narrower up top where a pipe or a sloped ceiling cuts in. The smallest of these numbers is the one that matters.
Keep the numbers in your phone. Every buying decision in this guide keys off those two or three measurements, and “about two feet” is how you end up with bins that stick out past the door.
Measure the door opening too, not just the interior. Sliding doors overlap, so the usable opening is narrower than the closet. If you ever need to get a shelf unit or a wide bin inside, the opening is the number that matters, not the interior width.
Add a Second Rod With a Tension Mount
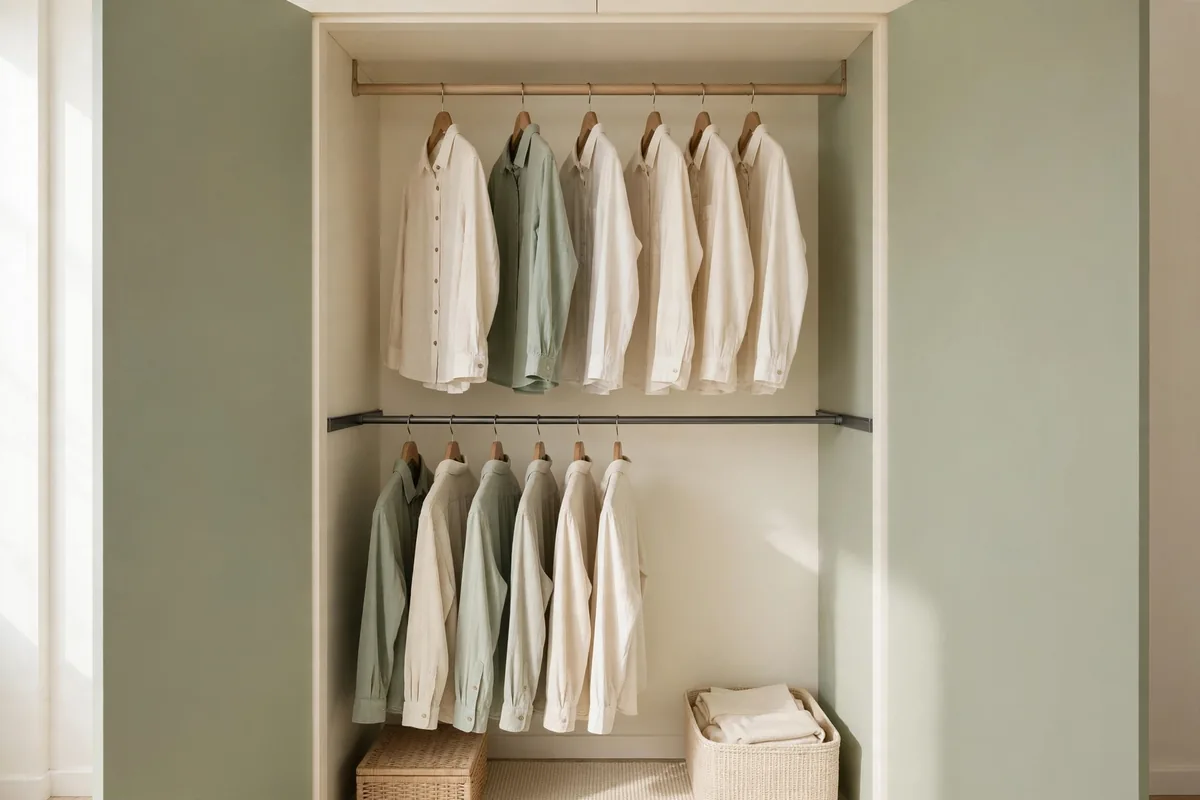
Reach-ins waste the airspace under the rod more than any other closet type, because the rod is the only infrastructure they have. A tension-mounted double-hang rod ($12 to $15) hooks over the existing rod and hangs a second tier below it. No drilling, no brackets, and it comes back out clean when you move. If money’s tight, my budget closet guide does this same trick for $8.
In shallow closets, hang the second tier slightly toward the back and keep it to lightweight items: shirts, scarves, kids’ clothes. Heavy loads on a tension mount will eventually slip, and shallow closets give you no room to absorb a slip.
In a kid’s reach-in, mount the second rod low instead of splitting the difference. Kids hang up their own clothes when the rod is at their height, and you reclaim the upper rod for out-of-season storage. The closet teaches the habit by itself.
If the closet is very narrow, consider hanging the second rod front-to-back instead of side-to-side. A short tension rod spanning the depth creates a mini-tier for a handful of shirts or the kids’ school uniforms. It looks odd and works brilliantly in closets under three feet wide.
Switch to Slim Hangers

In a shallow reach-in, hanger thickness is a rounding error that adds up. Slim flocked hangers (around $15 for a 50-pack) are half as thick as plastic tube hangers, which across forty hangers buys back several inches of rod. In a 4-foot-wide reach-in, those inches are the difference between crammed and comfortable.
They also fix the shoulder-dive problem: clothes sliding off and landing in a heap. Flocked hangers grip fabric, so the pile on the closet floor, the one you step over every morning, gets smaller without any extra effort.
Convert in one pass. Mixed hangers look chaotic and defeat the uniformity that makes a small closet feel calm. Donate the old plastic ones; someone with a bigger closet will be glad to take them.
While you’re converting, cull the clothes too. An empty hanger is a decision you don’t have to make later. If a shirt hasn’t earned its slim hanger, it hasn’t earned the rod space either. The hanger swap is a stealth purge.
Stop Fighting the Doors
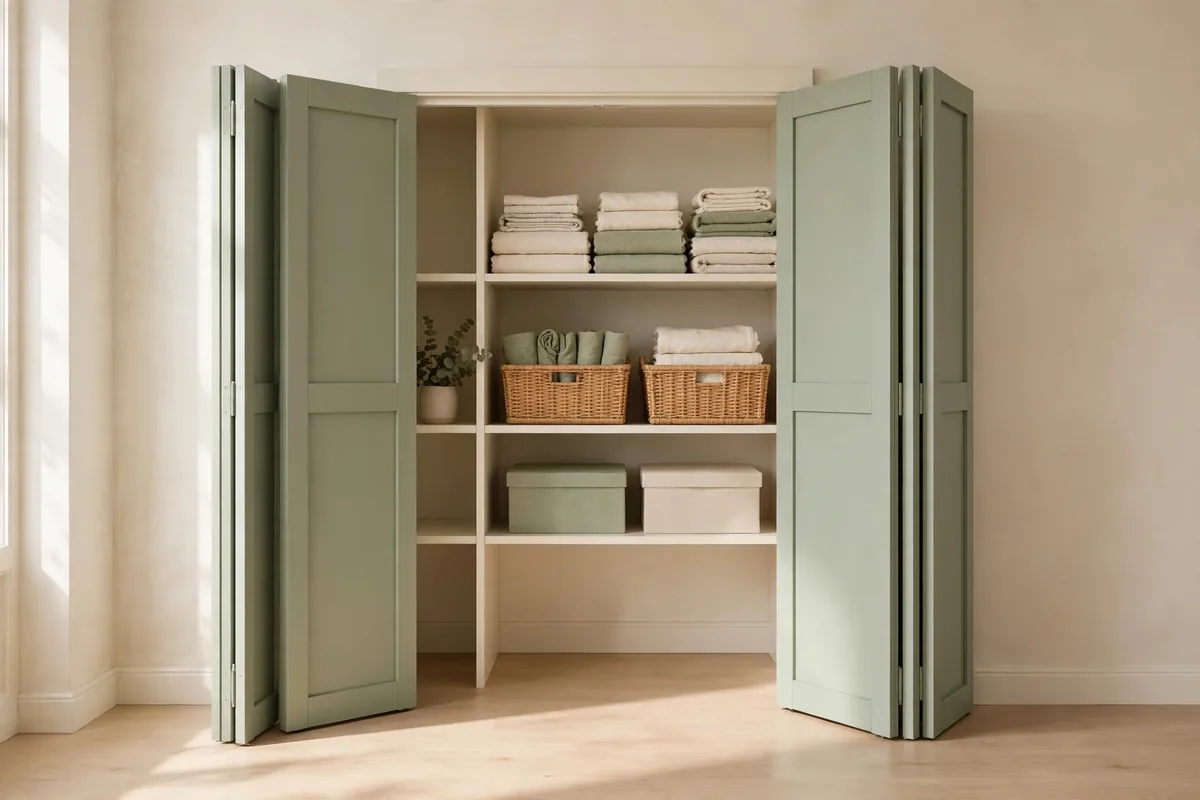
Reach-in closets come with sliding or bifold doors, and both punish anything that sticks out. Bifold doors need the full doorway clear to fold; sliding doors need the track lane empty. If your storage sticks out past the door frame, the door will shove it every time it moves.
Give the doors a clearance rule: nothing stored within two inches of the door plane. Bins that fit are bins that sit fully behind the frame. This is the number-one reason organizers “don’t fit” a reach-in. They fit the interior, but they don’t fit the doors.
Sliding doors hide one half of the closet at a time, which means the far side becomes the place things get forgotten. Assign that side deliberately: seasonal items and archive bins, labeled, so you never have to dig. The visible half is the daily stuff.
Bifold doors that jump their track are usually telling you something is pushing against them. Clear the door swing zone first; if they still jump, a $5 track roller replacement from the hardware store fixes most wobbles. Doors that work get used; doors that fight you get left open, and an open closet door is visual clutter.
Put the Doors to Work Anyway
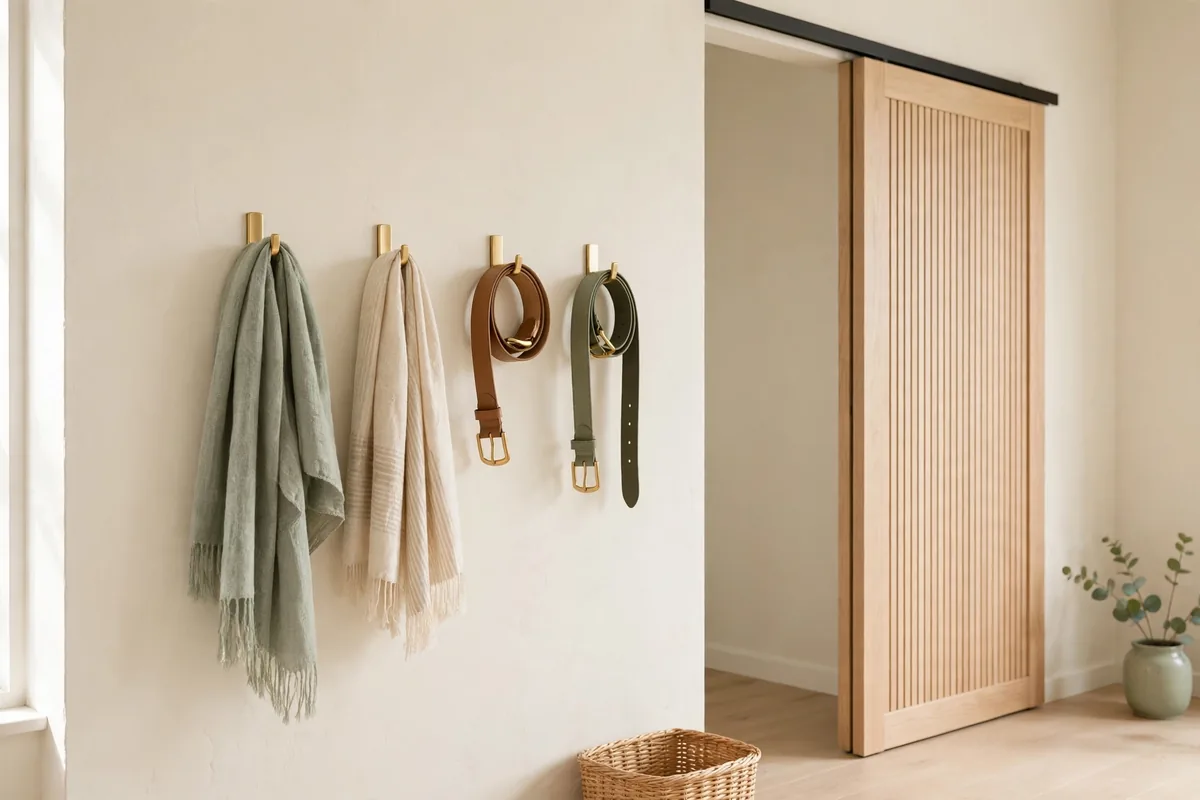
The doors themselves can carry storage if you respect their mechanics. On sliding doors, mount hooks on the wall beside the door frame instead of on the door. The storage stays accessible whether the door is open or closed. For bifolds, an over-the-door hook on the outer panel works as long as it clears the fold.
Keep door-mounted storage light: scarves, belts, the lint roller, tomorrow’s outfit. Heavy bags will stress hinges and tracks, and a bifold panel weighted with bags is a bifold panel that won’t fold.
For sliding doors specifically, the sweet spot is the wall space beside the door frame, not the door itself. A row of hooks there stays reachable whether the closet is open or shut, and it never interferes with the track. Think of it as the closet’s front porch.
Choose Shallow Bins, Not Deep Ones

Deep bins in a shallow closet are a trap. A 16-inch-deep bin in a 20-inch closet leaves four inches of dead space behind it, or worse, you push it back and it blocks the doors. Match bin depth to the shelf or floor depth with an inch to spare.
For reach-ins, look for bins in the 10- to 14-inch depth range. Small latch boxes around $5 to $8 sit flush on reach-in shelves. (If your linen closet has the opposite problem — shelves too deep — my small linen closet guide turns those into cubbies.) They’re cheap enough to buy one per category and stack two high where headroom allows.
One bin deep, one category per bin, label on the front. A row of shallow bins you can see into beats a tower of deep bins where the bottom one is a time capsule. If you can’t reach it without moving something else, it’s in the wrong place.
The Top Shelf Is Your Seasonal Vault
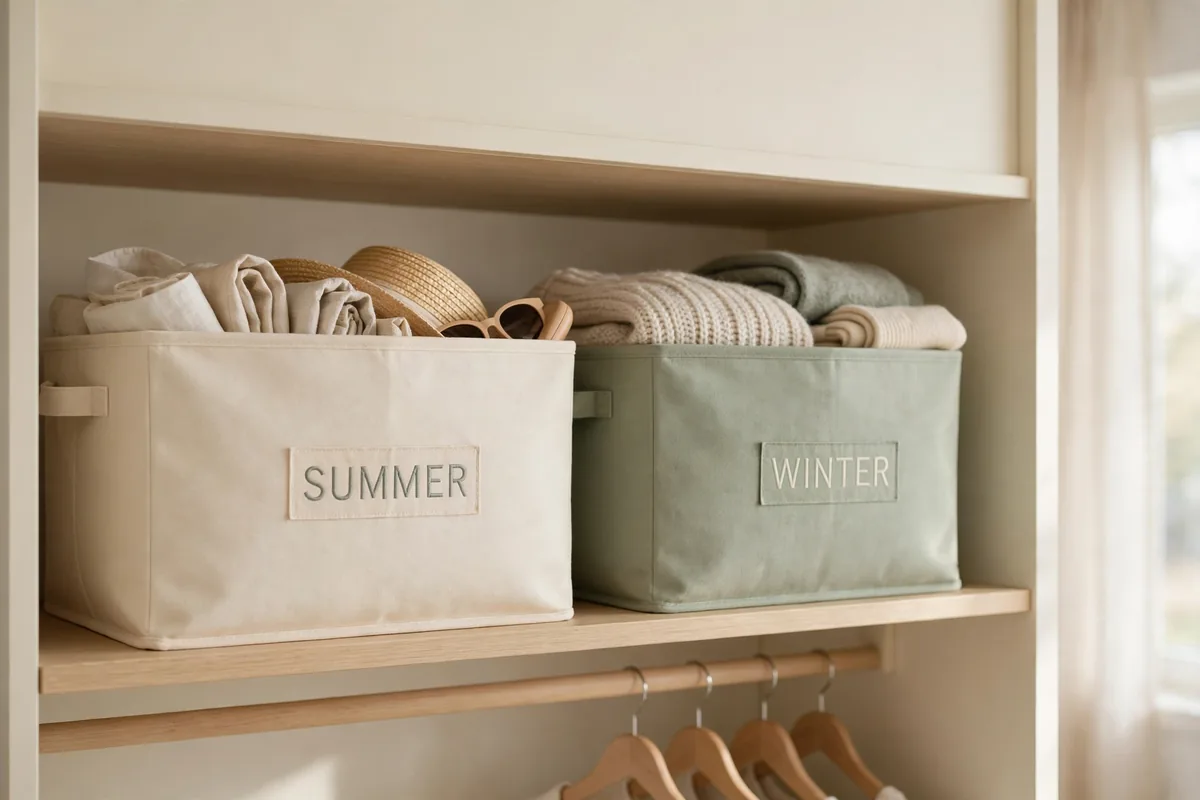
Every reach-in has a shelf above the rod that collects the stuff you reach for twice a year. Stop apologizing for that and design for it: this shelf is the seasonal vault, not daily storage. Off-season clothes, holiday linens, the suitcase you use twice a year.
Bin it by season, not by category. One bin labeled “summer” and one labeled “winter” survives real life better than six tiny bins labeled by garment type. When the seasons turn, you swap one bin for another in about ten minutes.
Keep a small step stool nearby if the shelf is high. The number-one reason top shelves become dead zones is that they’re annoying to reach. A $15 folding step stool that lives in the closet turns the vault from a chore into a quick grab.
Nothing up there without a bin or a bag. Loose items on a high shelf migrate to the edges and eventually fall on you when you open the door. A lidded bin costs a few dollars and saves you the shower of dust bunnies.
One Row on the Floor: Shoes or Storage

The reach-in floor is one row deep. That’s it. Give it one job: a single row of shoes, or one row of low bins. The moment you stack a second row in front of the first, the back row ceases to exist and becomes a graveyard of single shoes.
Shoe-wise, a low angled rack ($15 to $25) fits a 20-inch-deep closet and tilts shoes so you can see every pair. If the shoes in question are mostly winter boots, my coat closet organization ideas include a real plan for boot season. If shoes live elsewhere, one row of under-shelf-height bins holds the out-of-season stuff. Either way: one row, all visible, nothing hiding.
If the floor row is bins instead of shoes, keep them low and lidded. Unlidded bins on a closet floor become catch-alls within weeks. A lid is a commitment device: it forces you to decide whether the thing actually belongs before you drop it in.
Organize in Three Bands: High, Mid, Low
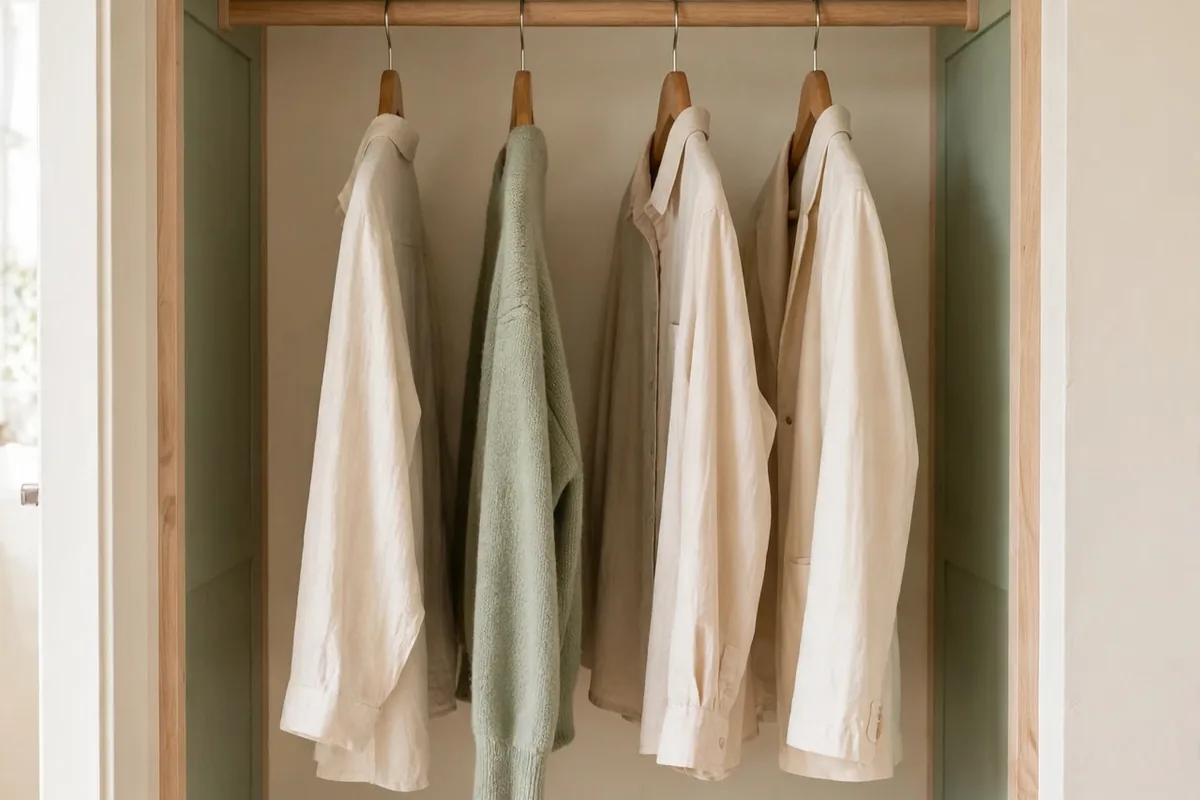
Divide the reach-in vertically and assign each band a tempo. High band: seasonal and rarely touched. Mid band: the daily reach zone, rod and eye-level shelves. Low band: shoes and the occasional-use bins. This map makes decisions automatic.
The mid band is the most valuable real estate in the house, so it gets the daily items and nothing else. If something in the mid band gets used less than weekly, demote it to the high band. The closet stays effortless because the frequent stuff is always at hand.
Draw the bands on the measurement card from the first idea, high, mid, and low with the item categories. It sounds fussy, takes thirty seconds, and it stops the slow drift where daily items end up on the top shelf and seasonal stuff colonizes the rod.
Renter Moves That Need No Drilling

Reach-ins are the most common closet in rentals and the least modified, because nobody wants to drill into a landlord’s walls. Everything in this guide so far is already renter-safe, but a few extras make a rental reach-in genuinely great without a single hole.
Tension rods are the renter’s second rod, second shelf, and divider all in one. A $10 tension rod across the top of the closet creates a shelf for lightweight bins; another at mid-height hangs the double-tier rod. Removable adhesive hooks ($5 for a pack) hold belts and bags on the side walls.
Freestanding shelf units that slide into the closet need no mounting at all. A narrow 3-tier fabric shelf ($20 to $30) stands on the closet floor and turns one rod’s worth of space into folded storage. When you move, it folds flat.
Photograph the closet when you move in: the walls, the rod, the doors. It takes two minutes and ends every deposit dispute about “damage” that was actually a tension-rod scuff. The best renter upgrade is the one you can prove you didn’t damage.