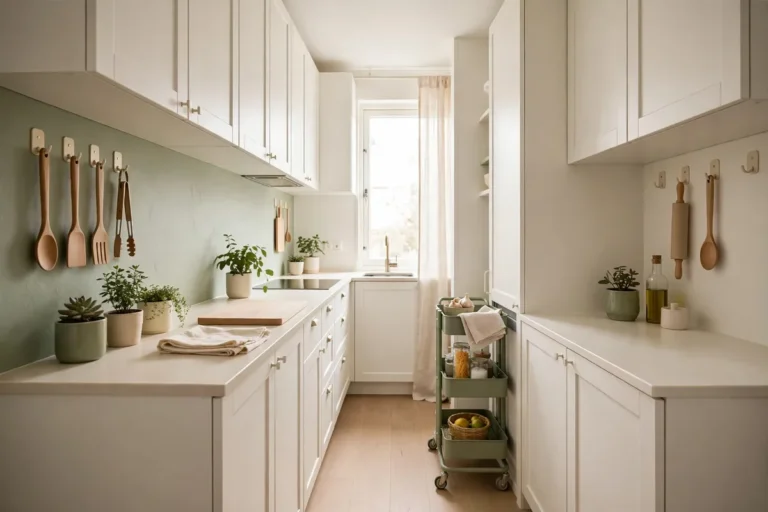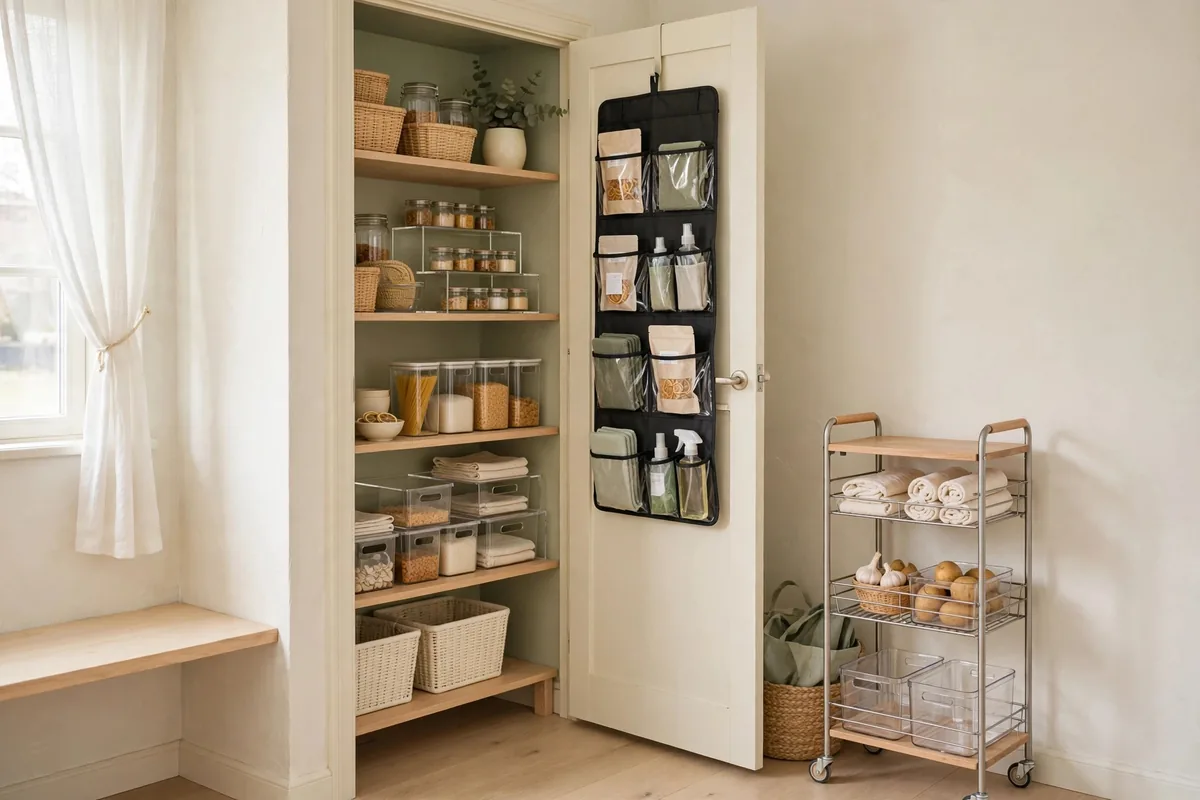
The fastest wins for small apartment pantry organization are always the ones you can set up in a single afternoon. I tested these ideas in my own renter’s pantry closet (and in three friends’ kitchens with even less space). Here’s exactly what worked, no tools, no landlord approval, and no expensive matching bins needed.
Stack Canned Goods on a $12 Tiered Riser

The secret to not losing canned beans behind soup? Use a tiered can riser. I grabbed a basic expandable riser off Amazon for under $12. It tripled my shelf visibility in five minutes. All cans are now visible in a single glance, not just the front row. This prevents food waste because nothing gets lost to the depths.
The catch: risers work best with standard 12-inch-deep shelves. If your shelves are shallower, try a wire spice rack instead. I’ve seen dollar-store versions that fit almost anywhere.
Slip a Narrow Rolling Cart Beside Your Fridge
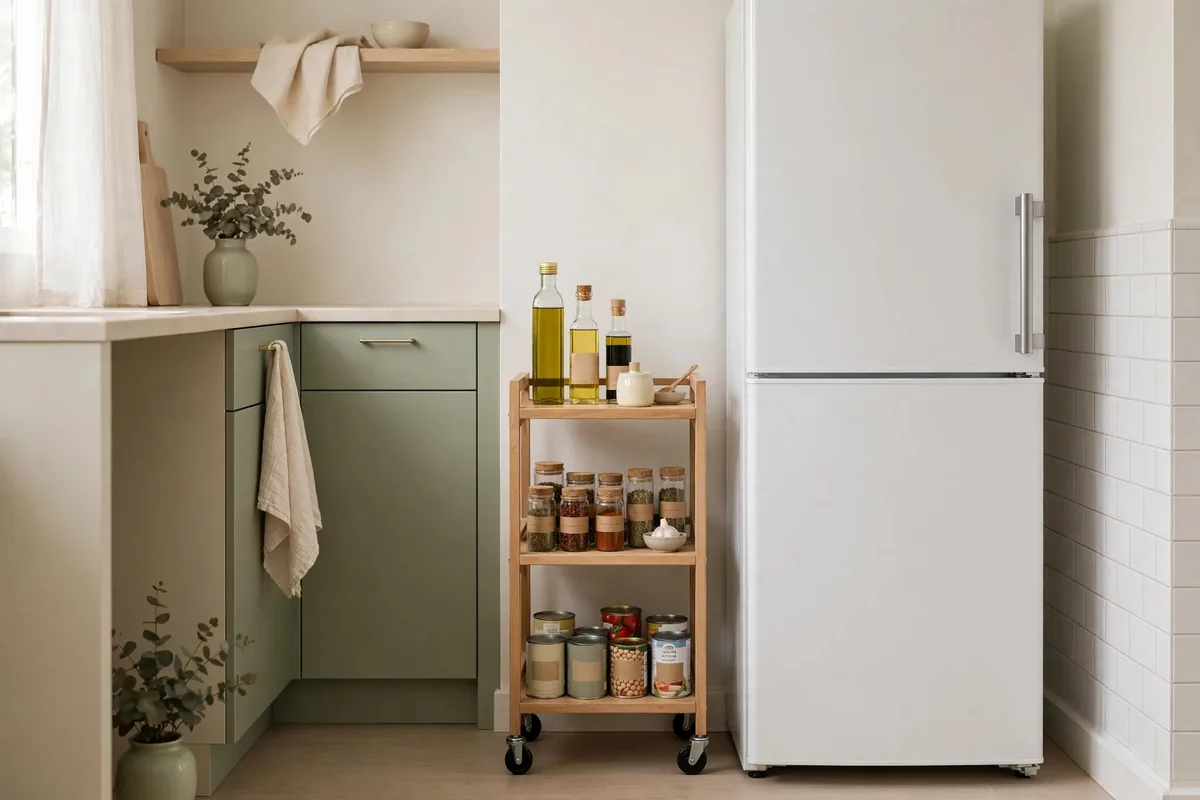
If you have a 4- to 6-inch gap beside your fridge or between cabinets, a narrow rolling cart (like the IKEA RÅSKOG or Target’s 5-inch wide carts) turns dead air into snack or baking storage. I loaded mine up with tea boxes, oatmeal packets, and water bottles. The wheels make it easy to pull out and clean behind, too.
The downside? These carts only work if your floor is level, and you can’t overload the top or it’ll tip. But no tools, no fuss, just instant bonus space.
For an extra touch, use small dollar-store baskets or boxes inside the cart to keep categories separated, one for snacks, one for breakfast items, and one for drink mixes. This keeps everything easy to grab and prevents items from falling out when you move the cart. Every few weeks, wipe down the shelves and wheels to keep dust and crumbs away.
Hang Wire Baskets With Adhesive Hooks on Pantry Walls

Rental pantries usually have walls that go totally unused. I stuck Command hooks ($6 for a 5-pack) at two heights, then hung wire baskets for onions, garlic, or grab-and-go snacks. No drilling required, and the baskets lift off for cleaning.
This approach works well for lightweight produce or small bags (think raisins, granola bars, or instant noodles). The catch: adhesive hooks struggle with heavy loads, so keep it light.
To maintain, remove the baskets every month and wipe them out. If you notice any hooks starting to peel, swap them for fresh adhesive strips or move to a less humid spot. For even more organization, use small labels or tags on each basket, so everyone knows what goes where.
Divide Deep Shelves With Clear Dollar-Store Bins
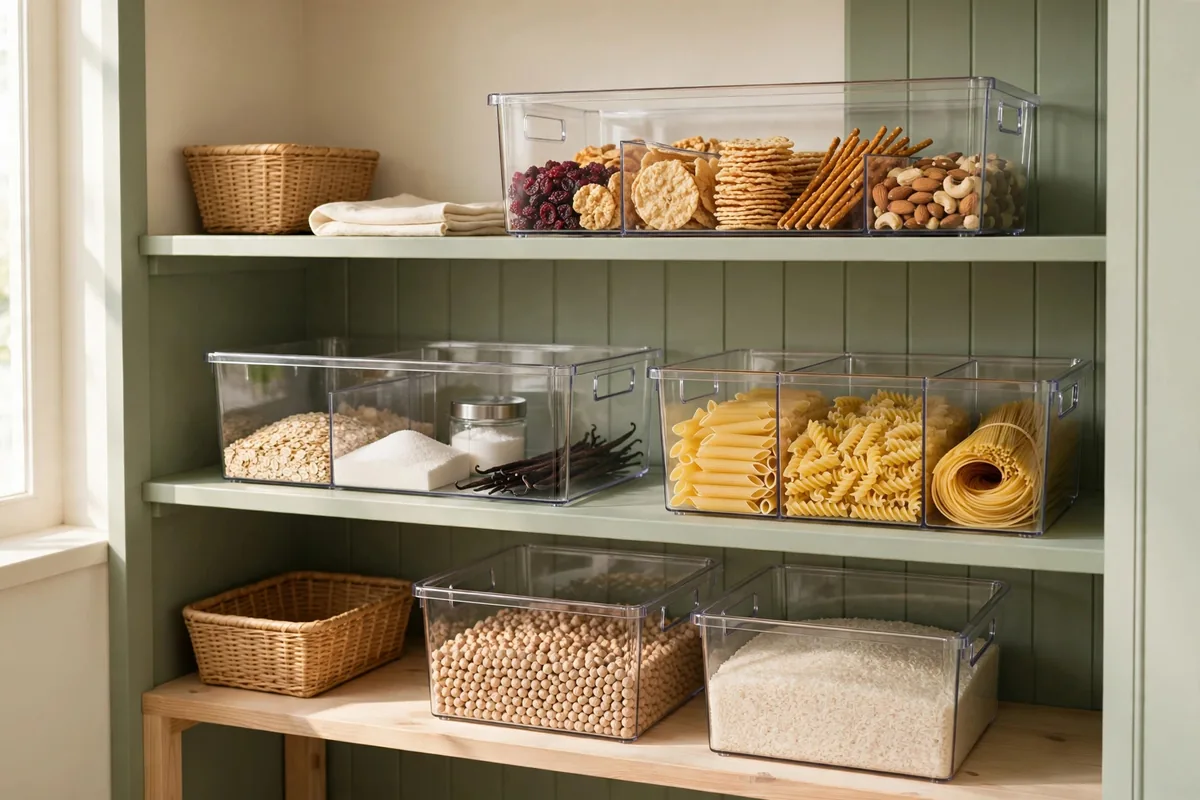
My first year renting, I lost half my shelf space to chaos. Enter clear stackable bins from Dollar Tree (about $1.25 each). I use one for snacks, one for grains, one for baking, and so on. Slide out, grab what you need, and slide back. Nothing topples.
See-through bins make it obvious when you’re out of something. They also help roommates and partners put groceries away in the right spot. Bonus: no need for fancy labels, though a dry-erase marker does the trick if you like. For maintenance, I do a quick inventory every couple of weeks. If you have particularly deep shelves, try double-stacking bins: heavier items like rice on the bottom, lighter snacks up top. The clear bins make it easy to spot what needs restocking before your next grocery run. For extra efficiency, keep a small notepad or digital list nearby to jot down what you run out of, so you can update your shopping list on the fly.
Mount a Tension Rod for Chip Bags and Produce Sacks
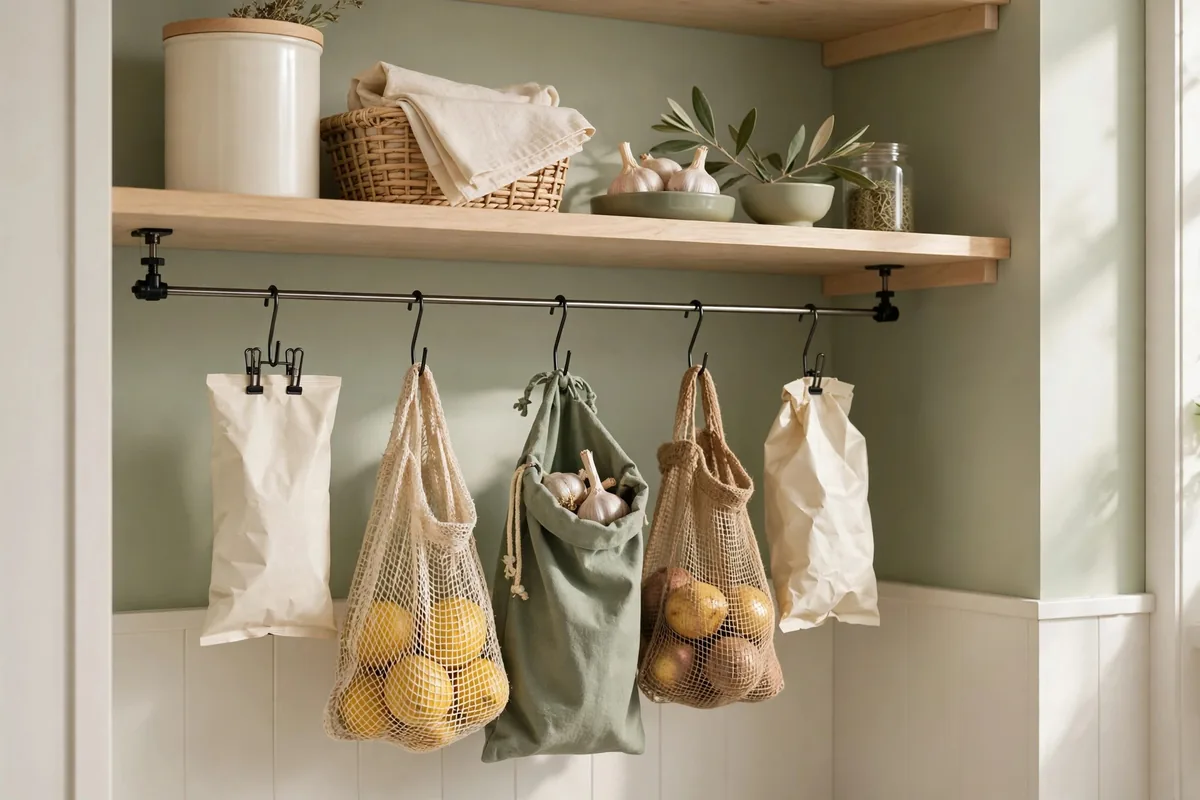
You can add a spring tension rod (under $5 at Walmart or hardware stores) about 8 inches below a pantry shelf. Use clothespins or binder clips to hang chip bags, bags of rice, or netted produce. This keeps things visible and frees up shelf space for flat items.
The catch is tension rods can’t hold heavy items, no big flour sacks or juice bottles. But for light, floppy bags, it’s an easy win.
Maintenance is simple: check every week or two to ensure clips are still secure and rods haven’t slipped. If you notice bags slipping off, try using rubber-tipped clips or adding a piece of non-slip shelf liner over the rod for extra grip.
Turn the Door Into a Spice and Jar Station With a $15 Organizer
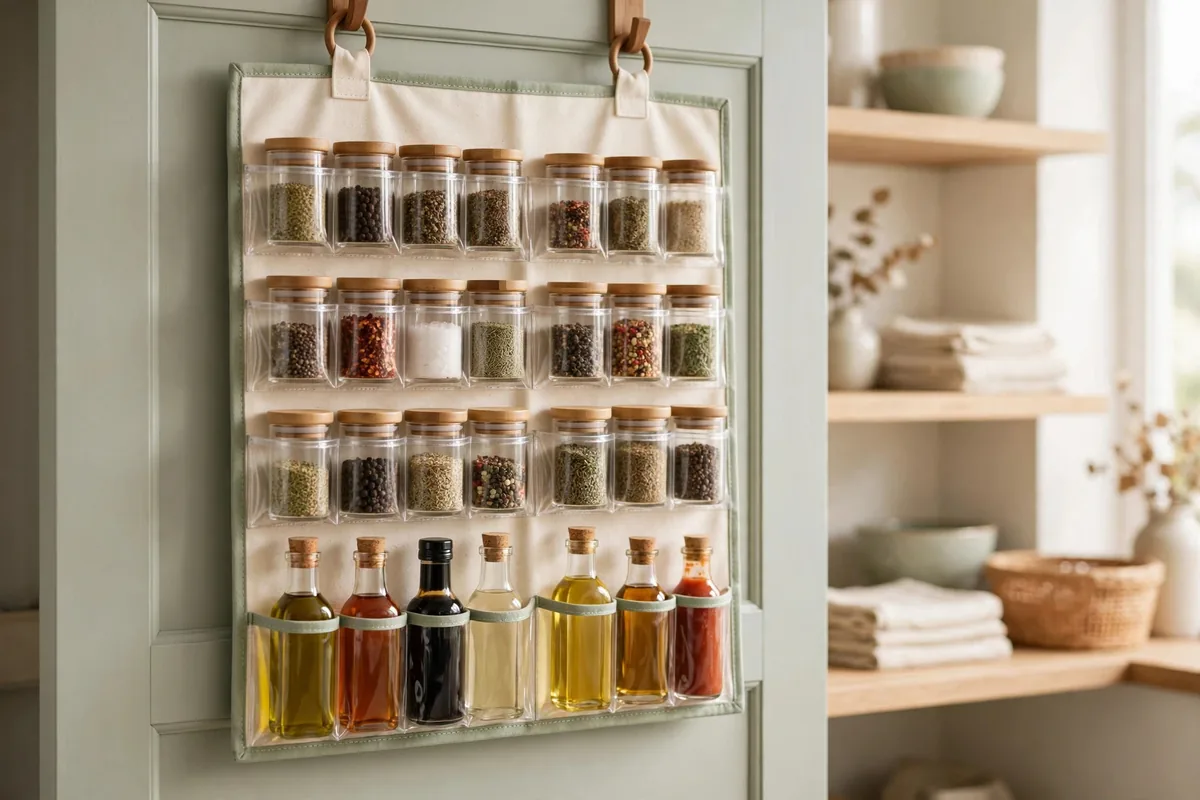
The back of a pantry or closet door is prime real estate. Stick-on or over-the-door spice racks (IKEA’s BEKVÄM or the $15 white mesh type from Amazon) hold jars, spices, or even vitamins. I fit 18 glass spice jars on one organizer, freeing up an entire upper shelf. Measure your door first. The most common catch: not every rental pantry door is full size, so you might need a single rack instead of a multi-tier organizer.
For ongoing organization, wipe down the racks each month. Spices and jars can leave residue, so a quick clean keeps things fresh and prevents sticky build-up, especially in humid kitchens.
Corral Tiny Items With a Simple Muffin Tin
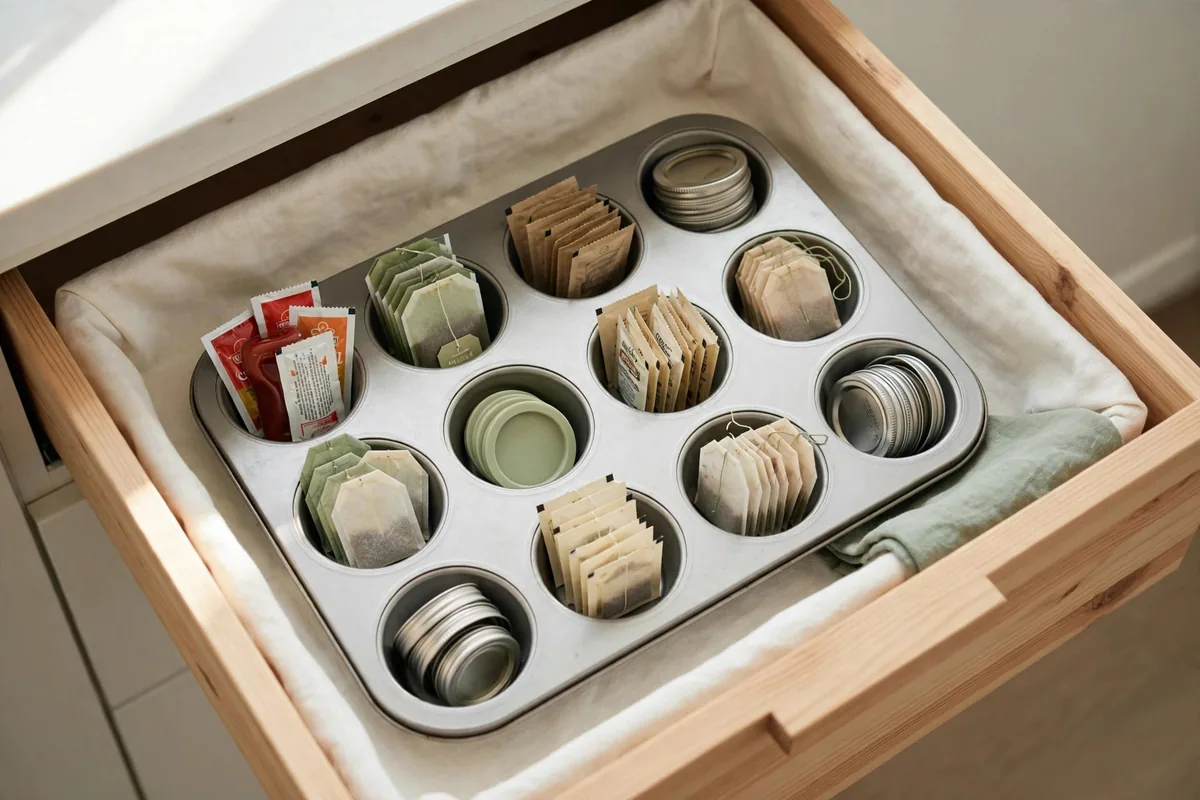
Random seasoning packets, bouillon cubes, drink mixes, and even twist-ties were always scattered everywhere, until I dropped a standard muffin tin (the kind from any grocery store) on a shelf. Each cup holds a different tiny thing. No more rummaging.
It’s quirky, but it works, and you probably have one on hand. The only downside: it eats up a bit of shelf space, so only use this trick if you’re plagued by packet chaos. If you have a deep drawer, you can also set the muffin tin inside it to free up shelf space and keep things contained.
To maintain, empty the tin every month, toss expired or empty packets, and give it a quick wash. If you want to make it even more user-friendly, label each cup with a small sticker for tea, soup, or spices.
Repurpose Magazine Holders for Foil, Wraps, or Canned Goods
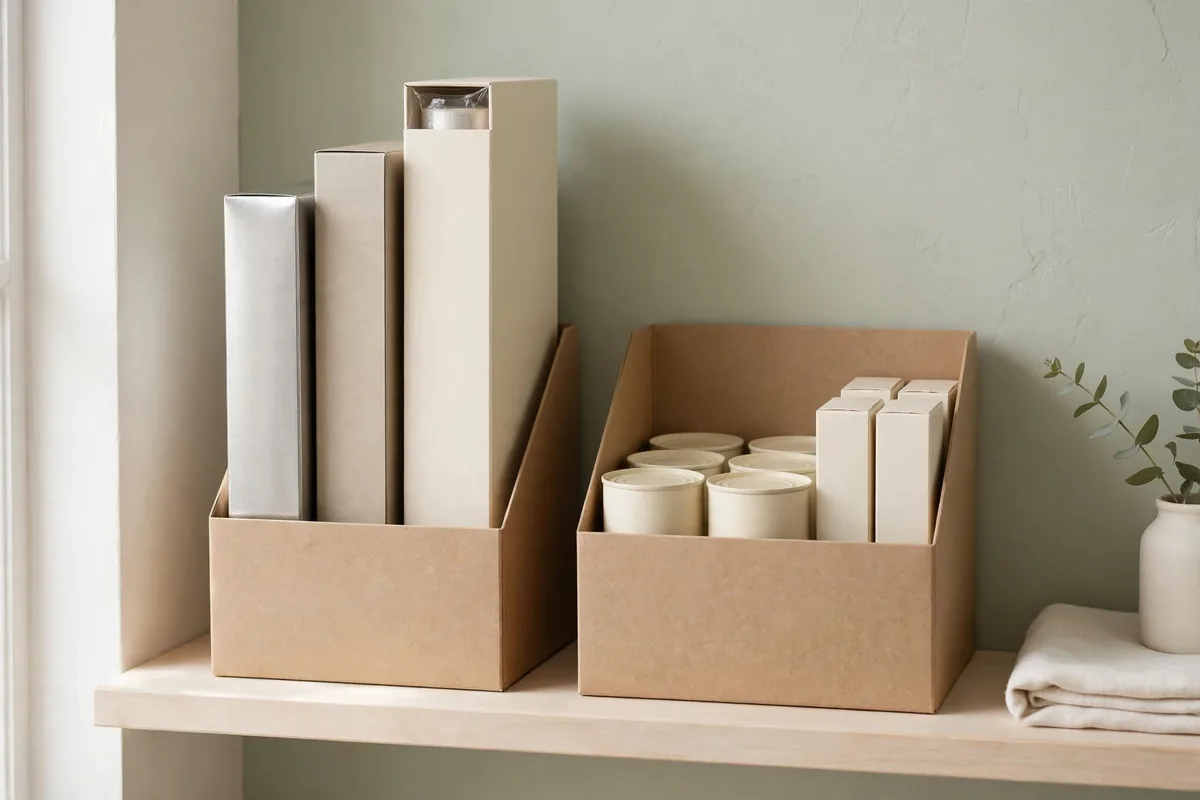
Standing up aluminum foil, cling wrap, or canned drinks was always a disaster in my last apartment, until I popped two leftover office magazine files ($2 at Goodwill) onto the pantry floor. Suddenly, everything stands upright and is easy to pull out. No more boxes sliding around.
If you’re short on floor space, wedge a magazine file horizontally on a shelf to contain granola bars or spice packets. Most are sturdy enough for a few cans or bottles but keep heavier items low.
Maintenance tip: Wipe out the holders every month to clear out crumbs or spills. If you notice the plastic starting to crack, swap out for a sturdier replacement or reinforce with a strip of packing tape.
Sort Staples by Expiration Date With a Simple Checklist
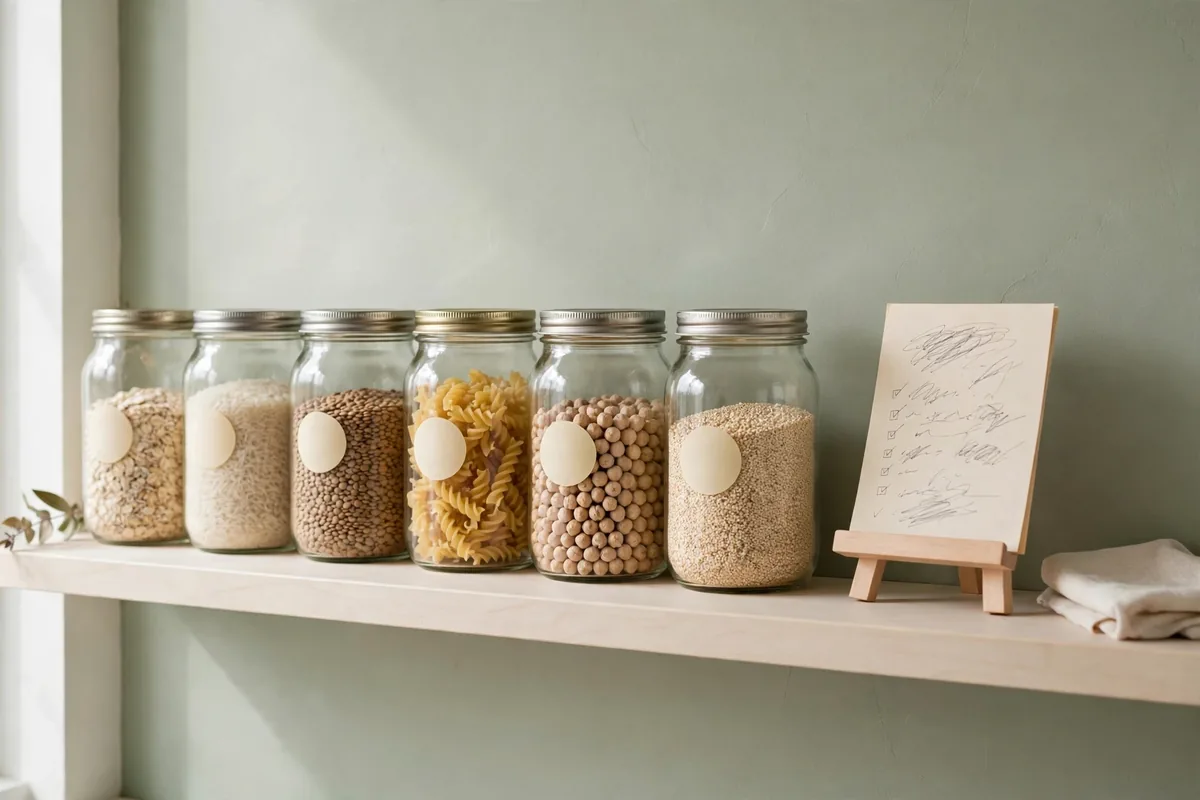
A big cause of waste in small apartment pantries is food expiring before you see it. Every time I organize, I sort by expiration date and put the oldest items at the front. Here’s the simple checklist I use:
- Check dates: Move soon-to-expire foods to the most visible spot.
- Group by type: All pasta together, all snacks together, etc.
- Toss anything unsafe: Swollen cans or moldy packaging go straight to the trash. (See USDA FoodKeeper for storage times.)
Why this works: It stops you from buying duplicates and losing track of what you have, especially when grocery day comes fast. For long-term maintenance, keep a pen and sticky notes handy to label items as you open them, and do a quick date check biweekly.
Use Stackable Drawers for Under-Shelf Storage

One often-overlooked spot in a small pantry is the space right under the lowest shelf. Stackable plastic drawers (like Sterilite or IRIS brands, $8-15 each) can fit underneath and hold spices, seasoning packets, or even backup baking supplies.
I use a two-drawer unit for extra condiments and rarely-used items. This keeps the floor clear and maximizes every inch.
Choose drawers with clear fronts so you can see what’s inside. For maintenance, pull them out every month to wipe down crumbs and spills. If you share a pantry, label each drawer for easy access.
Add a Lazy Susan for Awkward Corners
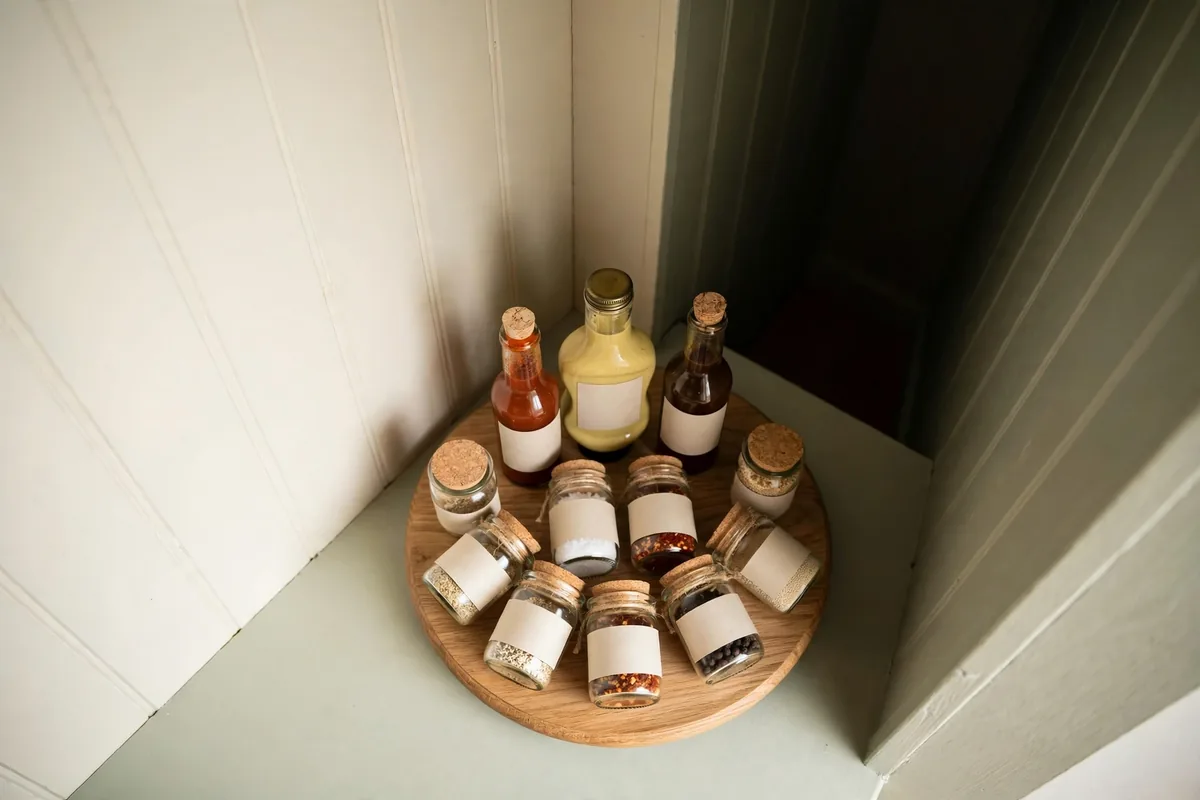
One bonus trick that made a huge difference in my friend’s tiny apartment kitchen: a lazy Susan turntable ($7-12 at Target or Amazon) tucked into the back corner of a deep shelf. Suddenly, olive oils, vinegars, peanut butter jars, and condiments were all easy to reach, just spin and grab. The turntable makes use of hard-to-reach corners and prevents items from getting lost in the back.
Pick a turntable with a non-slip surface and a lip to keep bottles from sliding off. For cleaning, wipe it down every couple weeks, sticky spills collect fast around condiments. If your shelves are very narrow, look for a 9-inch or 10-inch version instead of the standard 12-inch.
Common Mistakes
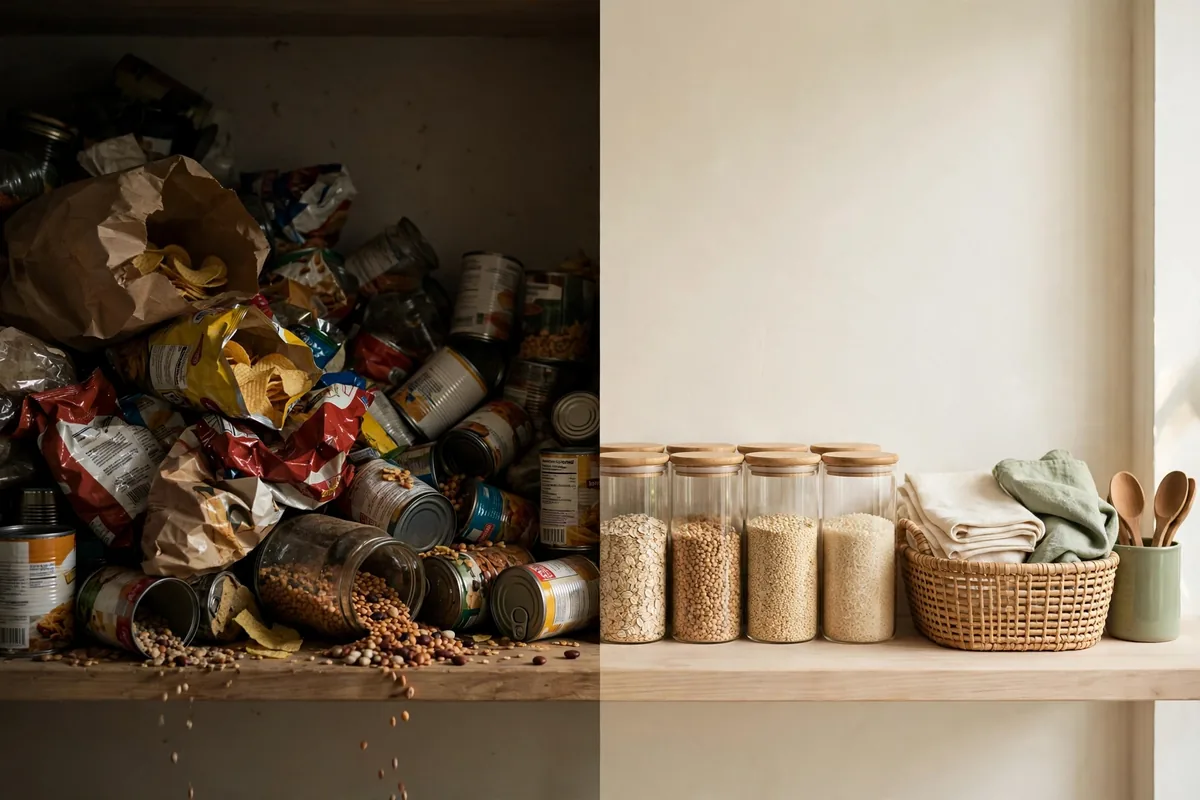
The most frequent reason my small apartment pantry system falls apart is not labeling bins or shelves. Without clear categories, everyone just puts things wherever.
Another big culprit: buying fancy containers that don’t fit your actual shelves. I once splurged on trendy glass jars, only to find they wasted vertical space and didn’t fit on half my shelves.
Maintenance tip: Take five minutes every couple weeks to reset bins and check for empty boxes. If you share with roommates, make it a routine, otherwise, chaos sneaks back in fast.
Where to Start
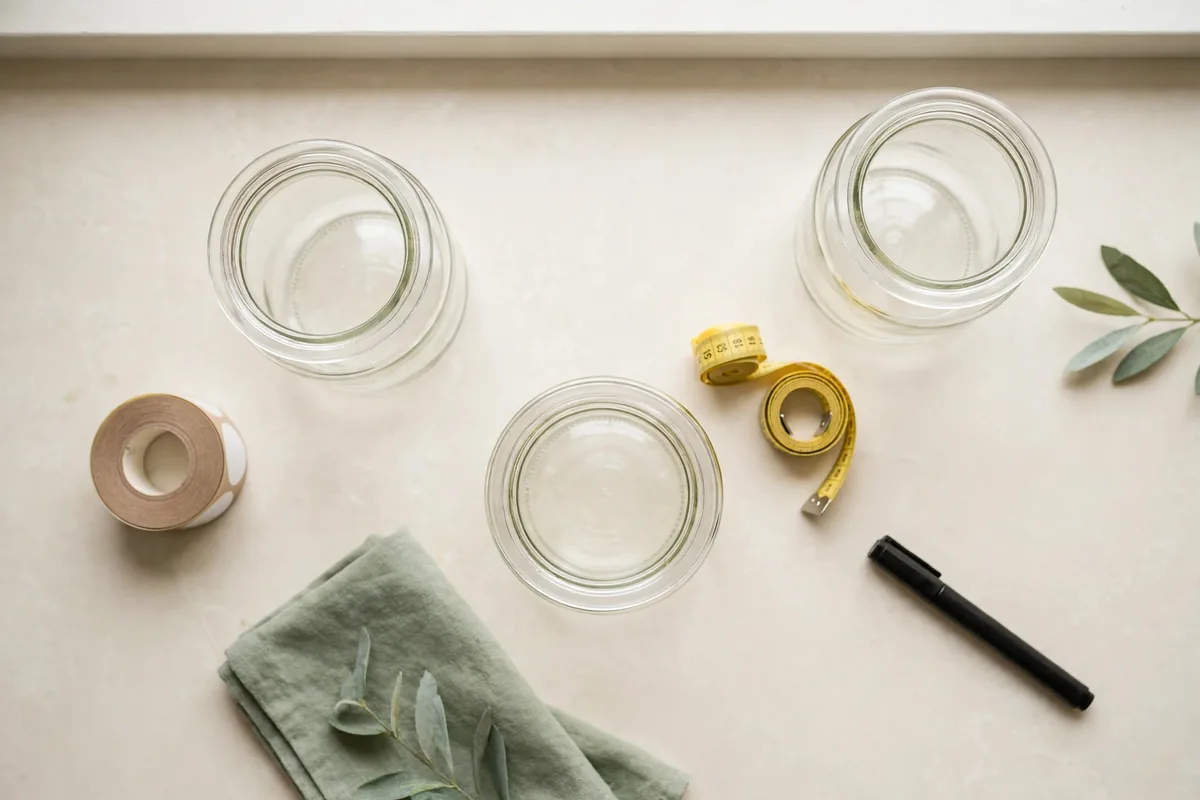
Start with the supplies you already own: a muffin tin, leftover bins or boxes, and basic stick-on hooks. Pick one shelf or problem spot and try just one idea from this list, don’t tackle the whole pantry at once. If you want a quick supply checklist, here’s what I keep handy for fast upgrades:
- Adhesive hooks or no-drill racks
- Clear bins or containers (dollar store is fine)
- A cheap tension rod
- One rolling or standing cart
- Magazine holders or office organizers
- Stackable drawers for under-shelf storage
- Dry-erase marker for temporary labels
Once you have even one shelf feeling organized, the rest comes together fast. These small pantry makeover ideas can make it look as good as it works. Work with what fits your space (and your lease) and tweak as you go. Put a reminder on your phone for a 5-minute tidy every week. Maintenance is what keeps the system from sliding back. Once one shelf is working, these small pantry organization ideas will help you build the full system.