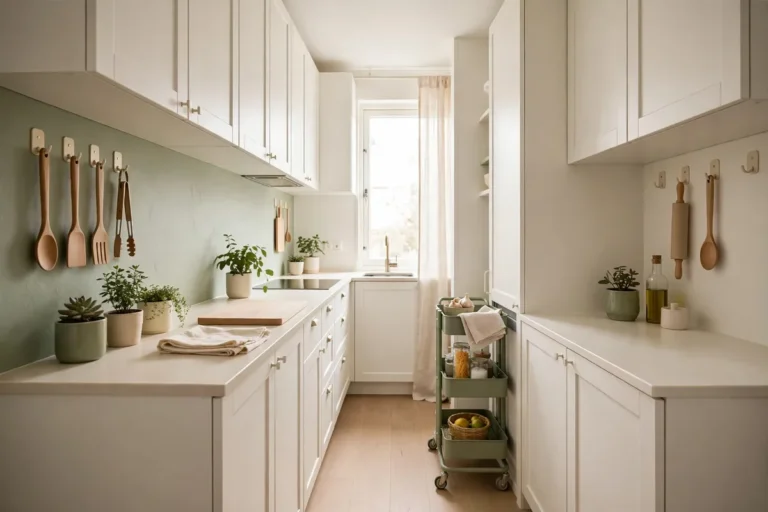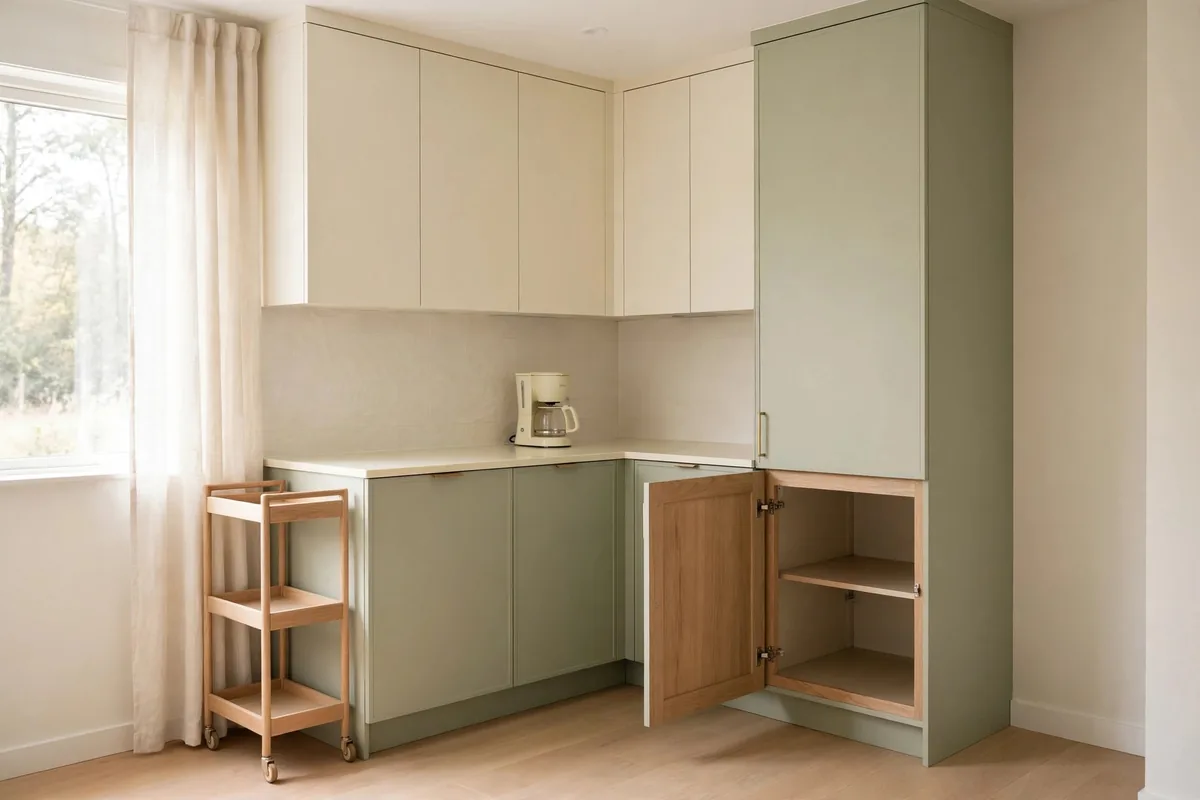
At one point, my kitchen counter hosted a toaster, a stand mixer, a coffee maker, a blender, and an air fryer — a lineup of appliances that left me roughly six inches of clear counter. I was cooking dinner balanced on a cutting board propped over the sink. The appliances weren’t the problem, exactly. The storage was.
So I ran a ruthless appliance audit, gave everything a real home, and got my counter back. Most of my appliances still live within arm’s reach — they just don’t all live on the counter anymore. If you’re hunting for small kitchen appliance storage ideas that work in a real, small, rented kitchen, these are the ten moves that cleared my counters without banishing anything I actually use.
Audit the Counter: Decide What Earns a Permanent Spot
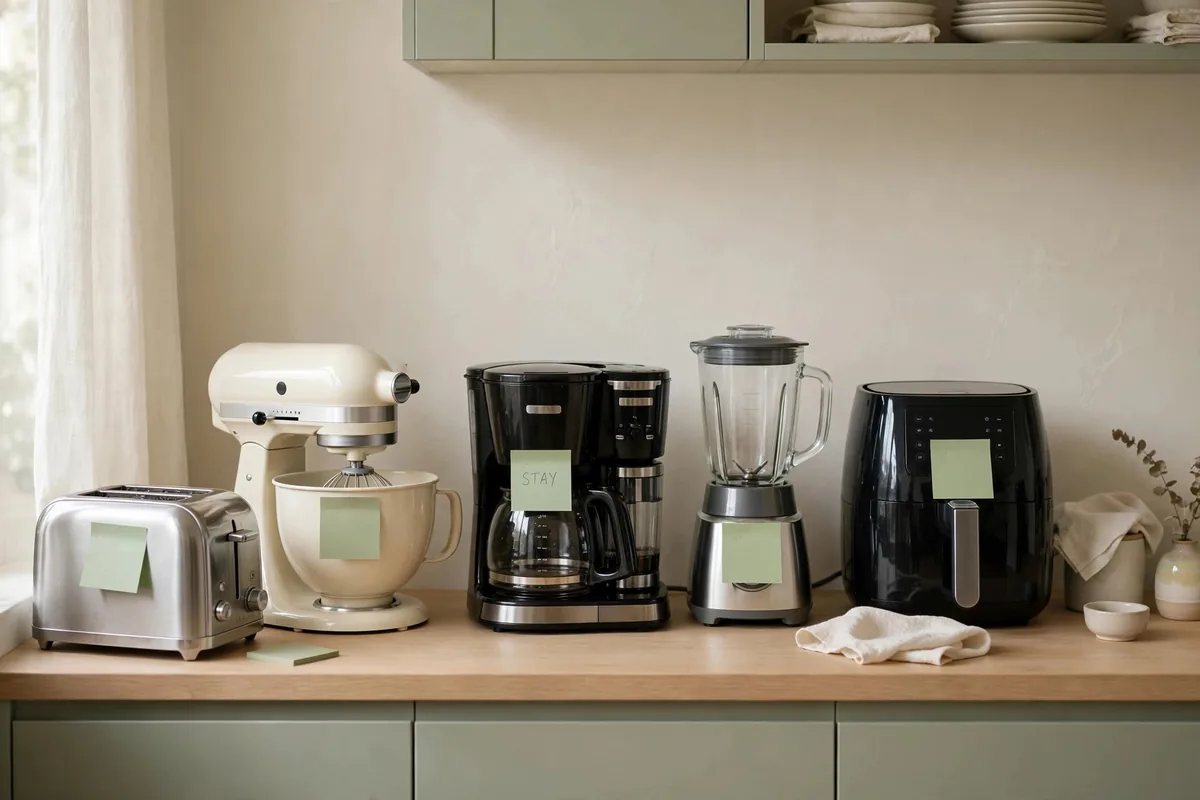
Every small kitchen appliance storage plan starts with the same uncomfortable question: which appliances do you use daily? Pull every appliance onto the counter and be honest. In my kitchen, only the coffee maker survived — everything else was a weekly-or-less guest squatting in prime real estate.
The rule I landed on: daily-use appliances earn counter space; weekly appliances earn nearby shelf space; monthly appliances earn the pantry. The air fryer I used twice a month did not deserve 24/7 counter residency. Moving it to a shelf saved a square foot of counter and cost me exactly ten seconds of fetching.
Build a Simple Appliance Garage Into the Corner
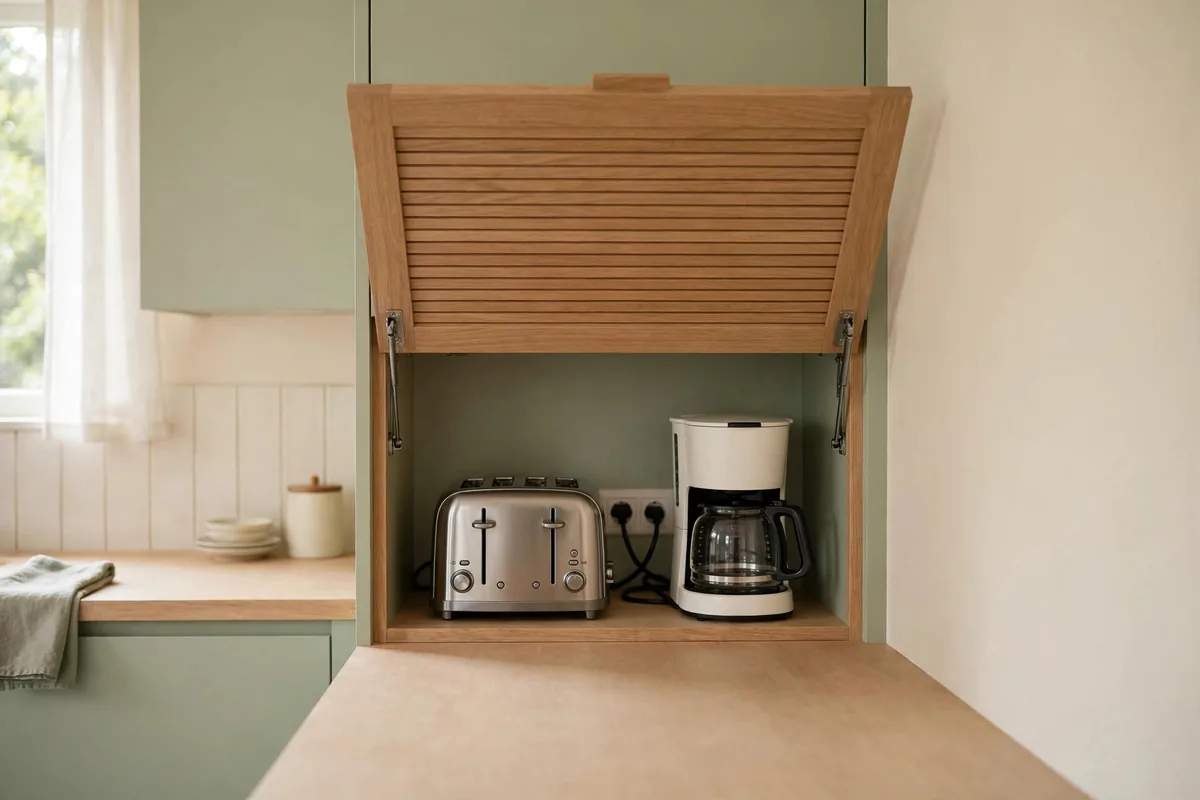
An appliance garage (a cabinet with a lift-up or tambour door that hides small appliances) is the single best small kitchen appliance storage idea for countertops, because it gives you both: appliances stay plugged in and accessible, but visually the counter looks clear. A ready-made countertop garage runs $60–$120; a DIY version from a small cabinet and a lift-up hinge costs about $40.
The corner of the counter is the natural spot: it’s the least useful workspace (nobody chops in a corner) and the most useful storage zone. Park the toaster and coffee maker inside, lift the door in the morning, drop it after. The visual calm of a clear counter is worth more than you’d expect for your own mood.
Ventilation matters. Toasters and coffee makers throw heat, so leave a few inches of clearance and never run a heat-producing appliance with the garage door closed. If you’re DIY-ing, a simple open-front box with a curtain works fine too. The point is hiding the clutter; the door itself is optional.
If you’re buying ready-made, compare three things:
- Interior height: tall enough for your tallest appliance in use, plus two inches.
- Door type: tambour doors disappear into the cabinet; lift-up doors need clearance above.
- Heat-safe materials: wood and metal handle toaster heat; thin plastic warps.
Roll Daily Appliances Onto a Slim Cart
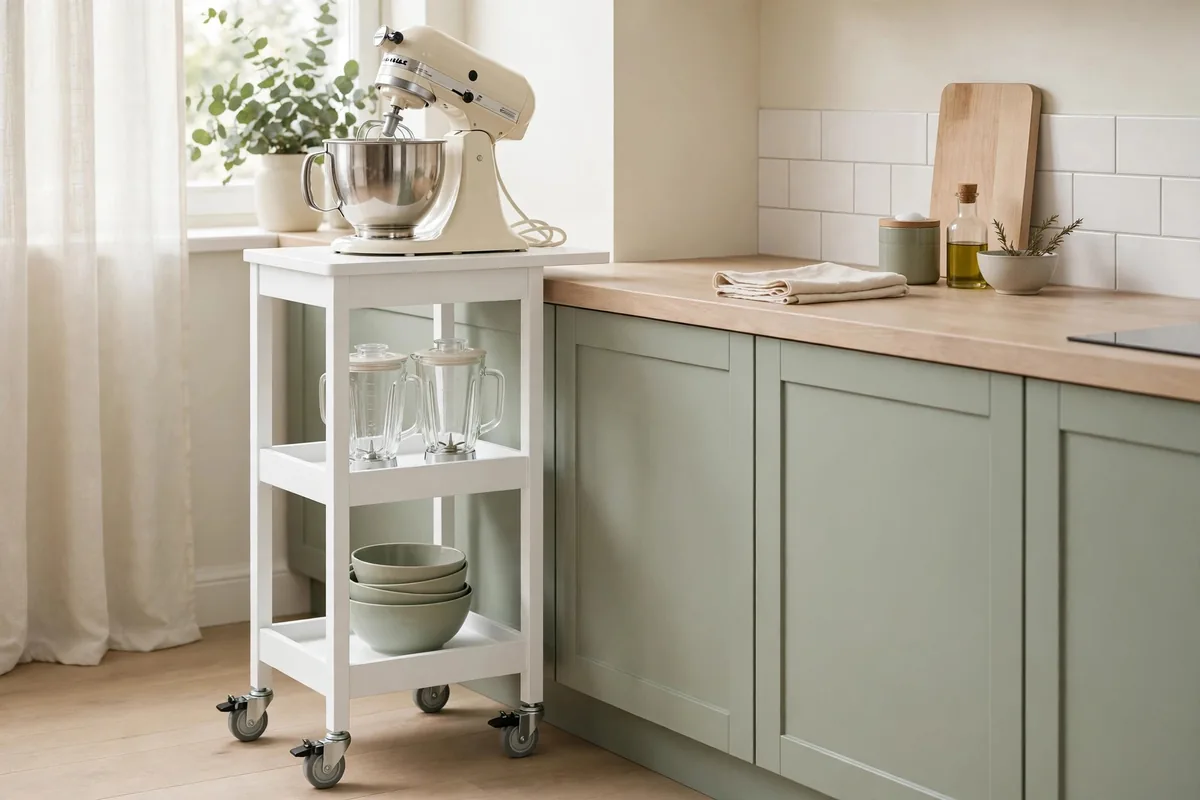
A small kitchen appliance storage cart (a narrow rolling unit, about $35–$60) is the renter’s appliance garage. Park the mixer, blender, or air fryer on it, roll it to the counter when cooking, roll it back to its parking spot after. It turns “storage” into “mobile workstation.”
The sweet spot is a cart 12–15 inches wide: slim enough to park in the gap beside the fridge or between counter and wall, sturdy enough for a stand mixer. Locking casters are non-negotiable — a cart that drifts mid-pour is a cart that causes disasters.
Use the cart’s lower shelves for the accessories: mixing bowls, blender jars, air fryer racks. When the appliance and its parts travel together, you stop hunting through three cabinets to assemble one smoothie. The cart becomes a self-contained appliance station.
Give Every Appliance a Shelf Home
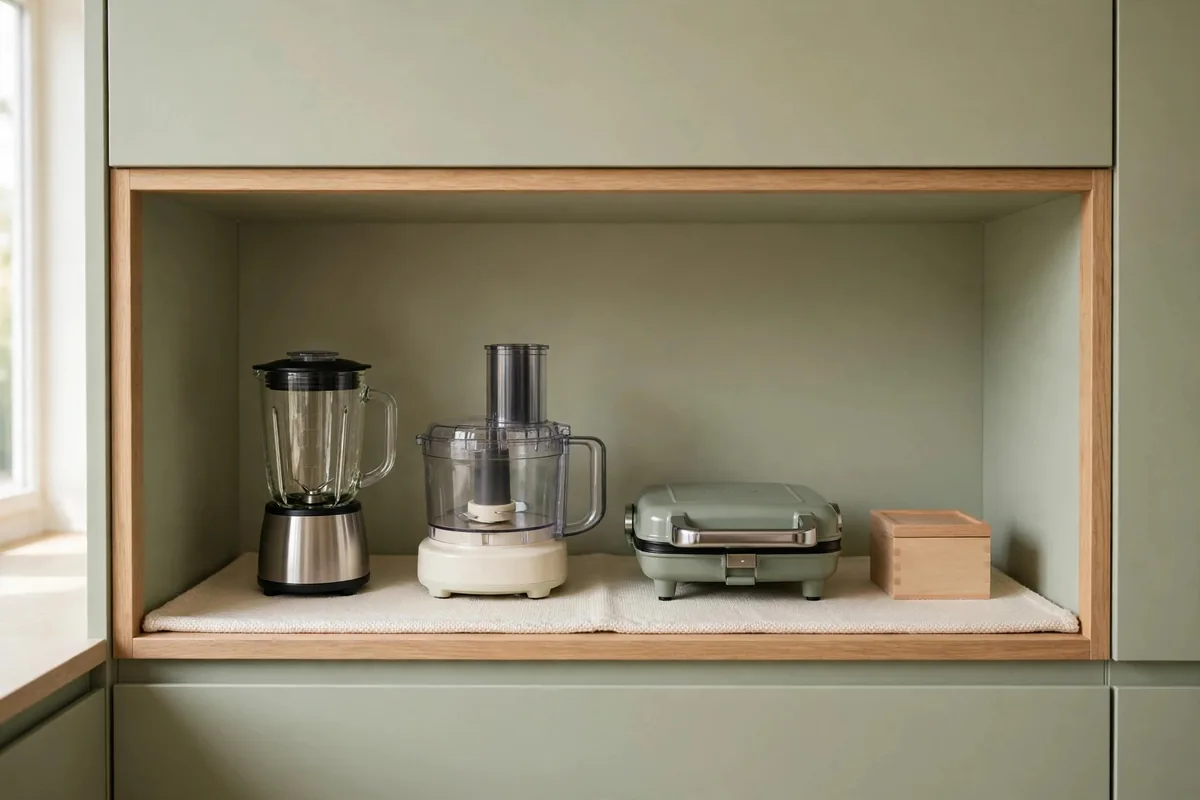
A small kitchen appliance storage cabinet, or just a dedicated shelf in an existing cabinet, ends the era of appliances living on top of each other. Assign every appliance a shelf spot sized to its footprint, heaviest on the bottom, most-used at the front. My blender, food processor, and waffle maker each have a labeled shelf now, and none of them have touched the counter in months.
Line the shelves with non-slip liner so appliances don’t slide when you pull one out. If the cabinet is deep, a low riser or a pull-out shelf keeps the back row reachable, because a shelf you can’t reach is a shelf you won’t use.
Keep the shelf near an outlet if the appliance needs power at its storage spot. Charging a handheld vacuum or running a food processor right on the shelf saves the counter entirely. A short extension with a flat plug, secured along the cabinet wall, makes any shelf a powered station.
Store Small Appliances Vertically, Not Stacked
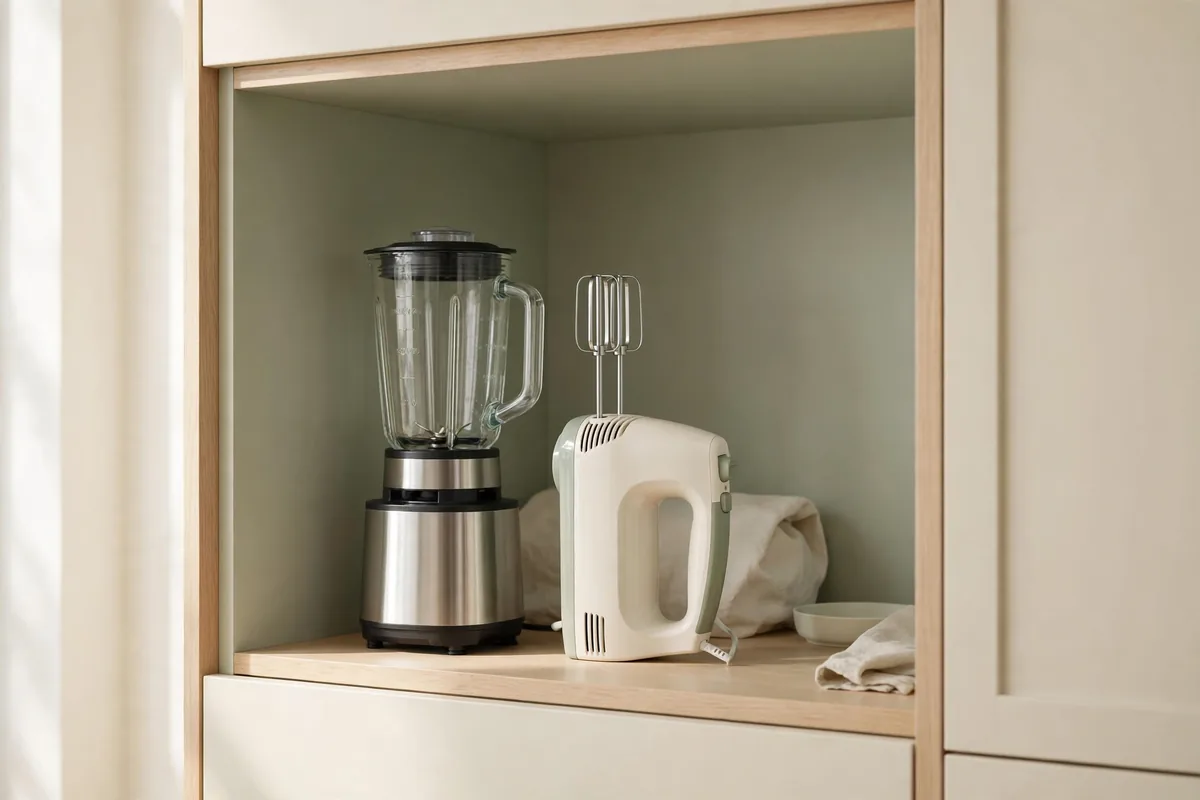
Stacking small appliances is how you end up never using the one on the bottom. Kitchen appliance storage ideas for small spaces work better when appliances stand side by side, file-style, so each one slides out without disturbing the rest. A simple shelf divider or a couple of bookends can create the slots.
This is especially true for flat-ish appliances: sandwich presses, waffle makers, panini grills. Stored vertically on their sides (check the manual — most are fine), they take up a third of the footprint and you can actually see what you own. My waffle maker went from “forgotten under the blender” to “used every Sunday.”
Tame the Cord Tangle With Velcro Ties
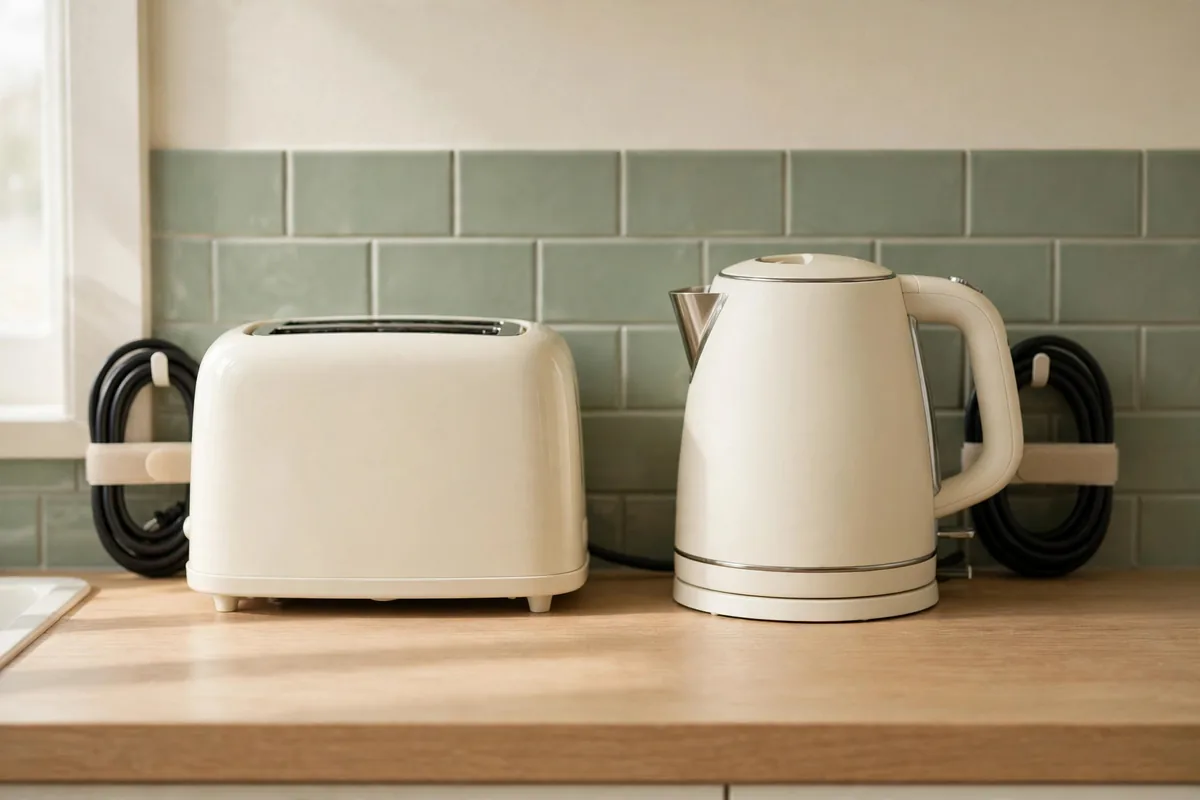
Appliance cords are the invisible clutter of small kitchens: a nest of black cables behind the toaster that collects dust and drives you quietly mad. A $6 pack of velcro cord ties (plus a label maker for the win) turns the tangle into neat, labeled loops.
Wrap each cord in a loose coil and secure it with a tie, then stick a tiny label on the tie: “toaster,” “blender,” “kettle.” When you need to move an appliance, you grab the right cord on the first try instead of playing cable roulette. It takes twenty minutes for the whole kitchen. (In a shared kitchen, color-code the ties, one color per person. It sounds silly until it ends the third argument about whose cable belongs to the hand mixer.)
For appliances stored on shelves, coil the cord and tuck it inside or behind the appliance so it doesn’t snag when you pull it out. And never wrap cords tightly around a hot appliance. Loose coils only, especially for anything with a heating element.
Store the Accessories With the Appliance
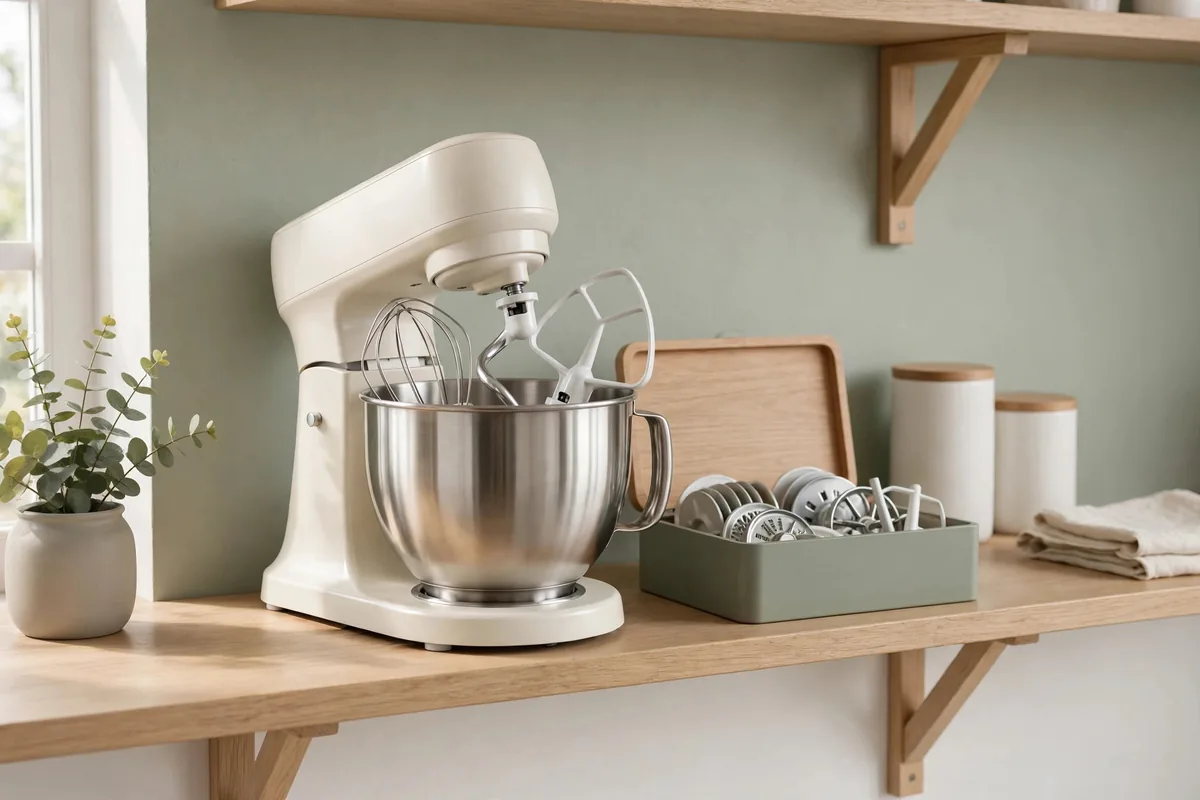
The fastest way to stop using an appliance is to store its parts in three different places. Small appliance storage ideas for a small kitchen should treat each appliance as a kit: the food processor lives with its blades and discs, the stand mixer with its attachments, the vacuum with its nozzles. Parts stored with the appliance get used; parts stored “somewhere logical” get lost.
Small zip bags or a lidded container inside the appliance’s shelf spot hold the bits. For the stand mixer, the attachments fit neatly in the bowl — a trick that feels obvious the moment someone tells you. For blenders, the extra jars stack inside the base jar.
Label the container if the parts are fiddly: “food processor: slicing disc, shredding disc, dough blade.” Six months from now you won’t remember which disc is which.
Retire the Single-Use Gadgets
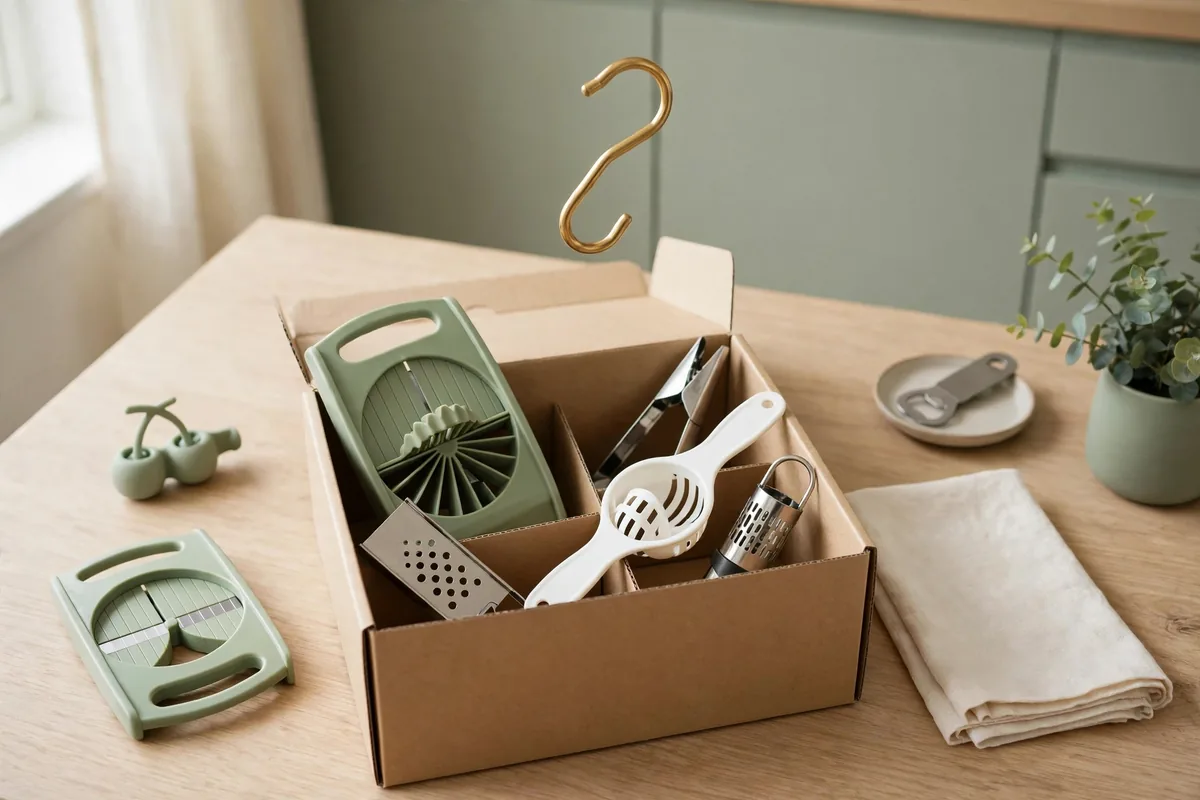
Here’s the declutter half of small kitchen appliance storage solutions: the banana slicer, the electric egg cooker, the quesadilla maker. Single-use gadgets are space vampires in a small kitchen, and most of them do a job your real appliances already do. The egg cooker loses to a $5 pot of boiling water every time.
The survivors earn their place by versatility: the air fryer that roasts, reheats, and crisps; the blender that also makes soup and nut butter. In a small kitchen, every appliance should justify its footprint with at least three jobs.
Raise Short Cabinets With a Sturdy Riser
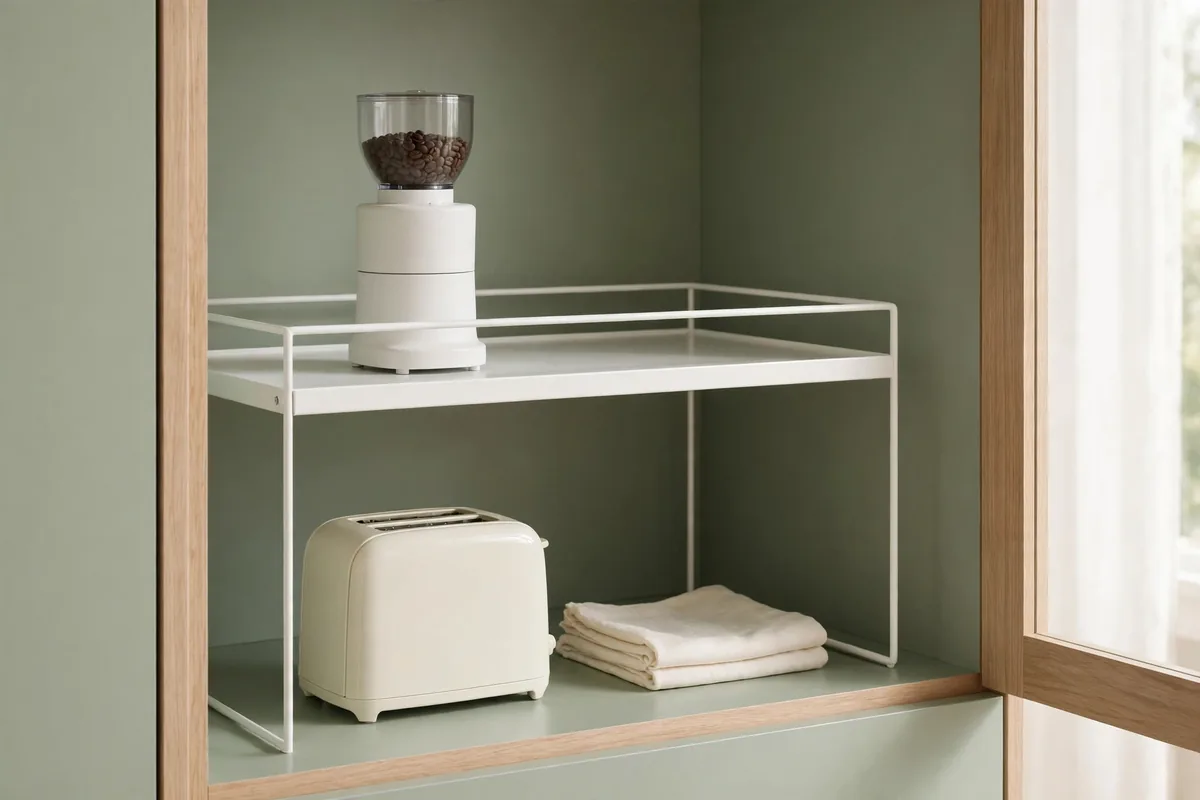
Upper cabinets in small kitchens often have one tall shelf and a lot of wasted air above short appliances. This small kitchen appliance storage DIY costs about $15: a sturdy shelf riser or a pair of stackable wire shelves inside the cabinet creates a second level for short appliances — the hand mixer, the immersion blender, the milk frother.
Use the riser for light items only. A stand mixer on a wire riser is a collapse waiting to happen. Heavy appliances stay on the solid shelf; light ones go up top. Check the riser’s weight rating before you trust it with anything electric.
This also works inside a pantry or a deep lower cabinet: anywhere with vertical dead space above short items. Measure the clearance first. A riser that leaves the appliance half an inch from the shelf above won’t get used.
Claim a Pantry or Closet Shelf for Seasonal Appliances
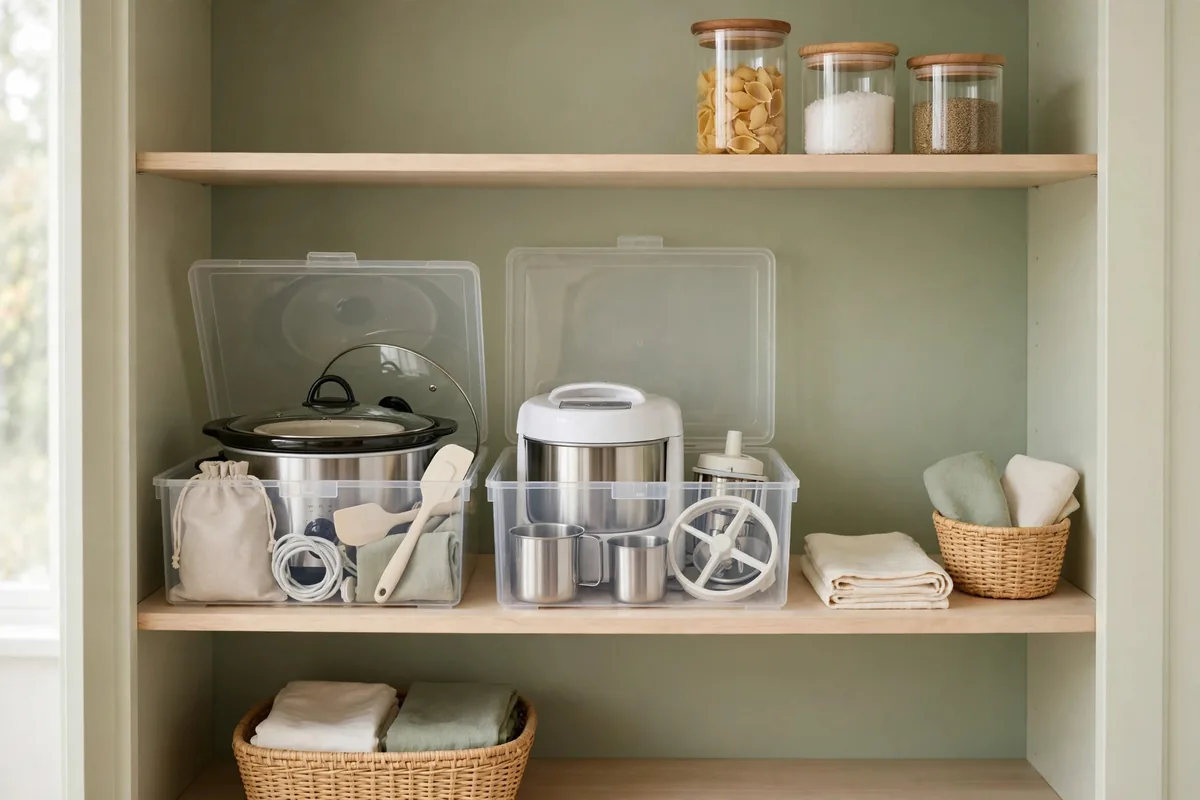
Not every appliance needs to live in the kitchen. The turkey roaster, the ice cream maker, the big slow cooker: seasonal and occasional appliances can live on a pantry shelf, a hall closet shelf, or even a labeled bin on top of the wardrobe. Out of the kitchen doesn’t mean out of your life.
One labeled bin per seasonal appliance keeps the parts together during the off-season: the ice cream maker’s dasher and lid, the roaster’s rack and thermometer. When the season comes, you grab one bin instead of hunting across the apartment.
Keep a short list on your phone of what’s stored where. “Ice cream maker: hall closet, top shelf, blue bin” takes ten seconds to write and beats the annual “where did I put that?” spiral.
Two habits make the off-season painless:
- One bin per appliance, parts inside, labeled with the appliance name.
- A location list on your phone, updated the day you store things, not the day you need them.
Once every appliance has its home, apply the same audit-and-zone thinking to organizing the rest of the kitchen.