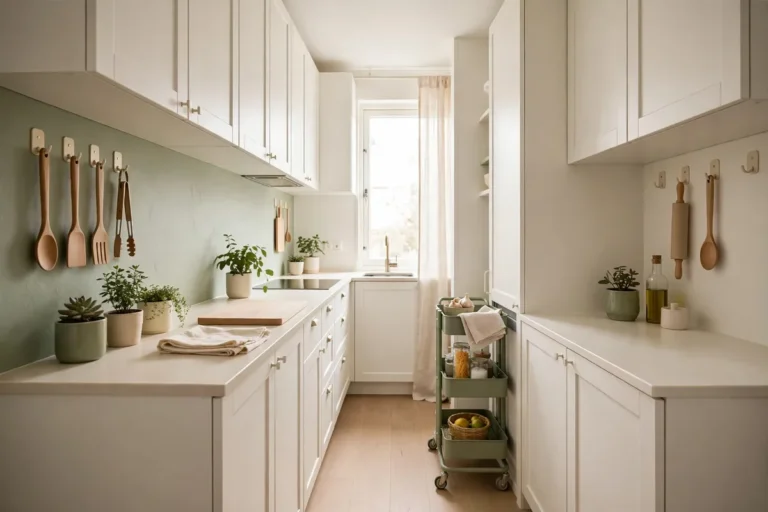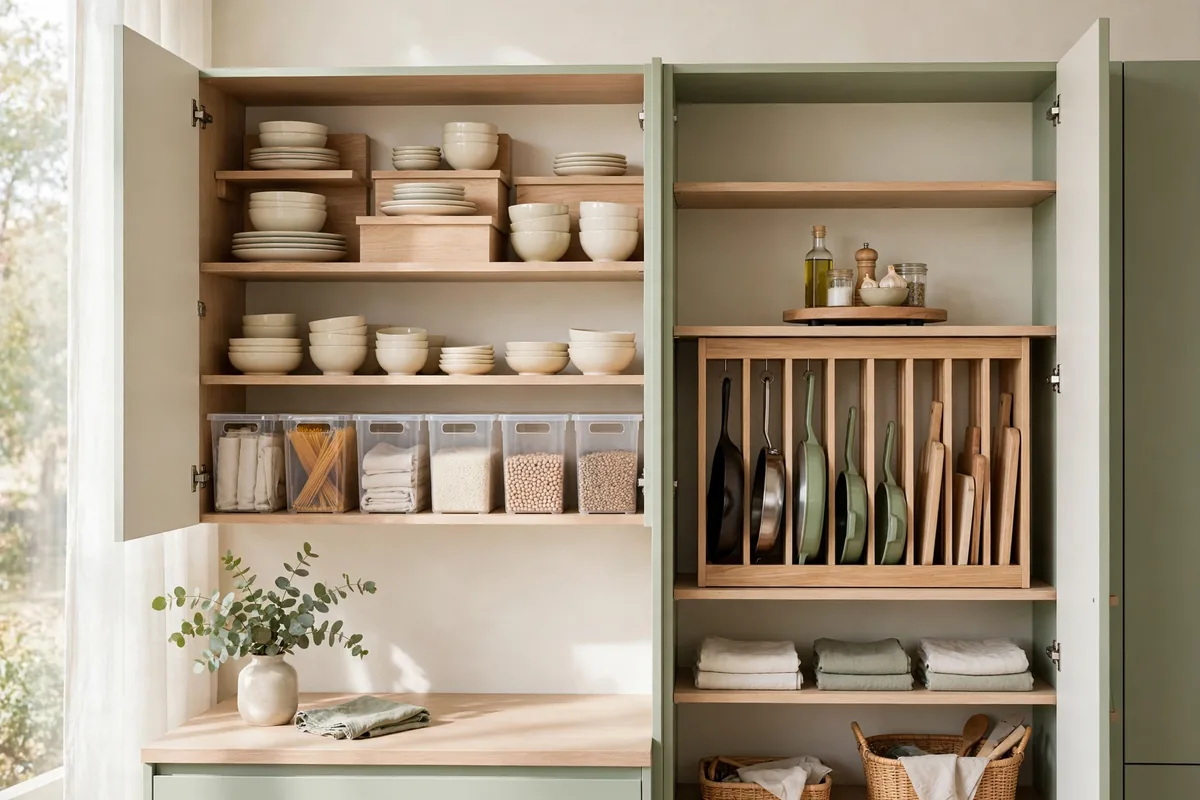
Open any cabinet in my kitchen before I got serious about it and you’d take a hit: lids sliding off stacked pots, a Jenga tower of mixing bowls, spice jars performing trust falls from the back row. The cabinets weren’t small, exactly. They were just being used as deep, dark boxes where things went in and never came out in the right order.
Small kitchen cabinet organization ideas are really about one insight: a cabinet is not a box, it’s a room. It has a floor, walls, a door, and vertical air — and most of us only use the floor. Once I started using the walls, the door backs, and the air above everything, my cabinet capacity roughly doubled without adding a single inch. Here’s the full playbook.
Double Every Shelf With a Riser
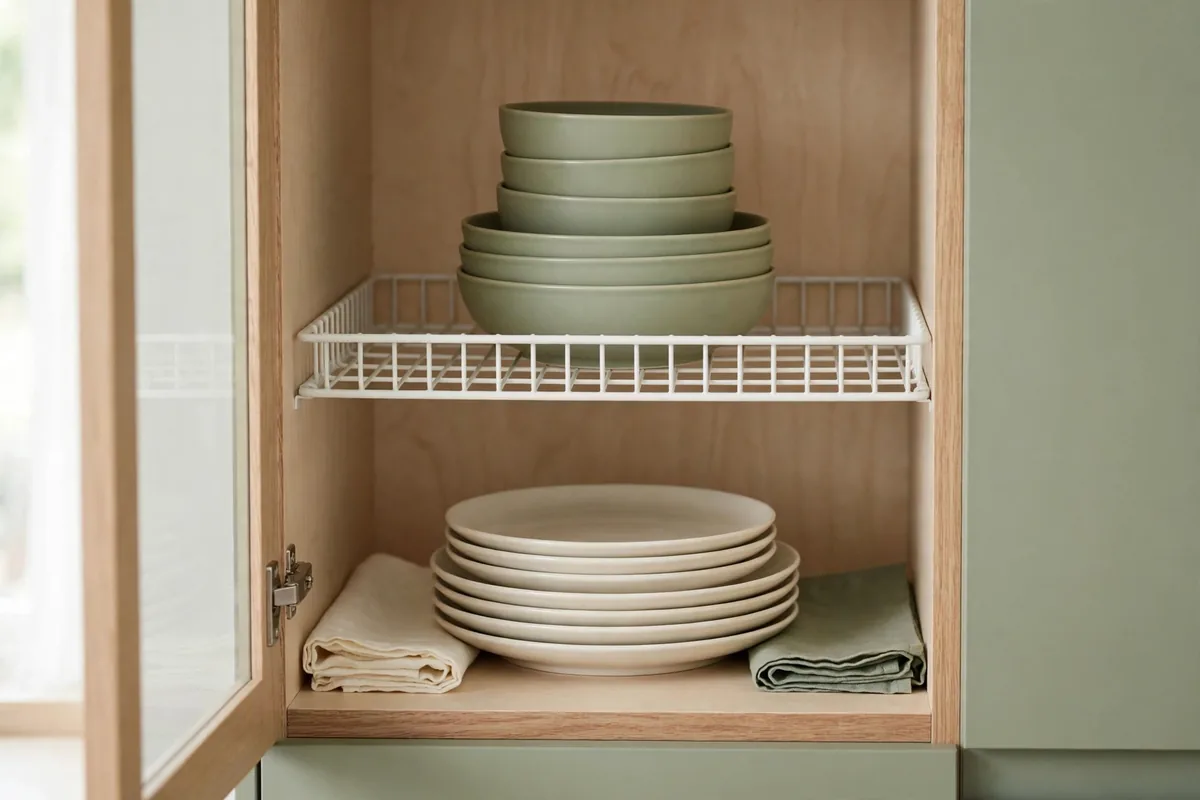
A shelf riser (a simple wire or bamboo platform that sits on the existing shelf) is the highest-ROI product in small kitchen cabinet organization. One $12 riser turns a single shelf into two levels: mugs on top, plates below, or canned goods stacked two high without the toppling tower.
Risers work because cabinet shelves are spaced for the tallest item, which wastes the air above everything shorter. Measure your shelf height and the tallest item on it, then buy a riser that fits the gap. The freestanding ones need no installation and move between cabinets as your needs change.
I put risers in three cabinets and gained the equivalent of three extra shelves for about $35 total. Start with the cabinet you open most — for most people that’s dishes or the everyday cooking cabinet — and you’ll feel the payoff within a day.
Spin a Lazy Susan Into the Corner Cabinet
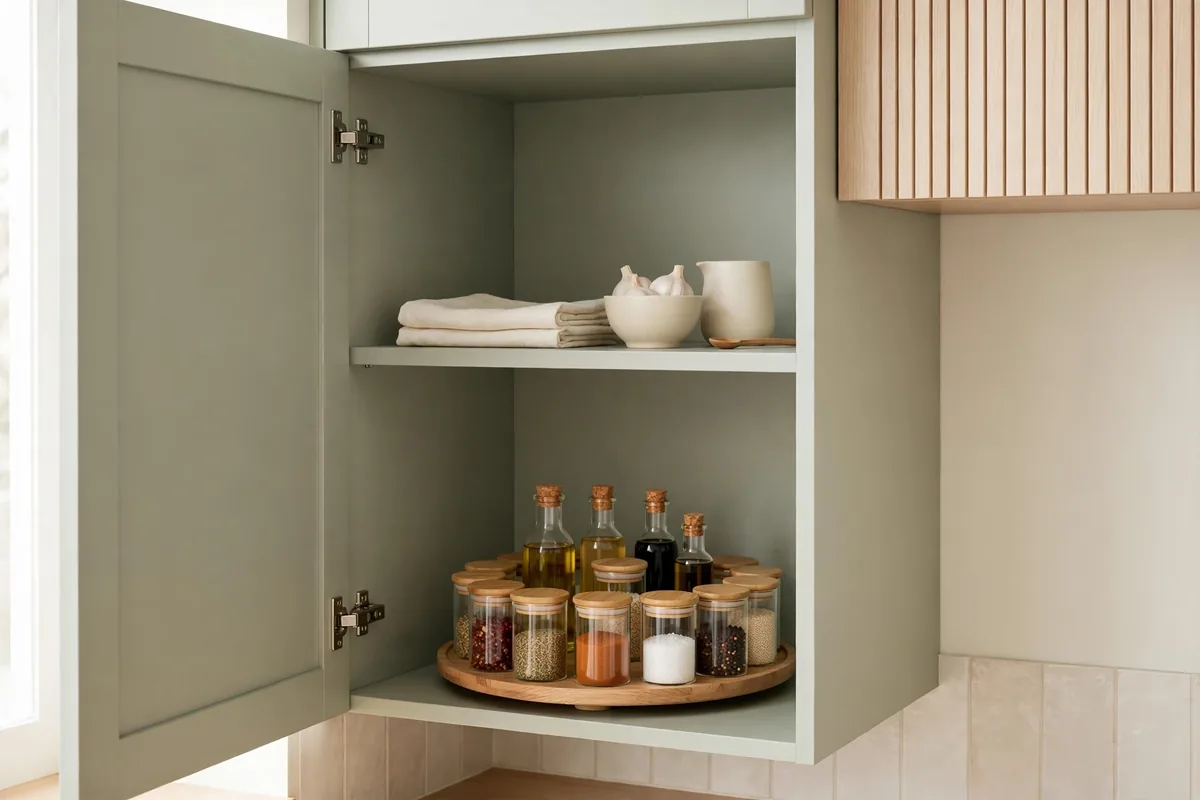
Corner cabinets are where kitchen items go to be forgotten — the dark triangle in the back swallows spice jars, oils, and small cans whole. A 10 or 12-inch turntable for about $15 ends the archaeology: spin, grab, done. Nothing hides in the back because the back comes to you.
Two-tier turntables work even better in tall corner cabinets, doubling the spinning storage. Keep the heaviest items (oils, vinegar bottles) on the bottom tier and lighter jars up top. And leave a finger’s width around the edge — a turntable that scrapes the cabinet walls doesn’t turn, it wedges.
Measure before you buy, because turntables are unforgiving about fit:
- Measure the interior width at the cabinet’s narrowest point, then subtract two inches for clearance.
- Check shelf height: a two-tier turntable needs at least 14 inches.
- Square corner cabinets can take a rectangular turntable to use the back corners.
This is one of those small kitchen cabinet organization hacks that feels embarrassingly simple after the fact. I found three duplicate spice jars in my corner cabinet the day I installed mine. Three. The turntable paid for itself in paprika alone.
File Pans and Lids Vertically, Never Stacked
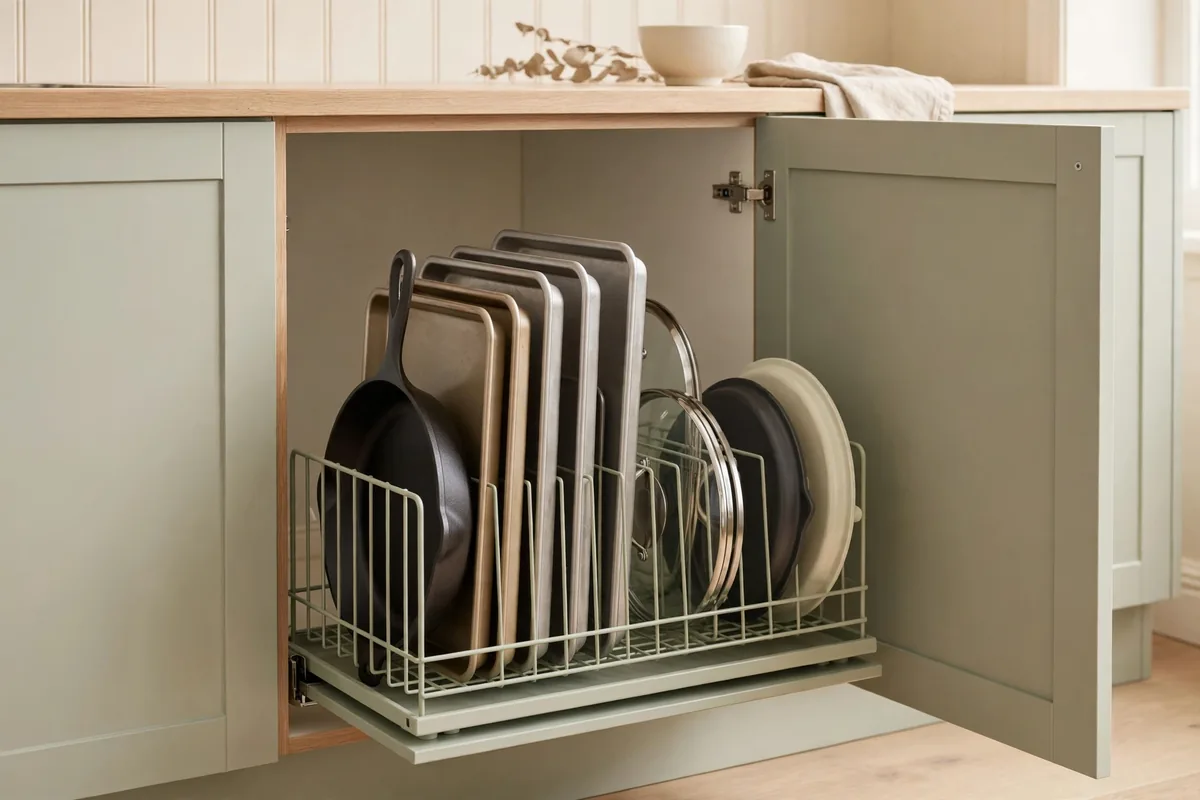
Stacked pots and pans are the number-one cause of cabinet pile-ups. A vertical pan organizer — a wire rack with slots, about $15 — lets you file skillets, baking sheets, and cutting boards upright like records. Grab the one you want without unstacking four others.
Sort by frequency, not by size: the daily skillet goes in the front slot, the roasting pan you use twice a year goes in the back. And check your pan handles. Oversized loop handles need wider slots, so measure the widest pan before buying the rack.
Stick a Lid Rack on the Cabinet Door Back
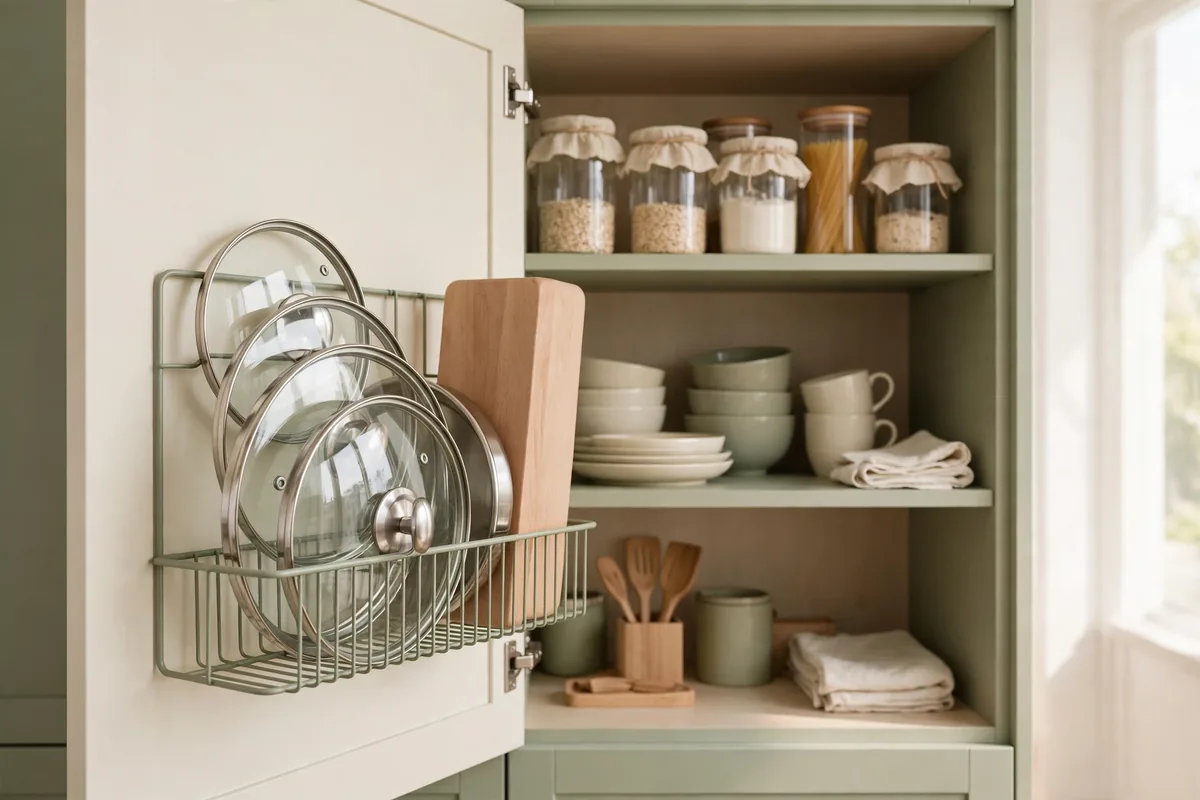
The inside of every cabinet door is a flat, empty wall begging for a job. Adhesive or screw-mounted lid racks (about $10) hold pot lids, cutting boards, or baking sheets on the door interior, freeing the shelf behind them for the actual pots.
Adhesive mounts are renter-safe and hold lids fine; use the screw-mounted version for heavy cutting boards. Mount low on the door so the weight stays near the hinges, and check the door still closes fully with the rack loaded (a door that won’t shut is worse than no rack at all). Clean the door interior with rubbing alcohol before sticking adhesive mounts, and wait a full 24 hours before loading them: adhesive needs cure time, and loading early is the top reason mounts fail.
Zone Each Cabinet by Job
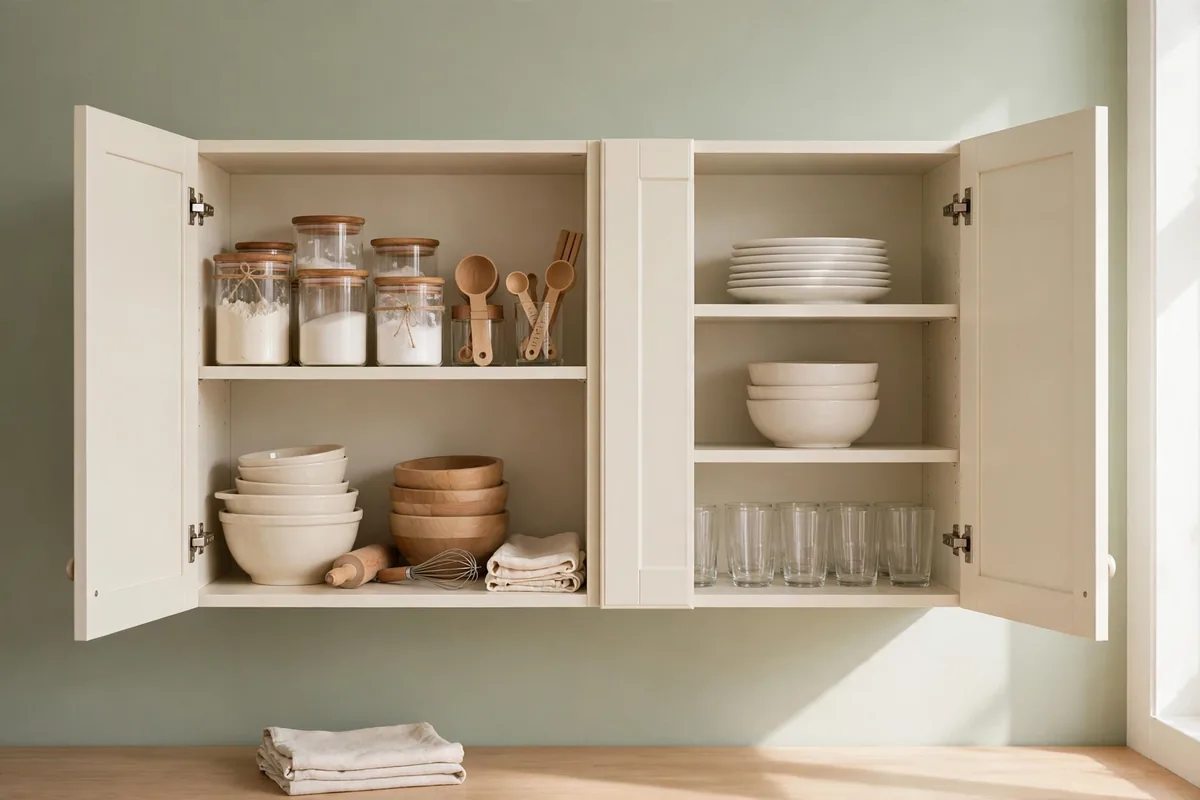
The fastest free upgrade in small kitchen organization is zoning: assign every cabinet one job and ruthlessly evict the squatters. Cooking cabinet (oils, spices, utensils near the stove). Prep cabinet (cutting boards, mixing bowls, measuring tools). Dishes, food storage, cleaning: each gets its home, and nothing lives “wherever it fit.”
Zones work because they match how you actually cook: you reach for things in sequences, not at random. When the oils, the spices, and the cooking utensils all live within arm’s reach of the stove, weeknight cooking stops being a nightly excavation. Put the zone’s items together even if it means moving things you “always kept” somewhere else.
Write the zones on sticky notes and live with them for a week before buying any organizers. You’ll discover your real habits: maybe you bake more than you thought, maybe the “snack cabinet” is really a “whatever” cabinet. Then buy products sized for the zones as they actually are.
Add a Two-Tier Shelf for Mugs and Glasses
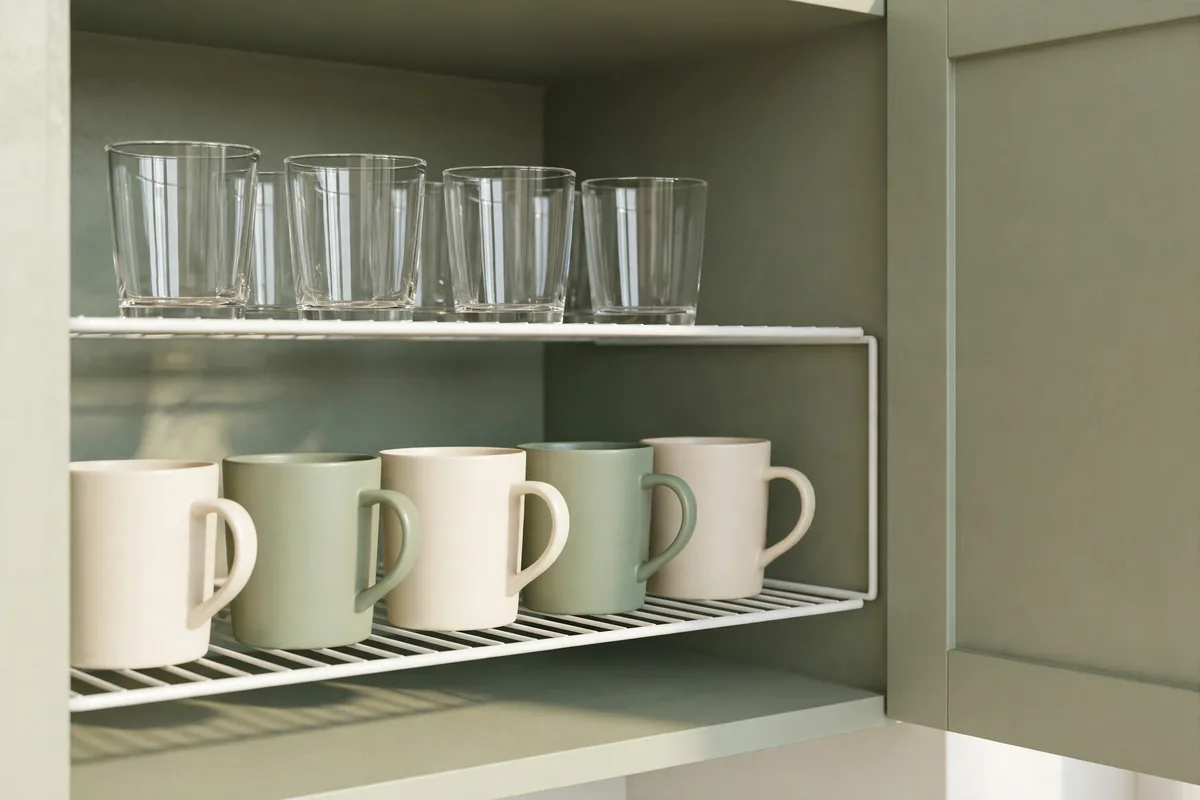
Mugs are cabinet-space vampires: short, wide, and impossible to stack efficiently. A two-tier stacking shelf inside the mug cabinet (about $12) doubles the rows: everyday mugs below, the nice glasses or seasonal mugs above. No more mug pyramids that collapse when you grab the one at the bottom.
Keep the count honest: most households use the same four to six mugs daily. Store the overflow elsewhere (or donate it) and give the daily rotation the prime shelf space.
Use Front-to-Back Bins in Deep Cabinets
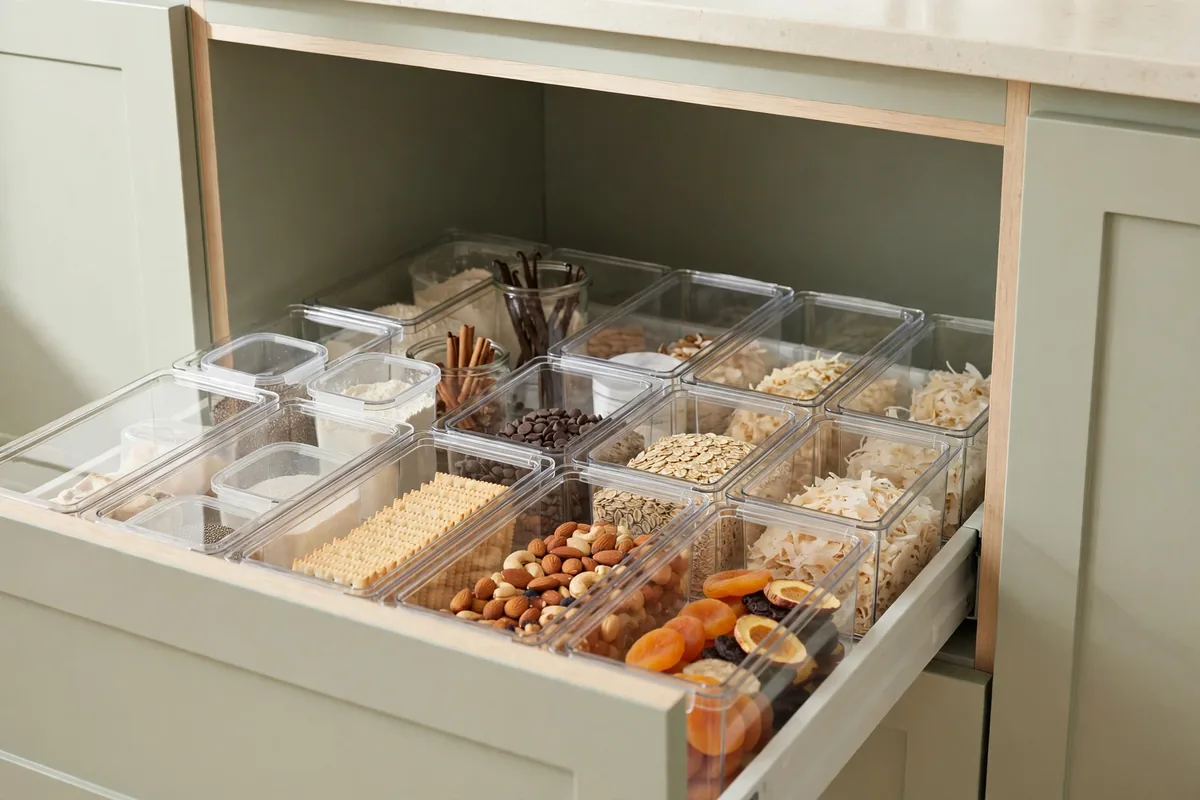
Deep base cabinets are black holes: items migrate to the back and expire there. The fix is front-to-back bin zoning: two narrow bins per shelf, one in front and one behind. Pull the front bin forward and you can see and reach the back bin. No more kneeling excavations.
Clear bins work best because you can see contents without pulling them out; about $8 each. Label the short end facing you (“baking,” “snacks,” “backstock”) so the system survives other household members. The labels are load-bearing: unlabeled bins revert to junk drawers within a month.
This is the renter-friendly answer to the pull-out drawer problem. You get 80 percent of the accessibility with zero installation, zero damage, and bins you can take with you. Heavy cans always go in the lowest bins, light boxes up top.
Small Kitchen Cabinet Organization Ideas for Narrow Cabinets
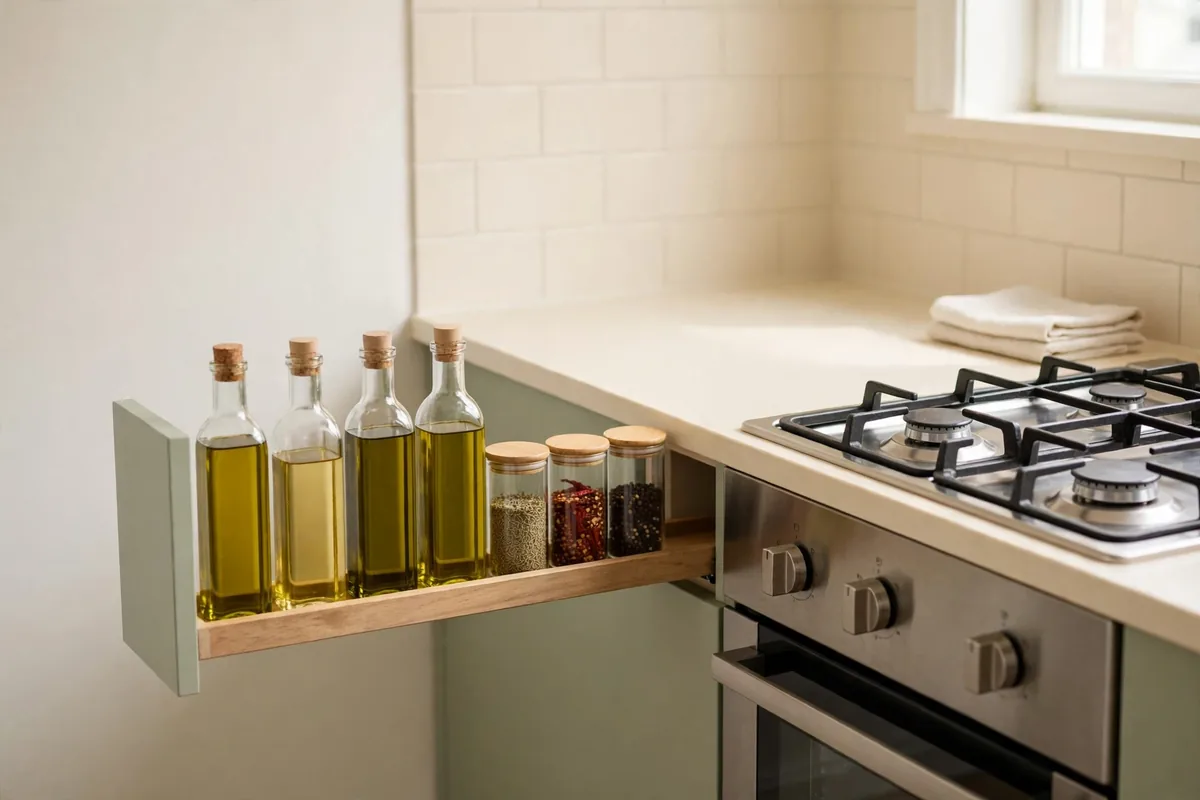
Narrow cabinets (the 6 to 9-inch-wide ones beside the stove or fridge) feel useless until you give them a purpose. Slim pull-out inserts designed for narrow gaps, about $25, turn them into perfect homes for spices, oils, cutting boards, or baking sheets stored vertically.
My 8-inch cabinet beside the stove now holds every cooking oil, vinegar, and sauce in a single pull-out row. The entire cooking lineup, in a cabinet I used to ignore. Narrow cabinets just need a job that matches their width.
Park Small Appliances by Frequency of Use
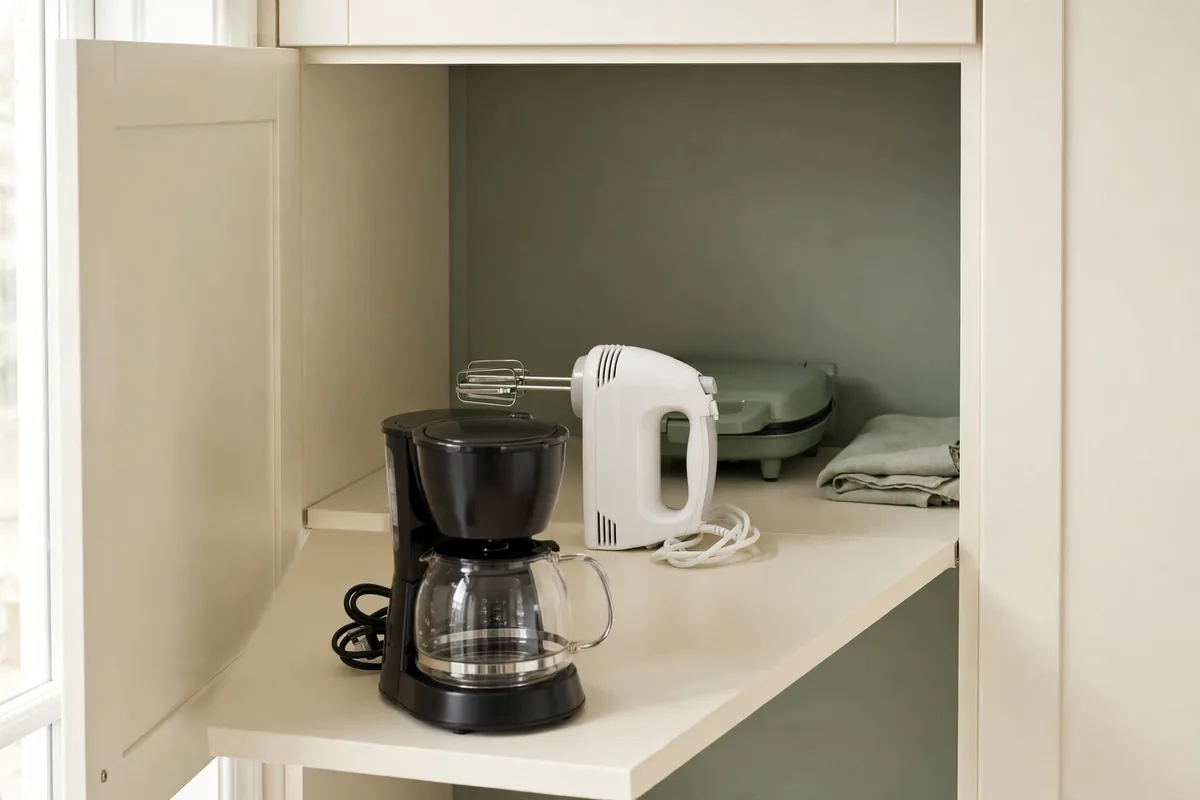
Small appliances eat cabinets the way microwaves eat counters. The system: daily appliances earn counter spots, weekly ones get the easy-reach cabinet shelf, and the “few times a year” crew (the bread maker, the ice cream churn) goes to the highest, hardest-to-reach shelf or out of the kitchen entirely.
Be honest about frequency. The juicer you used twice in January eats weekly shelf space for a job it does once a year. Store appliances with their attachments together: the food processor’s blades in a labeled bin on the same shelf, so “getting it out” doesn’t become a three-cabinet expedition.
One more rule: if an appliance hasn’t been used in a year and isn’t seasonal (looking at you, turkey roaster), it doesn’t live in the kitchen. The garage, a closet, or a new home. Small kitchen cabinet organization starts with admitting the waffle iron won.
Divide Baking Sheets With a Tension Rod
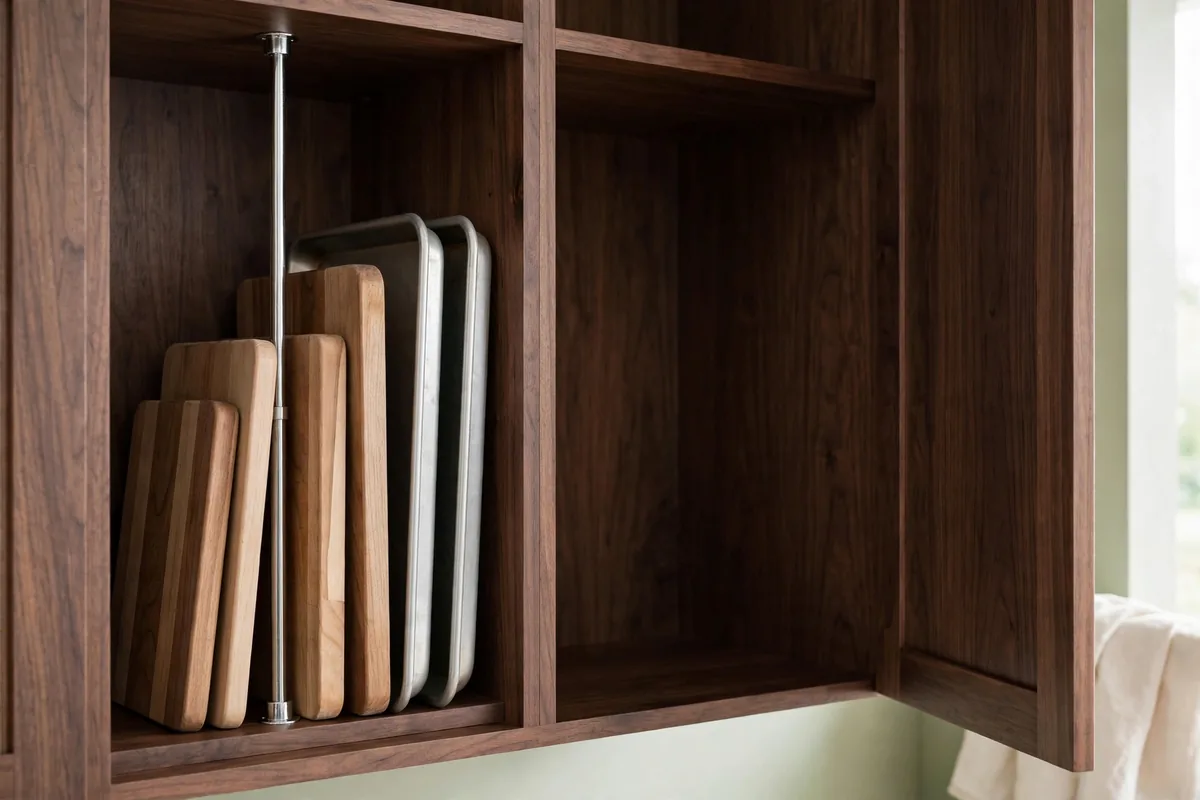
Baking sheets, cutting boards, and muffin tins stored flat become a heavy, scratched stack you dread lifting. A $5 tension rod mounted vertically inside a cabinet creates instant dividers: slide sheets in upright between the rod and the cabinet wall, and grab any one without moving the rest.
Two rods make a proper filing system — one near the front, one near the back — turning a whole cabinet section into vertical file storage. This is the cheapest of all small kitchen cabinet organization ideas, fully renter-friendly (tension means no holes), and takes about thirty seconds to install. (On slick cabinet walls, rods can slip over time: a small square of shelf liner at each contact point keeps them locked.)
Use it in the cabinet above the fridge, the narrow one beside the oven, or any deep base cabinet. Anywhere flat things currently stack is a candidate for filing. File them upright and they stay put.
Small Kitchen Cabinet Organization Ideas: Line, Measure, and Label Everything
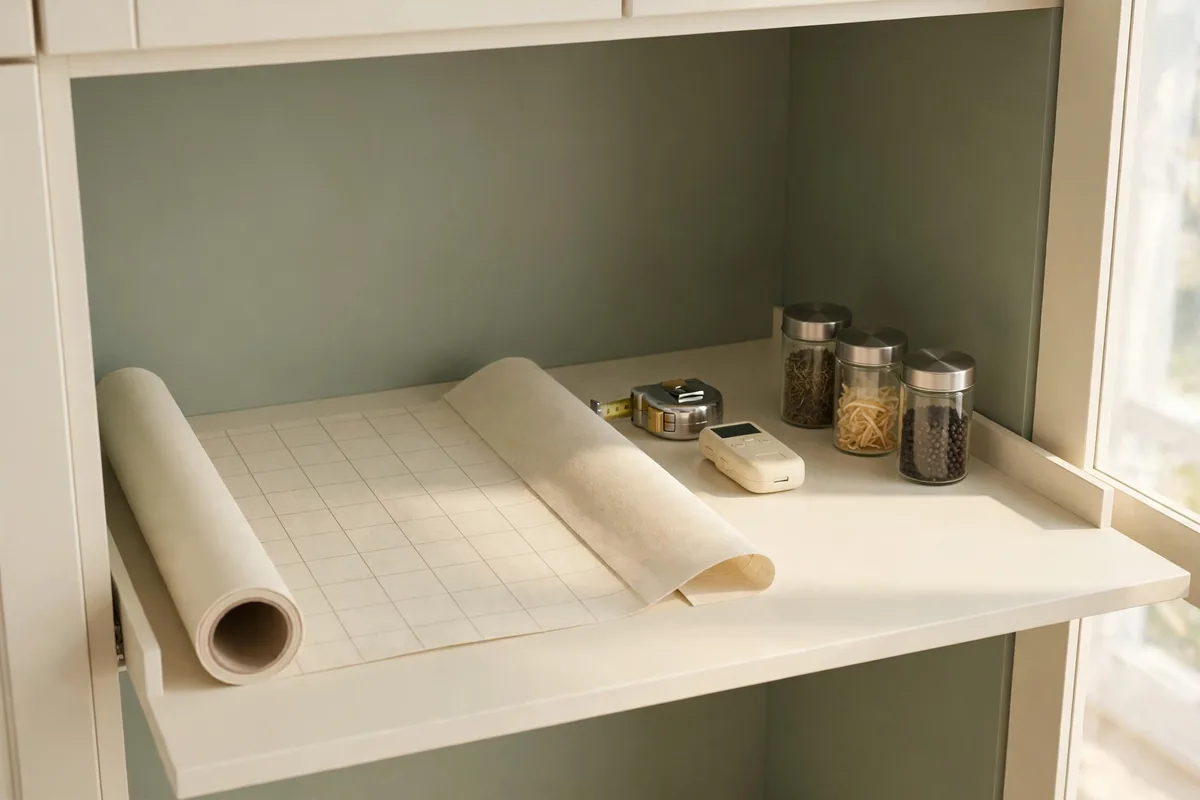
The unglamorous final step that makes everything else stick: line the shelves, measure the gaps, label the zones. Shelf liner ($10 a roll) protects wood from cans, stops items sliding, and makes the whole cabinet look intentional. Labels — a $15 label maker or simple kraft tags — are what keep the system alive past month two.
Measure every shelf’s height, width, and depth and keep the numbers in your phone. Next time you’re standing in the store holding a beautiful organizer, you’ll know in ten seconds whether it fits. Most cabinet projects fail on a wrong-size product, so the tape measure does more work than the organizer.
If you’re doing this in order, the sequence that actually holds up is:
- Zone first: one cabinet, one job. Declutter before you buy anything.
- Lift: risers and two-tier shelves double the vertical space.
- File: pans, lids, and baking sheets go vertical so nothing stacks.
- Label: name every zone so the system survives other people.
Label everything, even the obvious. “Obvious” lasts about three weeks; labels last until you peel them off. Pots, baking, wraps, medicines. When every zone is named, everyone in the house maintains the system without thinking about it.