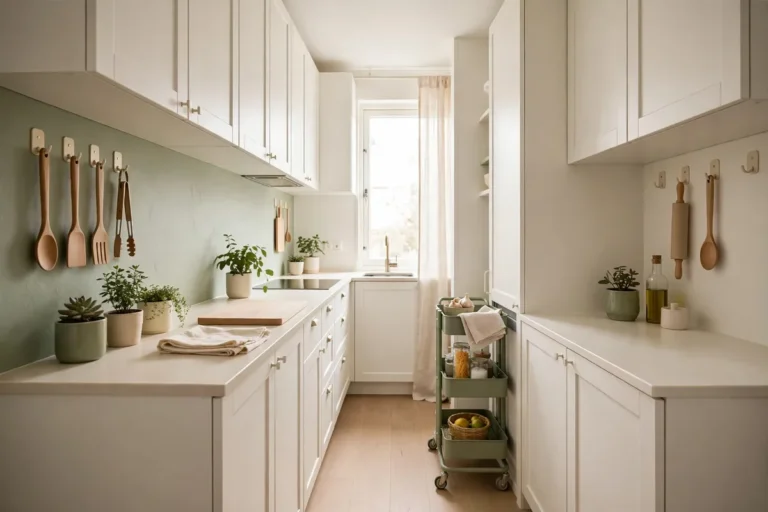
My kitchen counter used to be a parking lot. Toaster, coffee maker, knife block, paper towel holder, fruit bowl, olive oil, the mail — by the time I wanted to chop an onion, I had almost nowhere to put the cutting board. I kept blaming the size of the kitchen. The actual fix was simpler: get everything off the single flat surface where it was all fighting for the same space.
Small kitchen counter organization ideas aren’t about owning less (though that helps). They’re about getting things off the flat surface and into smart kitchen storage, up onto shelves, under cabinets, onto the wall, into corrals, so the counter can do its actual job: being a place to cook. Here’s how I reclaimed mine, one vertical inch at a time.
Corral Small Appliances Onto a Single Tray
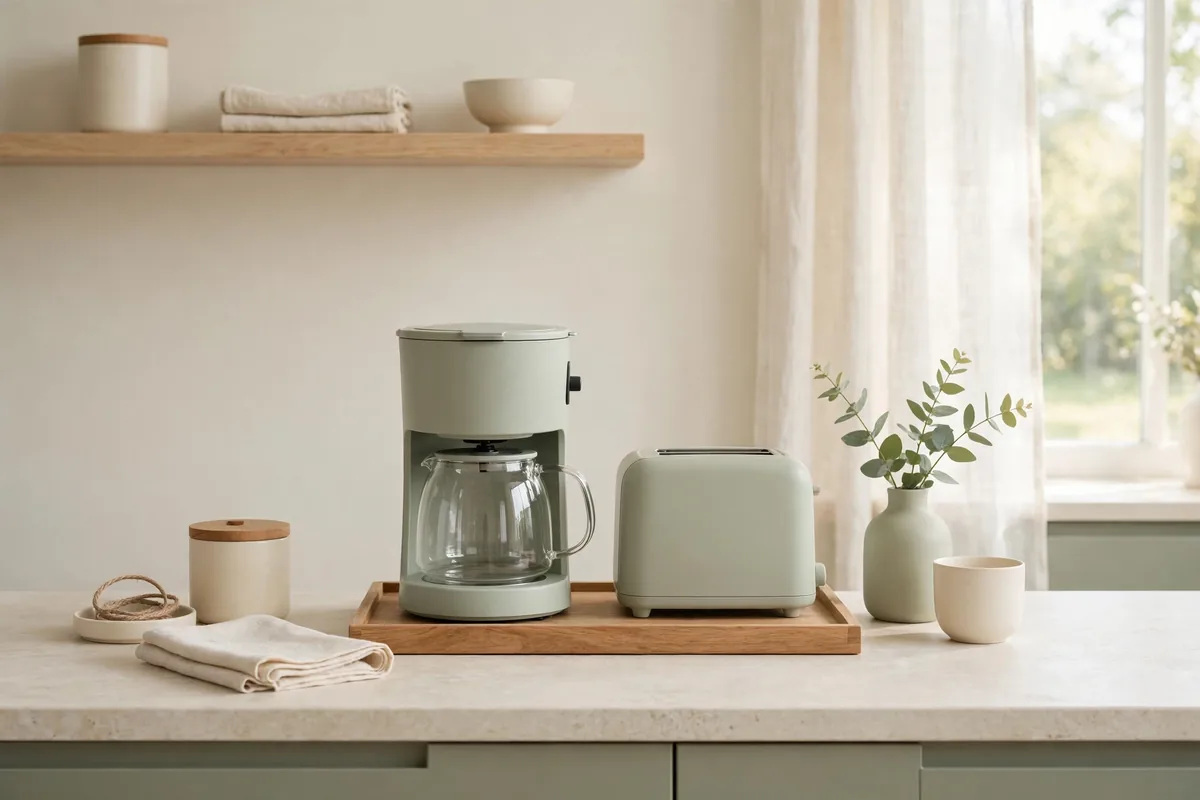
The fastest win in small kitchen counter organization is the appliance corral. Take every small appliance and daily-use item (coffee maker, toaster, oil bottle, salt) and group them on one large tray or a low-sided baking sheet. Suddenly five scattered objects become one visual unit, and wiping the counter means lifting one tray instead of shuffling five things.
The tray also creates a boundary. When the corral is full, nothing new moves in. It’s a physical limit on counter creep. I use a $12 acacia tray, but a rimmed sheet pan works and costs almost nothing. Keep the corral near an outlet and near where you actually use the appliances; a coffee station corralled three steps from the coffee drinker is just decoration. The habit works because it caps how much can live on the counter, not because it looks tidy.
Small Kitchen Counter Organization Ideas on a Budget: Add a Two-Tier Shelf
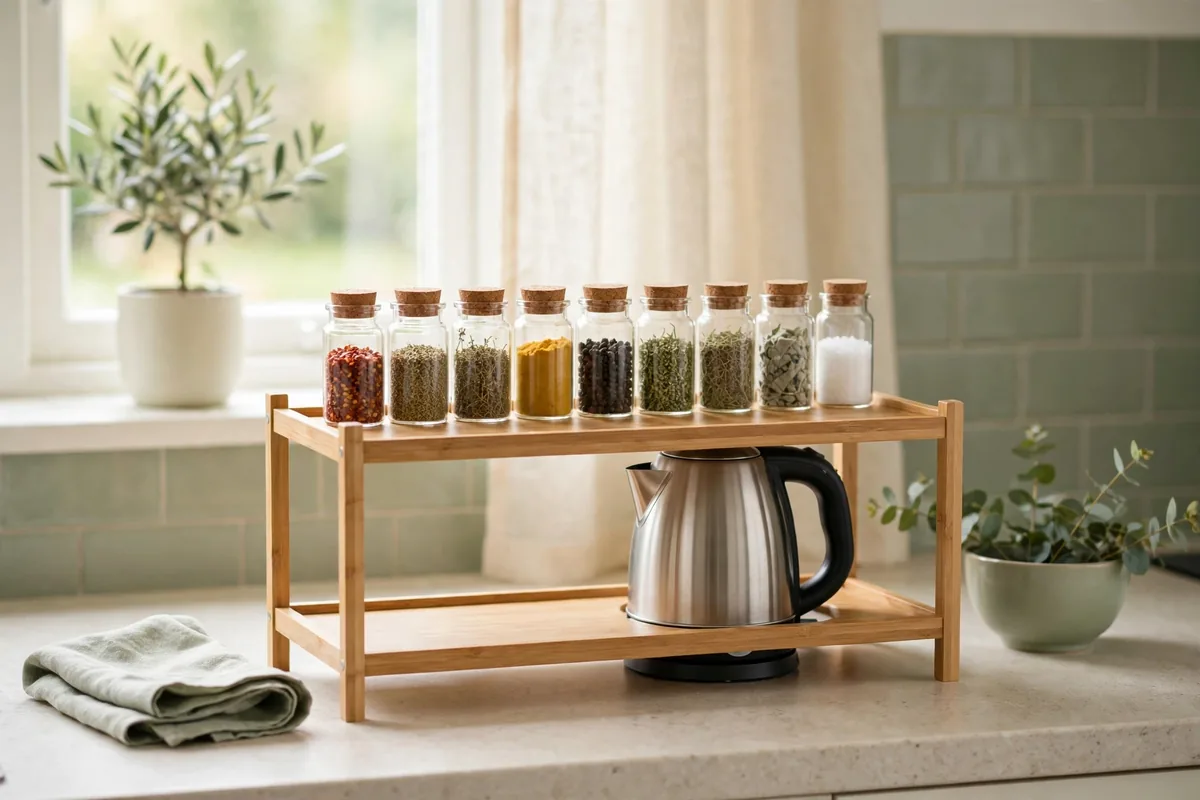
A two-tier countertop shelf, basically a small set of stairs for your counter, doubles the usable surface in one footprint. Spices and oils go up top, the coffee maker or toaster tucks underneath, and you’ve created storage out of thin air. Bamboo versions run about $20 and look good enough to leave out permanently.
Place it in the corner where counters go to die: that L-shaped dead zone where nothing fits and everything migrates. The shelf turns the corner from junk magnet into the most functional square foot in the kitchen. Measure your appliance heights first — a shelf that’s too low to fit the coffee maker underneath is just a decoration.
I keep my daily vitamins, the olive oil, and the salt cellar on the top tier, with the electric kettle underneath. Everything I touch every morning lives in one vertical column instead of sprawled across two feet of counter.
Move the Paper Towel Holder Under the Cabinet
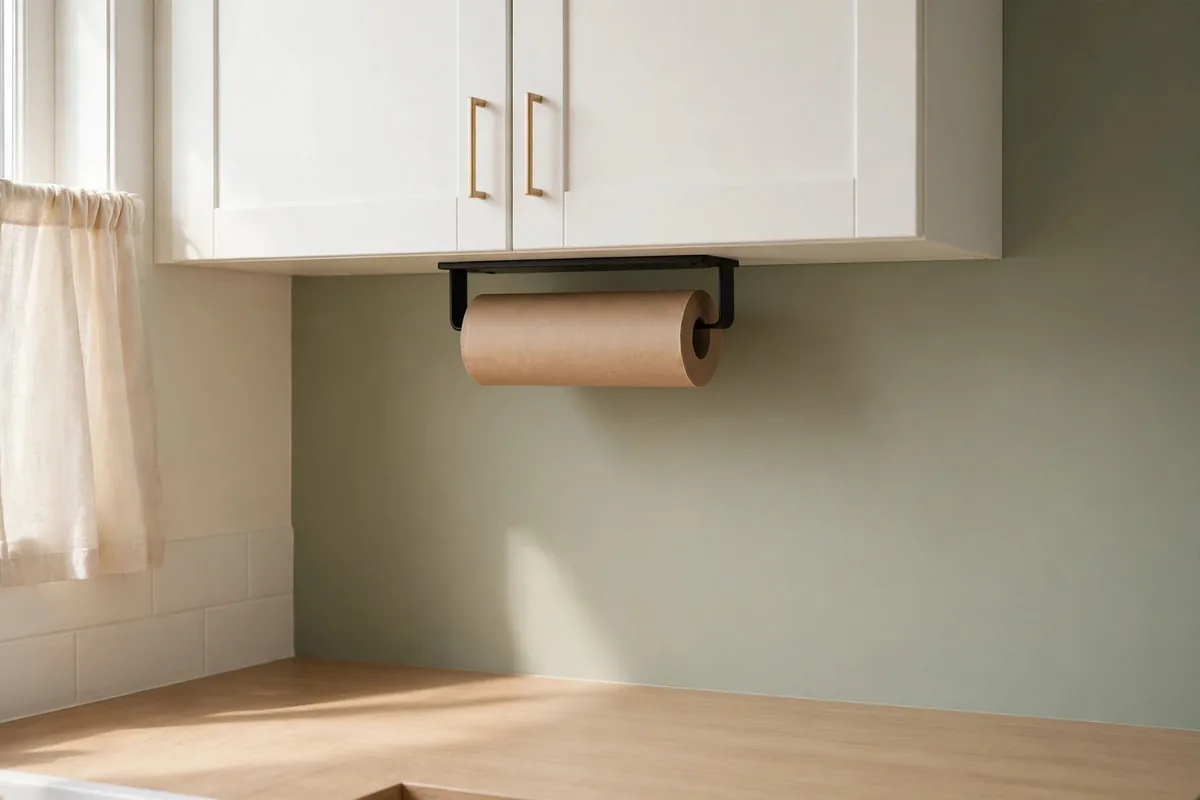
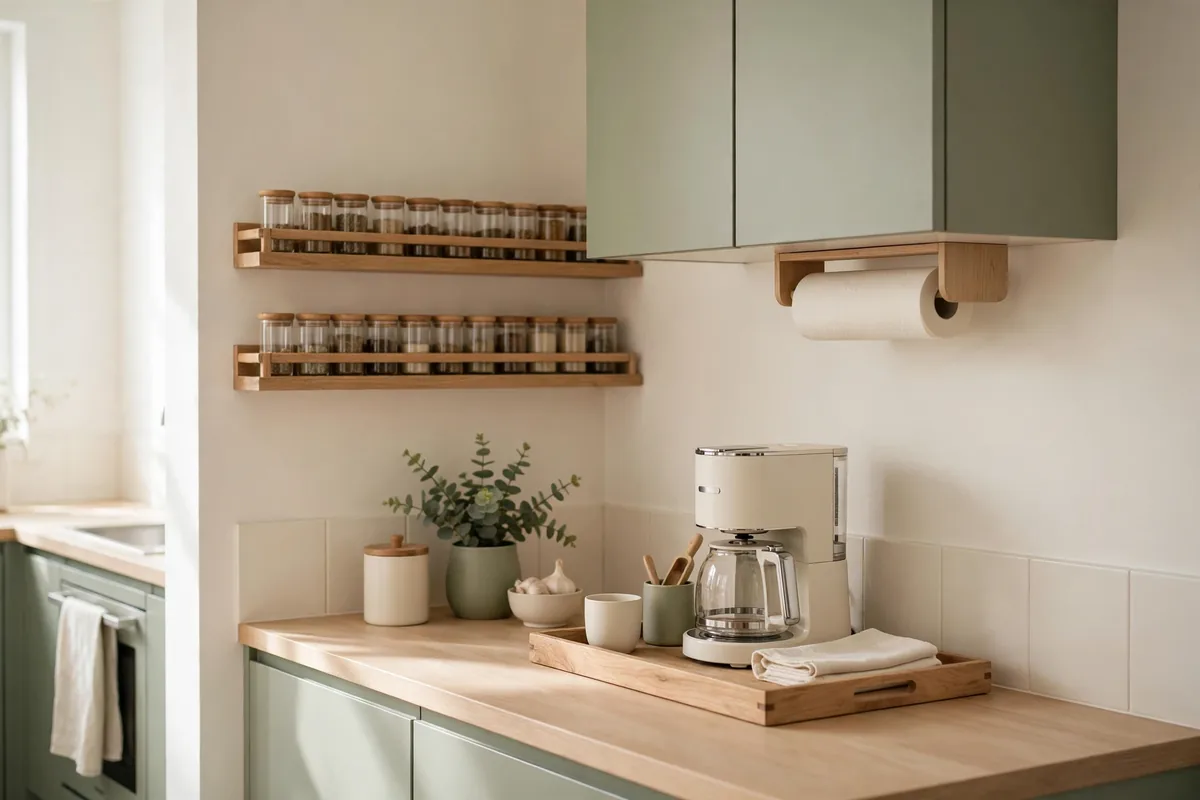
A standing paper towel holder eats roughly the same counter footprint as a dinner plate, right in the prime prep zone. An under-cabinet mounted holder (adhesive or screw-in, about $10) moves it off the counter entirely while keeping it exactly where you reach for it.
Adhesive mounts hold fine on the underside of wood cabinets. Use screws on laminate, or if your household goes through paper towels aggressively enough to yank an adhesive mount loose.
- Mount it near the sink but not directly above it. Dripping hands and a paper roll are a soggy combination.
- Keep it within arm’s reach of your main prep spot, not tucked behind the microwave.
- Test the spot by holding the roll there for a day before you commit to screws.
That freed plate-sized circle becomes the landing spot for the cutting board, the mixing bowl, the hot pan.
This counter space hack sounds trivial until you do it, and then you wonder why the holder lived on the counter for years.
Wall-Mount the Microwave and Reclaim a Whole Zone
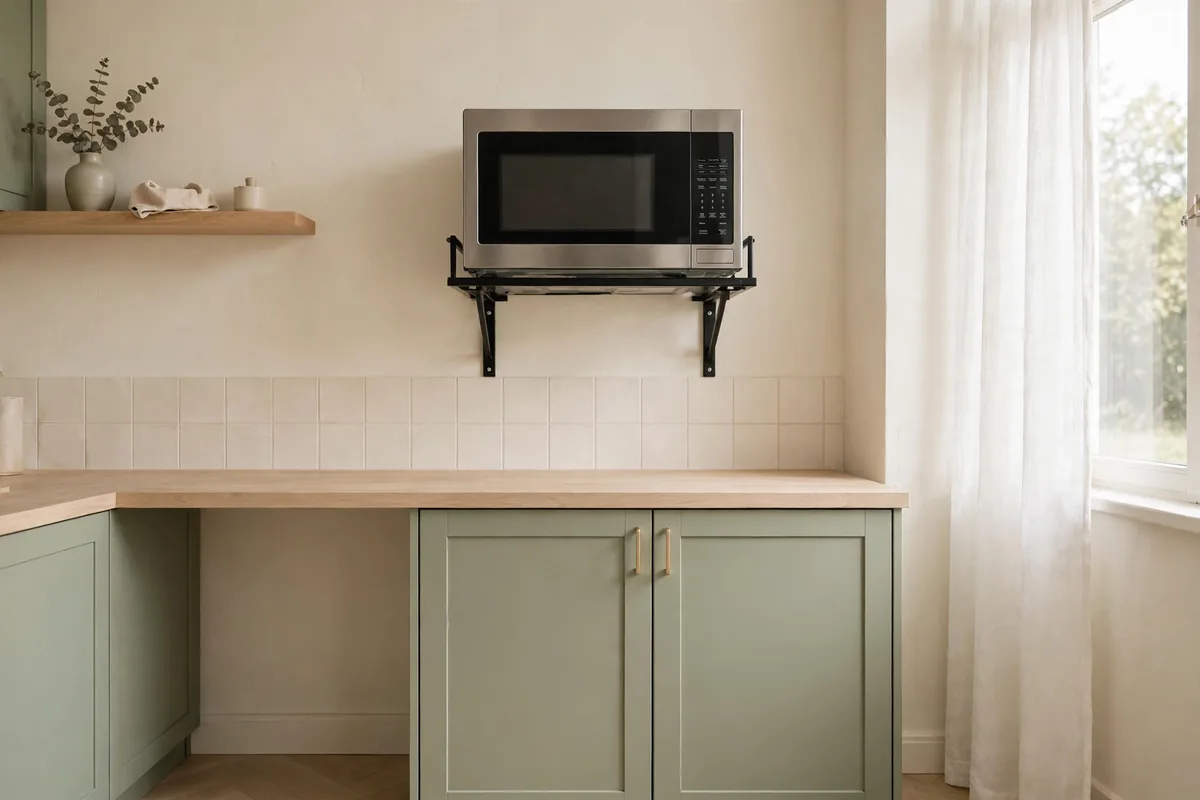
The microwave is the single biggest counter hog in most small kitchens — it claims two full square feet and gives nothing back. A wall-mount microwave bracket or a sturdy shelf mounted at eye level moves it off the counter entirely. Brackets rated for microwaves run about $40 and install into studs.
Eye level is the sweet spot: high enough to free the counter, low enough to safely lift hot food out. Measure your microwave’s depth before buying — over-range style mounts need clearance, and a microwave that sticks out past the shelf looks precarious even when it’s secure.
If mounting feels like too much, the renter version works too: a freestanding microwave stand with storage shelves underneath parks the microwave above and gives you two shelves below for the toaster oven, cookbooks, or pantry overflow. Either way, the microwave stops being a countertop tenant and the whole kitchen breathes.
This is the highest-impact answer to small kitchen organization microwave counter space problems. Nothing else you can do frees two square feet in a single move. (Microwaves need ventilation: leave at least 3 inches of clearance on the sides and top, and check the manual’s specs before boxing one into a tight cabinet.)
Put Daily Appliances on Sliding Trays
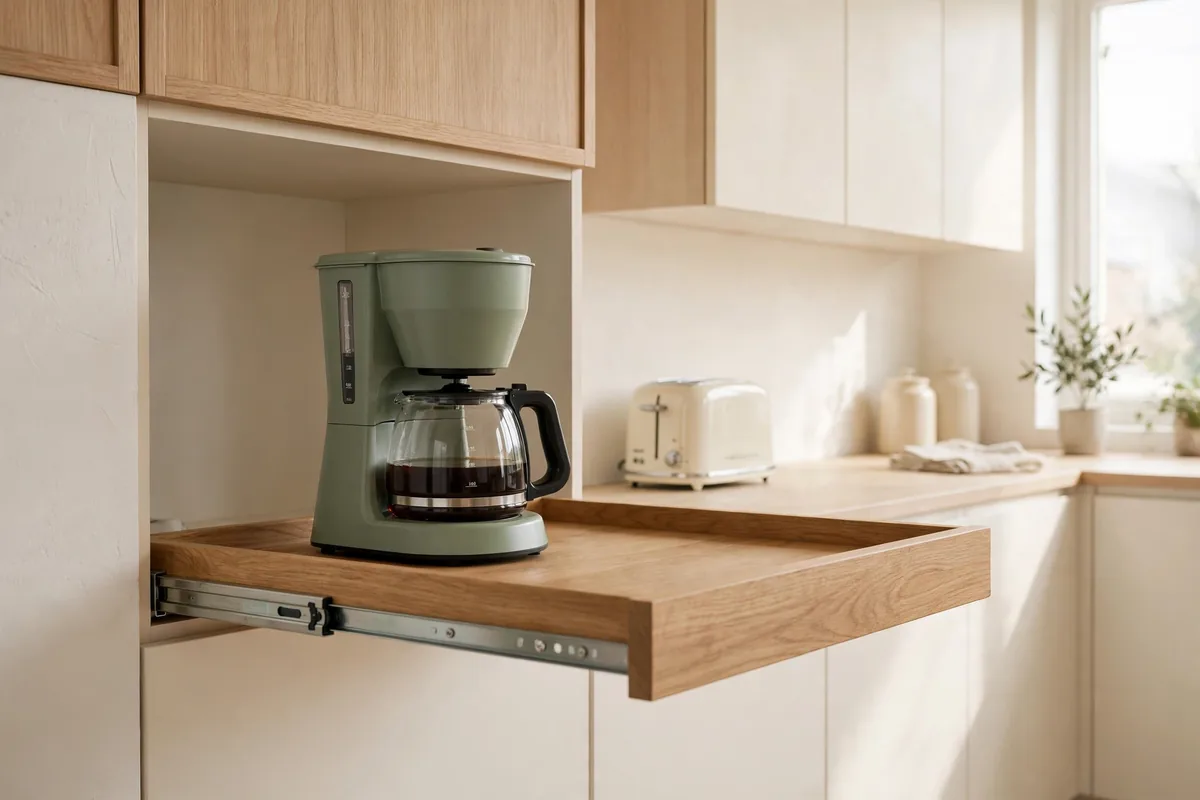
Heavy appliances like stand mixers and air fryers live on the counter because hauling them out of a cabinet is a workout. A sliding appliance tray, a low platform with smooth-gliding feet that runs about $25, lets you pull the mixer forward to use it and push it back under the cabinet when you’re done. No lifting, no cabinet Tetris.
This works best for the one or two appliances you use weekly but not daily. Daily drivers (coffee maker, kettle) earn permanent counter spots; the weekly waffle iron or food processor lives on a slider, ready in seconds but visually tucked away.
- Check the weight rating before you buy. A stand mixer can top 25 pounds, and cheap trays buckle.
- Measure your counter depth. The tray plus the appliance needs to clear the upper cabinets when it slides out.
- Look for smooth-gliding feet rather than wheels, which can roll too freely and drift.
The tray also protects the counter from scratches when you drag things around.
I put my stand mixer on one and it went from “counter monument” to “there when I need it.” The three inches of clearance you gain in front of it become usable prep space again.
Spin a Turntable for Oils and Spices
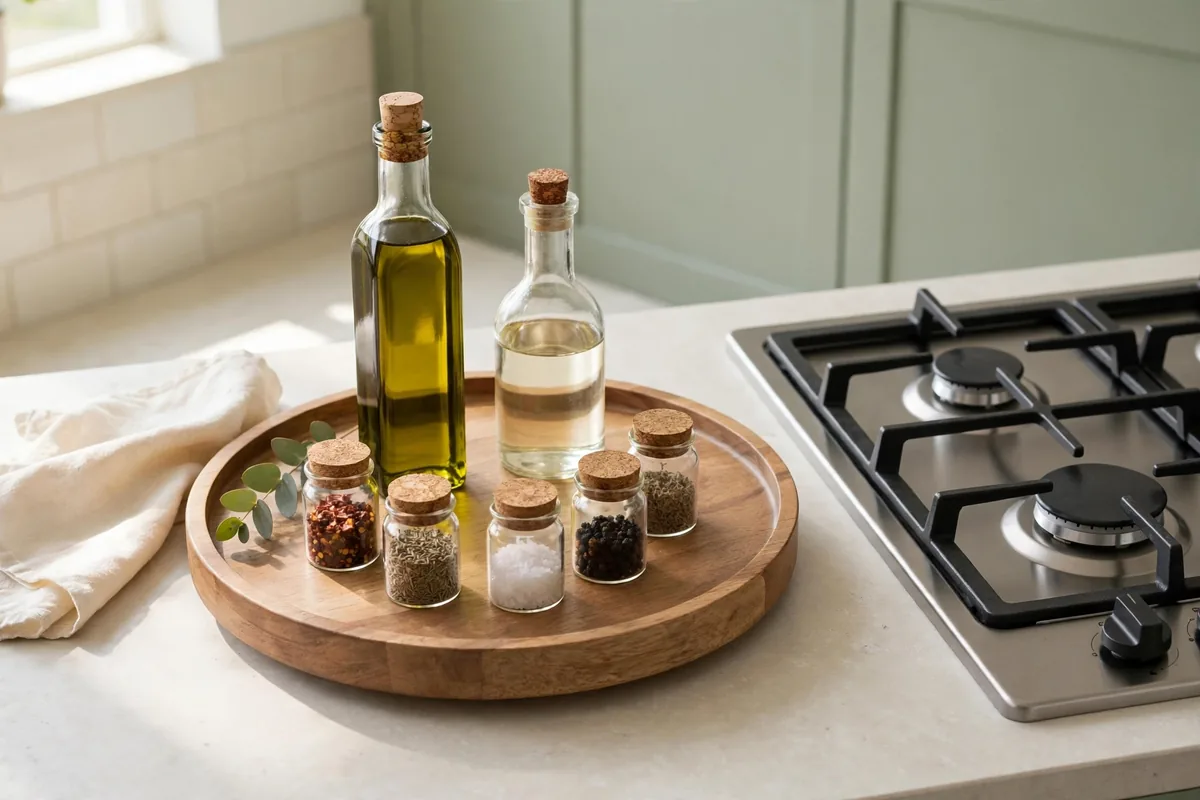
The cooking zone, that two-foot stretch beside the stove, collects oils, vinegars, salt, pepper, and the soy sauce in a spreading stain of bottles. A 10-inch turntable (lazy Susan) on the counter corrals them into one spinning unit for about $12. Spin to find the sesame oil instead of knocking over three bottles to reach it.
Choose one with a raised rim so bottles don’t walk off during the spin, and keep it to the bottles you actually cook with — the full spice collection belongs in a cabinet or drawer. The turntable is for the working set, not the entire roster. Wipe it down weekly, since oil mist from the stove settles on everything in the cooking zone. Pick one you can lift with one hand and rinse in the sink.
Cover the Sink With a Cutting Board for Bonus Counter
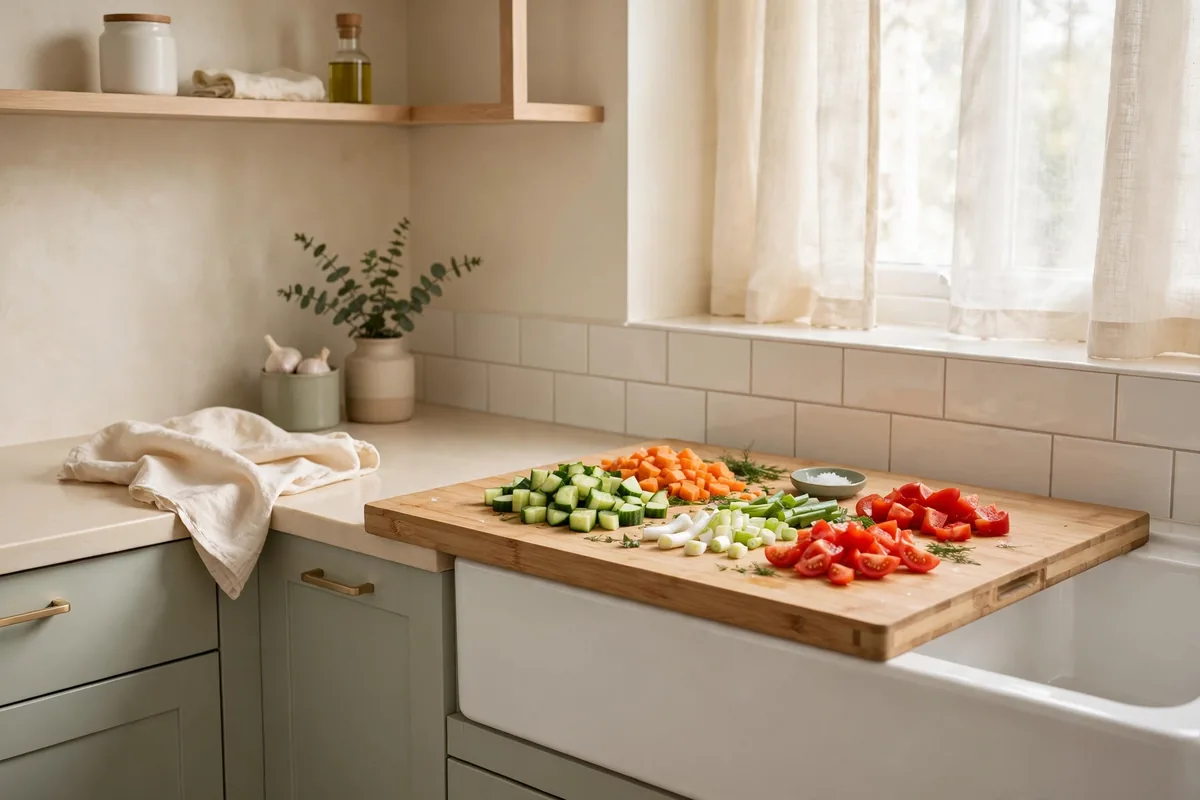
An over-the-sink cutting board, sized to rest on the sink rim, creates instant extra counter whenever the sink isn’t in use. That’s often several square feet of prep surface appearing out of nowhere. Bamboo over-sink boards with a colander cutout run about $25 and double as a produce-washing station.
This is small kitchen counter organization at its most literal: you’re manufacturing counter space from a hole in the counter. Use it for chopping, as a landing pad for hot dishes, or as a drying rack for hand-washed items. (Skip the heavy pot of boiling water, though. These boards are rated for prep and light dishes, so lift the board off first.) When you need the sink, lift it off and lean it against the backsplash.
Measure your sink’s inner dimensions before ordering. “Standard” sinks vary by an inch or more, and a board that doesn’t sit flat on the rim is a wobble hazard. Get one with rubber feet or silicone edges so it grips instead of slides.
Use a Tiered Corner Stand for Daily Items
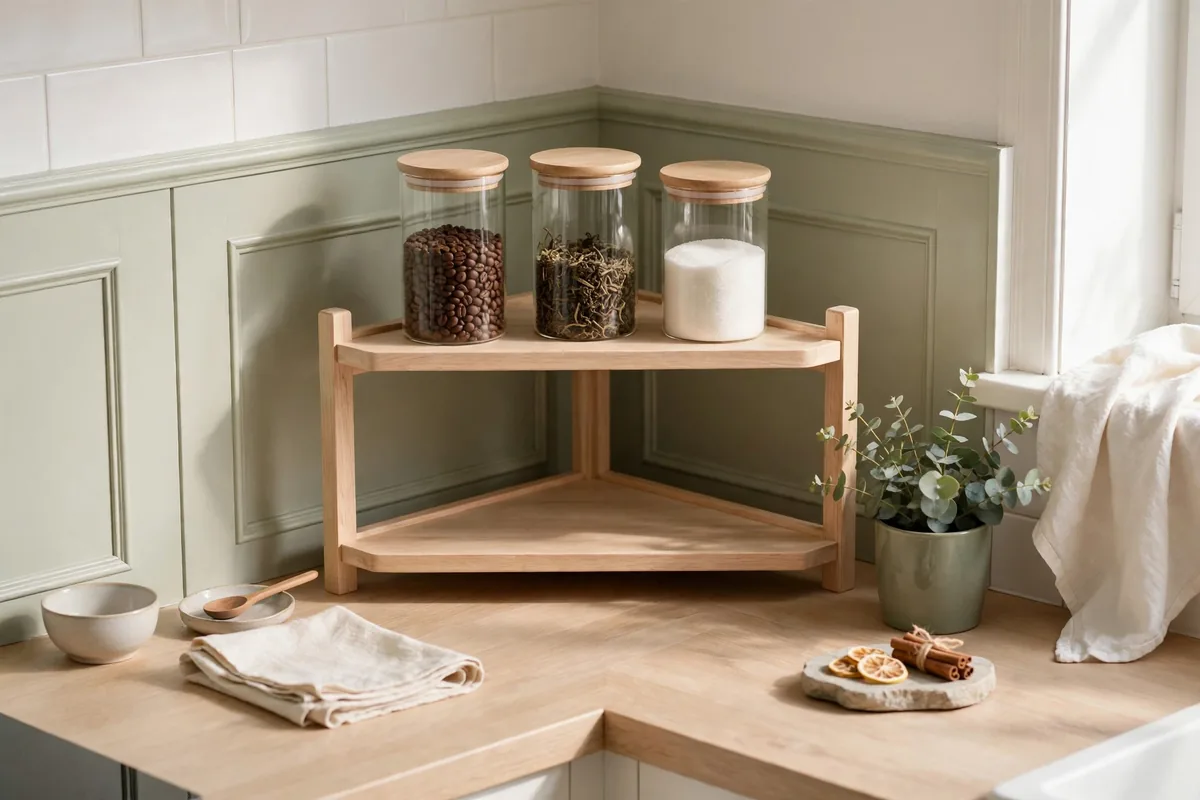
Kitchen corners are where counters go to become junk drawers. A two or three-tier corner stand, triangular shelves that fit the angle, turns that dead corner into organized vertical storage for the daily items: coffee, tea, sugar, the vitamins, the salt and pepper.
Unlike the two-tier shelf by the stove, the corner stand is for the non-cooking daily stuff: the things you reach for at breakfast but don’t need mid-recipe. Separating “morning station” from “cooking zone” is one of the quieter small kitchen counter appliance organization principles. Group by when you use things, not by what they are. Metal and bamboo versions both run $15 to $25. Keep the bottom tier for the heaviest items (coffee canister, sugar jar) so the stand stays stable. Leave one tier half-empty — a stand with breathing room looks calm instead of crowded.
Hide the Toaster in an Appliance Garage
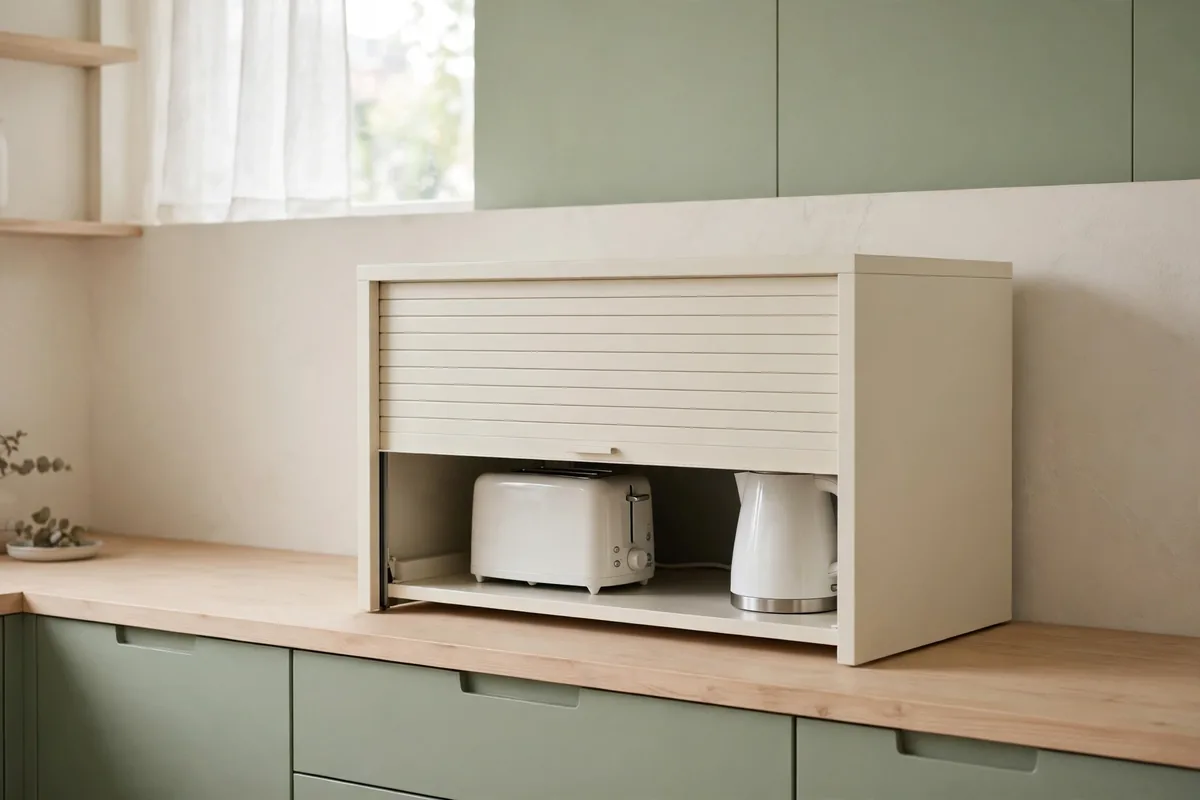
The toaster is used for four minutes a day and displayed for the other twenty-three hours and fifty-six. An appliance garage, a small cabinet-style box with a roll-top or flip-up door that runs about $50, hides it (and the toaster oven, and the blender) while keeping them plugged in and ready.
The genius of the garage is that it preserves the “ready to use” convenience of counter storage while restoring the visual calm of clear counters. Open the door, make toast, close the door — the kitchen looks untouched. It needs a nearby outlet inside or directly behind it, so plan the placement around your plugs, not your aesthetics. If $50 feels steep, a large bread box hides the toaster just as well for half the price.
Hang a Fruit Basket Under the Cabinet
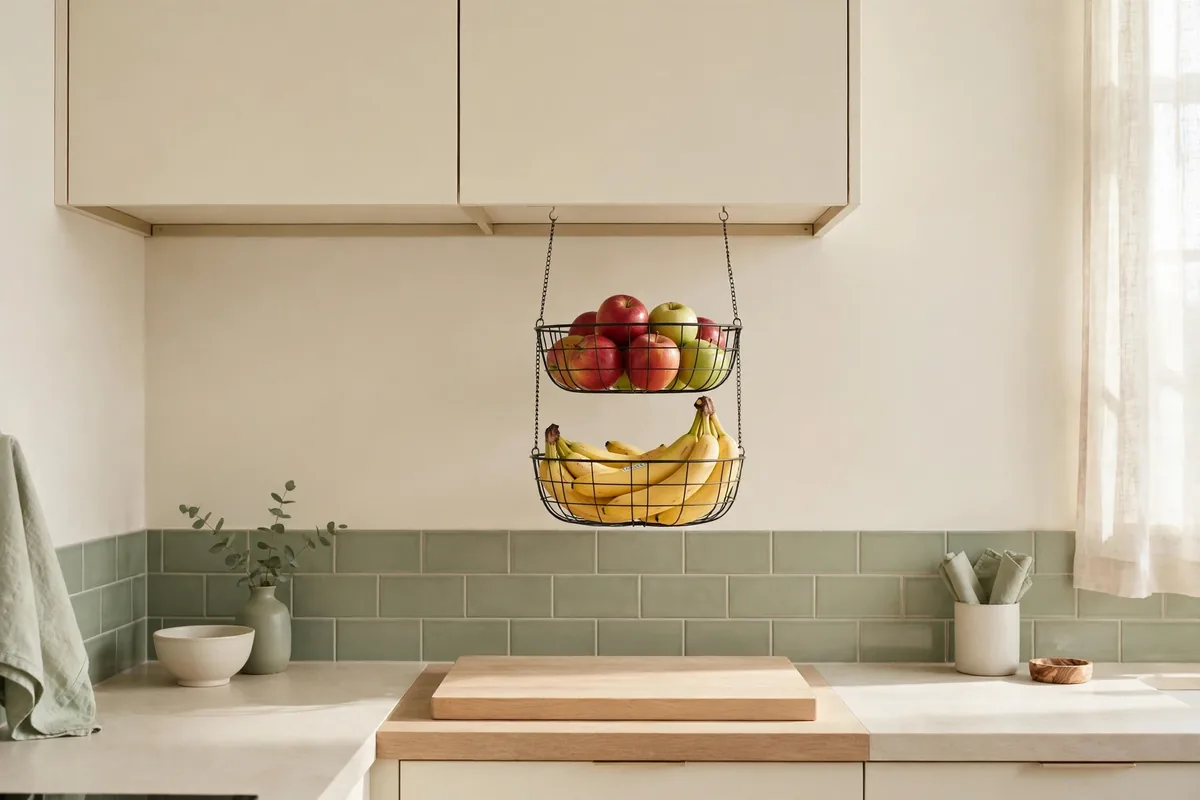
The fruit bowl is a counter classic that eats a full square foot to hold six pieces of fruit. A hanging two-tier fruit basket, suspended from an under-cabinet hook for about $15, moves the produce up into the air and frees the bowl’s entire footprint.
Hanging baskets also keep fruit better: air circulates around each piece instead of trapping moisture underneath, so bananas and avocados last noticeably longer. Hang it away from the stove (heat ripens fruit too fast) and within easy reach. This is daily-grab storage, not decoration.
This is one of my favorite small kitchen counter organization apartment tricks because renters can do it with a single adhesive hook. One hook, fifteen dollars, and one square foot of counter comes back.
Small Kitchen Counter Organization Ideas: Adopt the Daily-Three Rule
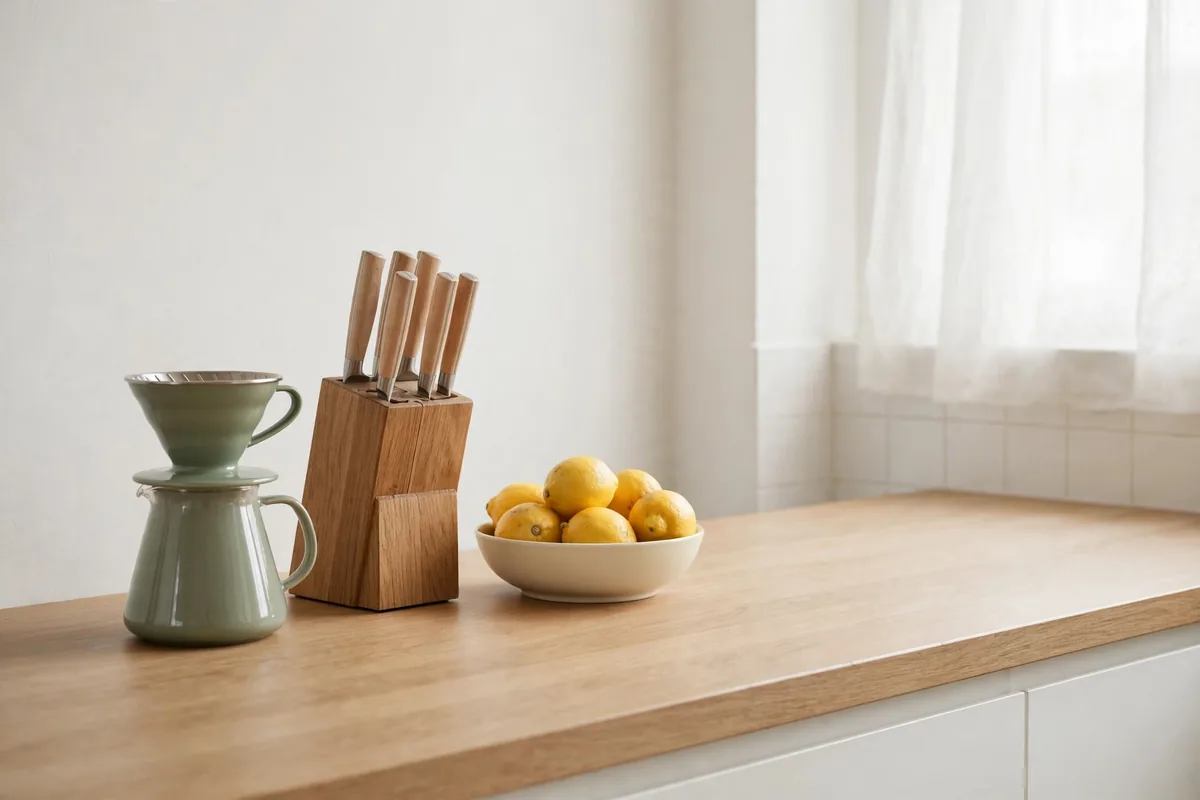
Here’s the system that holds all the products together: only three items earn permanent counter residence. Pick your daily three (mine are the coffee maker, the kettle, and the knife block), and everything else lives in a corral, on a shelf, under a cabinet, or in the appliance garage.
The rule works because it’s a decision framework, not a product. When the air fryer starts creeping onto the counter “just for now,” the rule asks: which of the three is it replacing? Usually the answer is none, and the air fryer goes back to its slider tray. Counter creep is a slow process; the daily-three rule is the early warning system.
Revisit your three seasonally. In summer mine swaps the kettle for the blender; in December the stand mixer earns a temporary promotion. The number stays at three — but which items earn those spots can change with your routine.
Common Mistakes
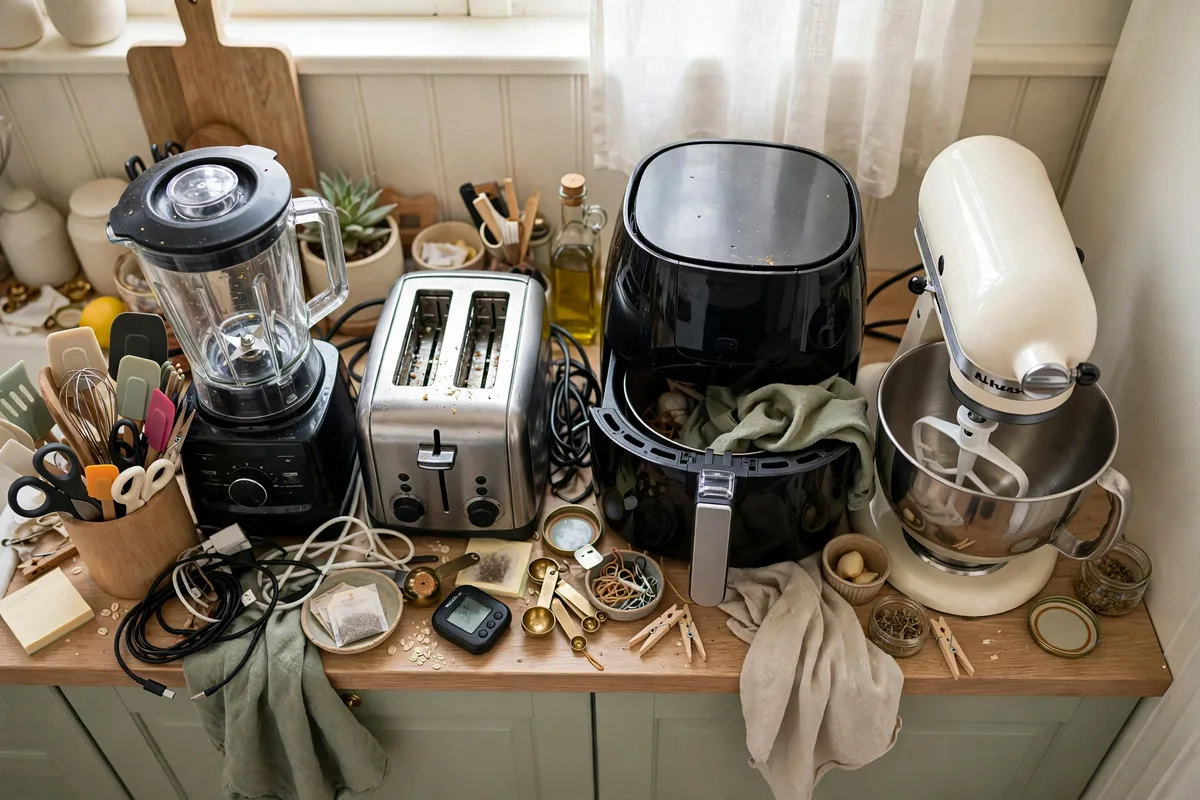
Counter chaos usually starts as a sorting problem, not a storage problem. No tray, shelf, or garage fixes a counter holding three spatulas, two broken timers, and a fondue set from 2019. Clear everything off, keep what you use weekly, and only then start placing the keepers.
Second: buying vertical storage that blocks your outlets or your workflow. A beautiful tiered shelf is useless if it covers the only outlet, and an appliance garage across the room from the toaster’s plug is just a box. Map your outlets before you shop.
Third: going so minimal the kitchen stops working. Counters exist to be used. A completely clear counter that forces you to haul everything out of cabinets for every meal just creates more work. The goal is a working kitchen that looks calm, not a showroom you can’t cook in.
Where to Start
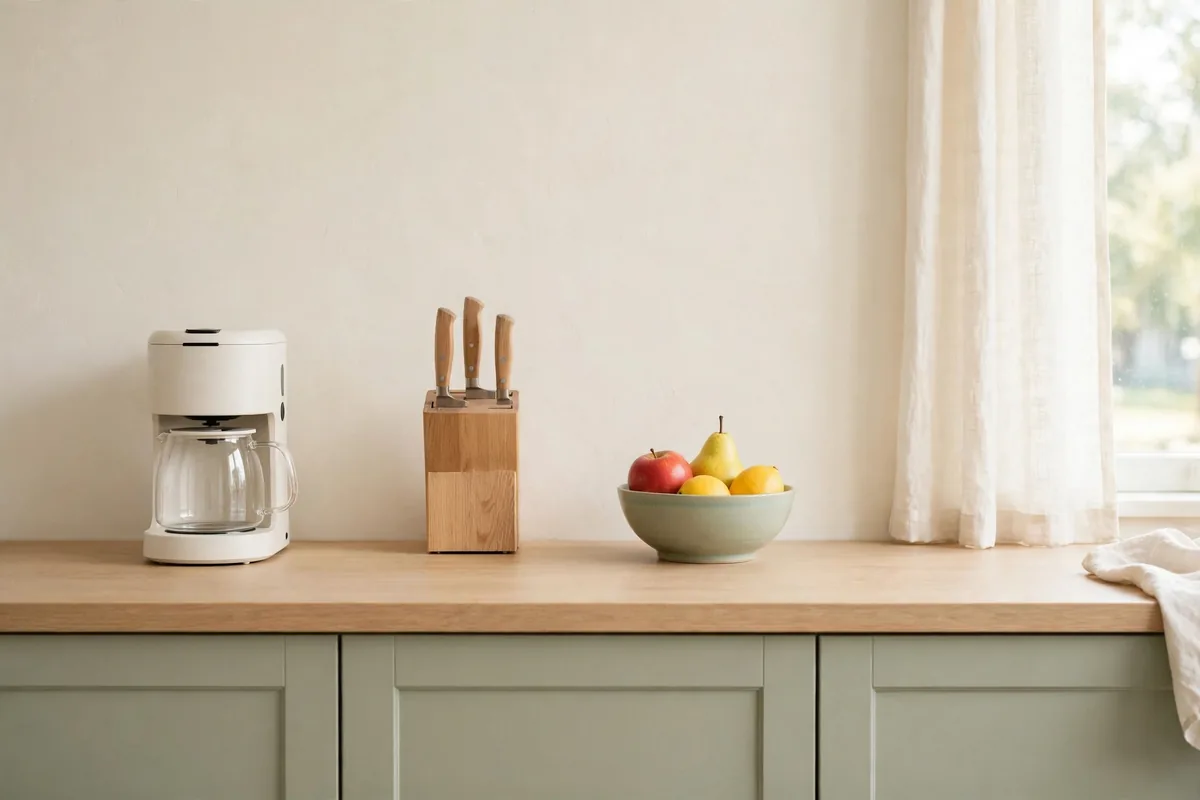
Start with the two cheapest wins and let the momentum carry you: the corral tray and the under-cabinet paper towel holder run under $25 total, take ten minutes, and you’ll feel the difference at the next meal. Add the two-tier shelf next, then tackle the microwave if it’s eating your counter.
Do it in this order — contain, lift, relocate — because each step compounds. The tray contains the sprawl, the shelf lifts things vertical, and relocating the microwave frees the big zone. Small kitchen counter organization ideas work best layered: each one makes the next one more effective.
The test is simple: stand at your counter with a cutting board and a mixing bowl. If you can chop, mix, and set down a hot pan without shuffling anything, you’re done. My counter went from parking lot to workspace in one weekend, and cooking dinner stopped feeling like a logistics exercise. With the counters working, the natural next step is giving organizing the rest of the kitchen, cabinets, drawers, and the sink, the same zone-by-zone treatment.