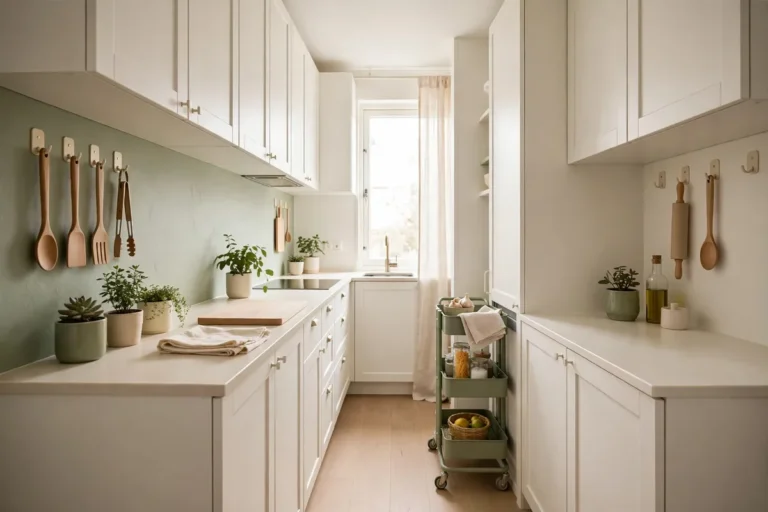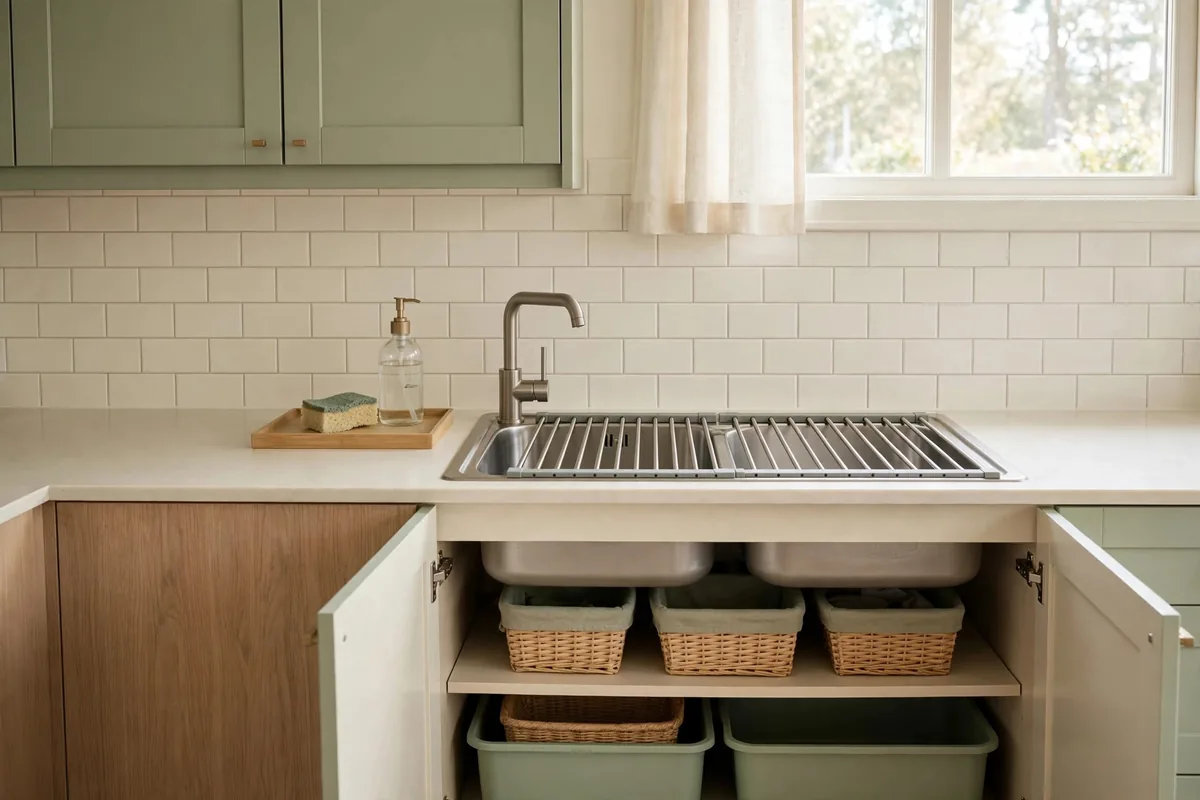
My kitchen sink used to defeat me a little more every day: the sponge migrated, the dish soap multiplied into three half-empty bottles, and the cabinet underneath was a dark swamp of leaking cleaners I was afraid to touch. It was the most-used square foot in my kitchen and the least organized. Sound familiar?
One weekend I treated the sink like its own little room: the counter around it, the cabinet under it, the airspace above it. I organized each zone on purpose. The difference was immediate: dishes dried faster, the counter stayed clear, and I finally knew where the garbage bags lived. If you’re looking for small kitchen sink organization ideas that hold up in real life, these are the eleven moves that tamed my messiest zone.
Audit the Sink Zone Before Buying Anything
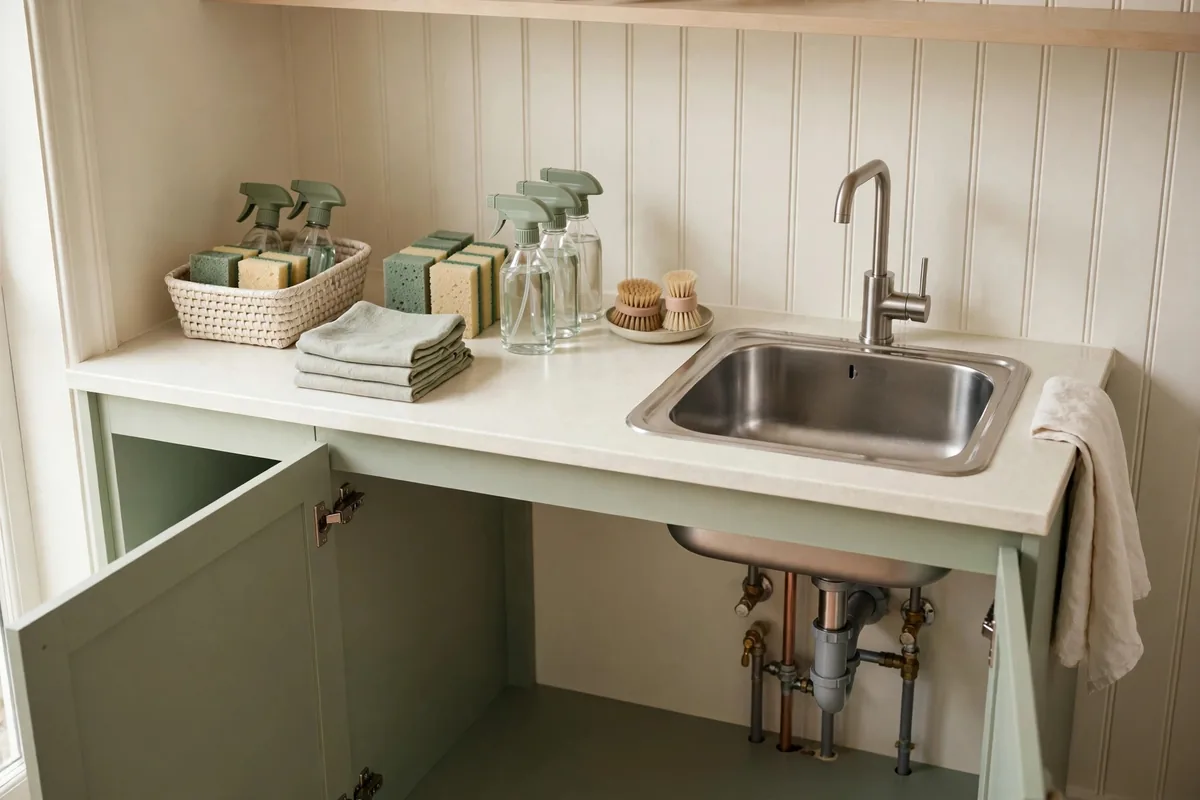
Kitchen sink organization in a small space fails the same way pantry makeovers fail: people buy gadgets before knowing what they own. So start by pulling everything out, both the stuff on the counter around the sink and everything under it, and sort it into three groups: daily essentials, occasional items, and duplicates to donate.
While it’s empty, wipe everything: the counter, the sink rim, the cabinet floor, the pipes. Under-sink cabinets collect drips and dust in silence. Do the wipe-down before you buy anything. A clean, empty cabinet makes it obvious what you actually need.
Switch to a Roll-Up Over-the-Sink Drying Rack
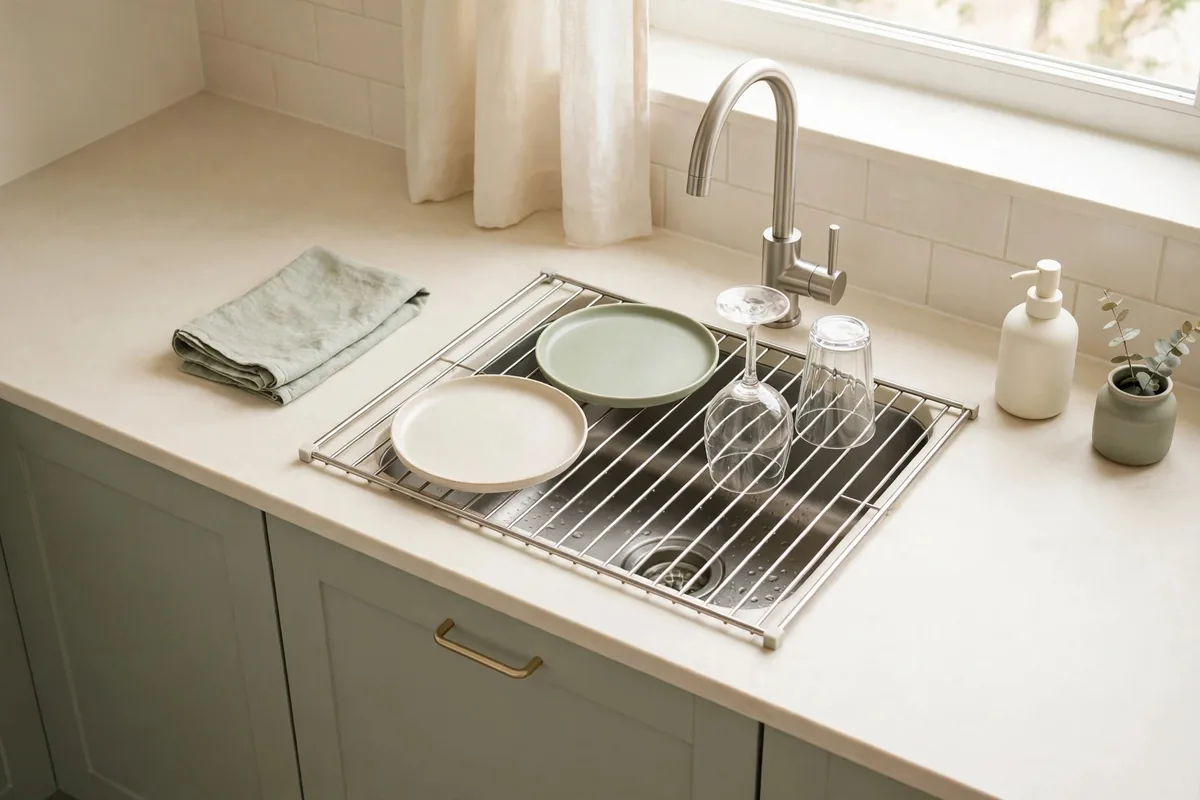
If there’s one small over the sink organizer worth its counter space, it’s the roll-up dish drying rack — a mat of stainless steel rods wrapped in silicone that unrolls across the sink. Dishes dry over the basin instead of on a bulky rack, and when you’re done, it rolls up into a drawer. About $15–$25, and it replaces the rack that used to eat half my counter.
It doubles as a trivet for hot pots and a rinsing station for produce — just unroll, rinse, and the water drains straight into the sink. The silicone coating keeps it from scratching the sink, and most are dishwasher-safe, which matters because a dish rack that can’t be washed is just another dirty thing. (If you hand-wash most dishes, slide a small absorbent mat under the rack on heavy drying days. The pair handles a full dinner’s worth of dishes and rolls away to zero counter footprint.)
Most racks come in two or three sizes. Pick the one that spans your basin with an inch or two of overlap on each side: too short and it sags, too long and it wobbles.
Before you buy, check three things:
- Width: measure the sink side to side, since listed sizes describe the rack, not your basin.
- Rod spacing: narrow gaps hold plates upright; wider gaps fit bowls and cutting boards.
- Heat tolerance: if you want the trivet trick, confirm it is rated for hot pots. Most silicone-wrapped steel is, but the cheapest versions are not.
Line the Cabinet Floor With a Waterproof Mat
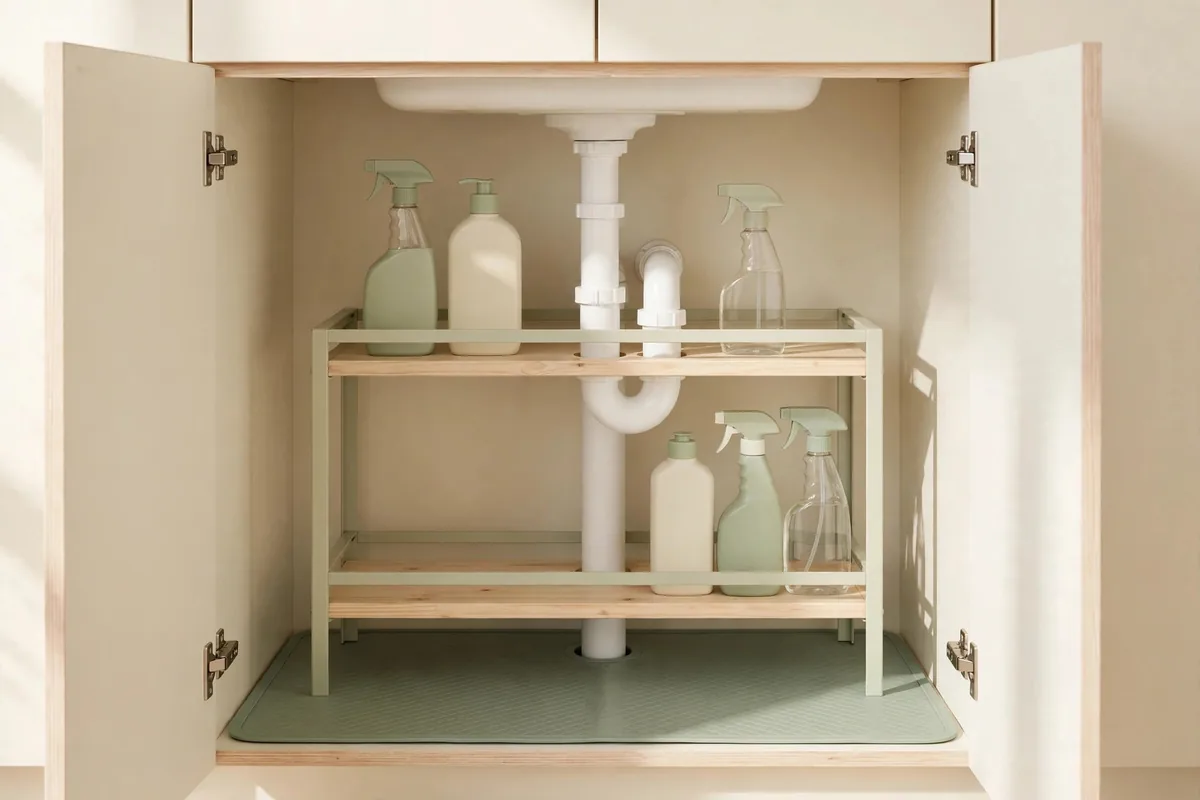
Under-sink cabinets are where slow leaks announce themselves by ruining everything. A waterproof under-sink mat (about $12–$20) catches drips before they become swollen cabinet floors and moldy mysteries. It’s the cheapest insurance in the whole kitchen.
Look for a mat with a raised lip around the edge so water pools instead of running off. Cut-to-fit versions work around the pipe cutouts that make under-sink floors so awkward. It wipes clean in seconds, which you’ll appreciate the first time a bottle tips over.
This is also your early-warning system: spot water on the mat when you slide a bin out, and you’ve caught a leak in days instead of months. Check it whenever you restock supplies. Three seconds now beats a swollen cabinet floor later.
Build Around the Pipes With a Tiered Under-Sink Shelf
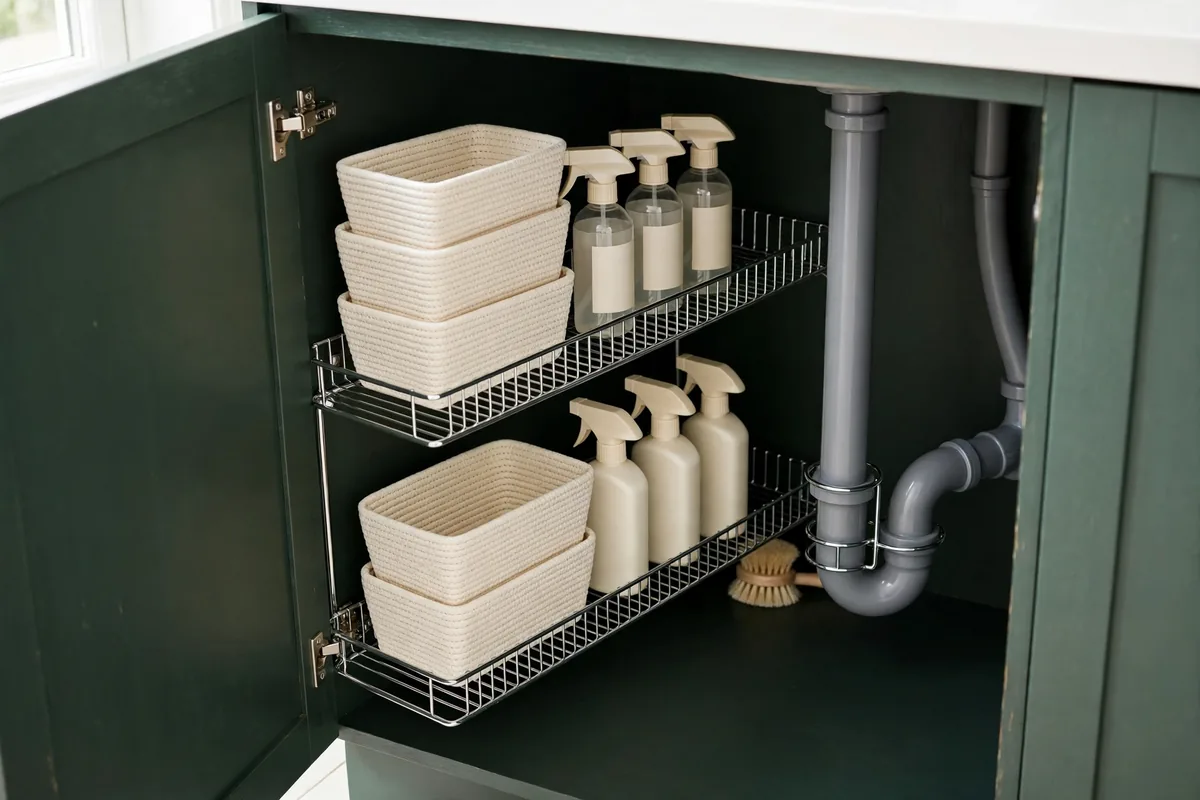
The pipes under the sink eat the middle of the cabinet, leaving two awkward side canyons. Under kitchen sink organization in small spaces is really just pipe-avoidance engineering: a two-tier expandable shelf ($20–$30) straddles the pipes and turns the dead vertical space into two usable levels.
Put daily cleaners on the top tier where you can grab them, backstock and bulky items below. The adjustable width is what makes these work in real cabinets — plumbing never sits where the diagram says it will, and expandable shelves forgive that.
Keep the heaviest bottles on the bottom and nothing directly against the hot-water pipe. Leave a few inches of clearance around every shutoff valve so you can reach them in an emergency. You will be glad you did.
Worth measuring before you order:
- Cabinet width: measure the front frame opening as well as the interior, since the shelf has to pass through the door opening.
- Pipe layout: note where the pipes and valves sit so the shelf straddles them instead of fighting them.
- Height: measure the tallest bottle going on the top tier, then add an inch for grabbing clearance.
Hang a Tension Rod for Spray Bottles
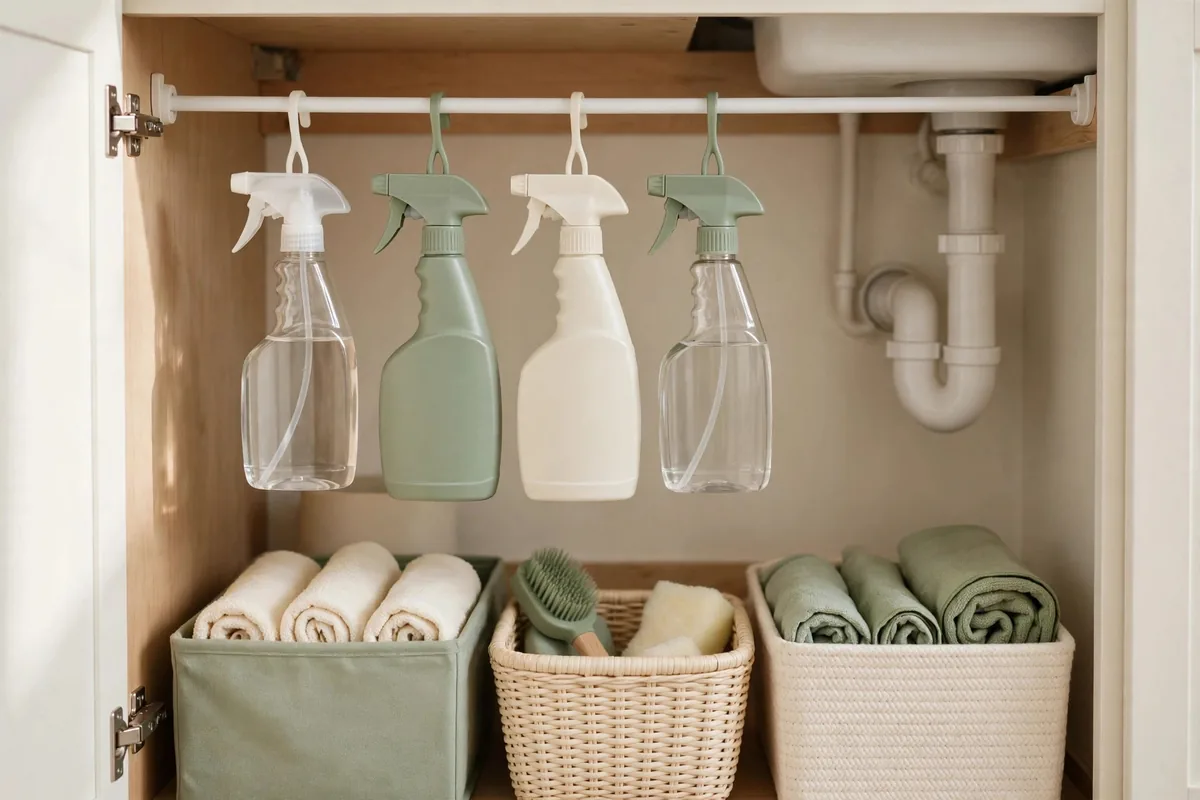
Spray bottles are tall, tippy, and constantly falling over. A small tension rod wedged across the upper part of the under-sink cabinet creates a hanging rail: hang spray bottles by their triggers and they stay upright, visible, and off the cabinet floor. Two rods cost about $6.
This works because it uses the vertical dead space above your shelf, the zone that’s usually just air. Line up three or four bottles on the rod and they stop toppling over every time you reach for the dish soap. It’s the same $3 tension-rod trick that rescues pot-lid drawers, applied to the sink cabinet.
Make sure the rod is rated for the weight — cheap rods slip under a full bottle of all-purpose cleaner. Test it by hanging the heaviest bottle and giving the cabinet door a firm close. If it holds, you’re set for good.
Move Soap and Sponges Into a Slim Sink-Side Caddy
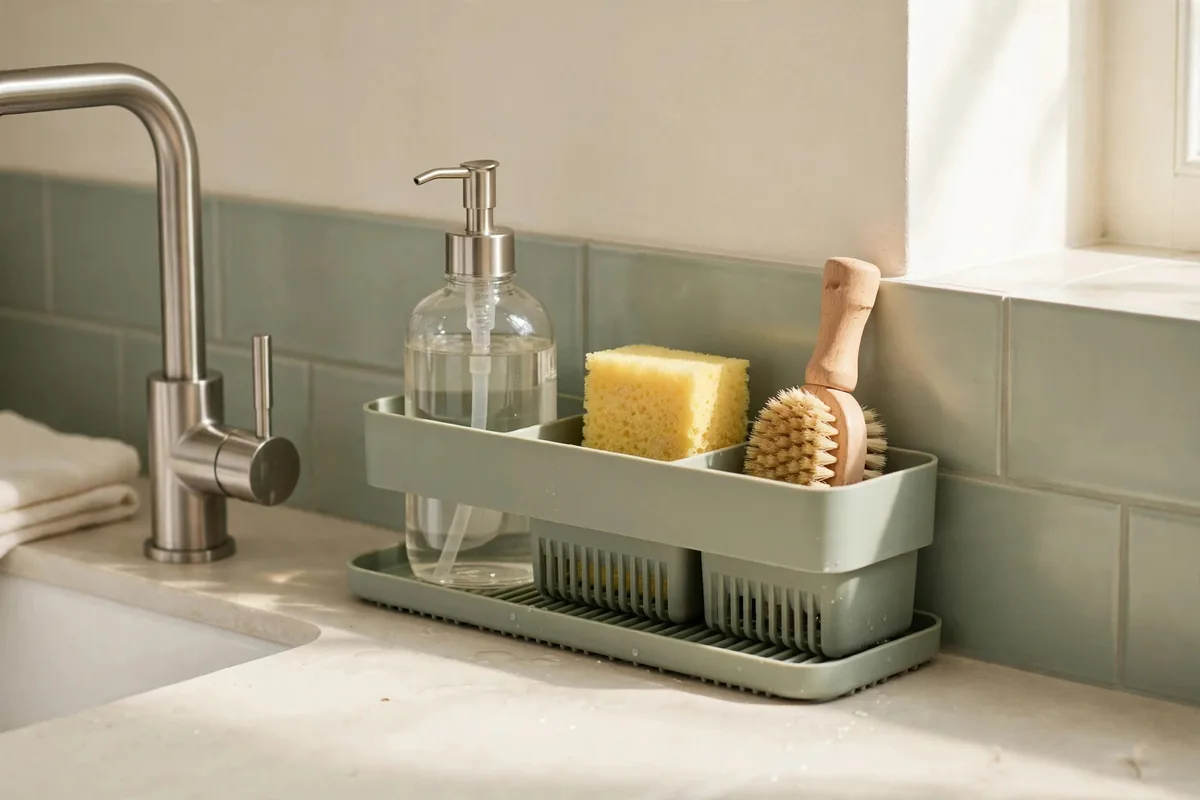
Small kitchen sink counter organization lives or dies on one question: does everything around the faucet have a home, or does it sprawl? A slim sink-side caddy (about $10–$15) corrals the dish soap, hand soap, sponge, and brush into one contained station instead of a drifting archipelago of bottles.
Look for one with drainage: a caddy that holds water is a caddy that grows things you don’t want to think about. Raised ribs or a drip tray keep sponges drying between uses, which makes them last longer and smell better. Suction-cup or weighted bases both work; pick whichever survives your countertop material.
Decant the dish soap into a small glass pump bottle if the original is ugly or oversized. It takes up less visual space and dispenses more cleanly. Five minutes of work and the whole sink area looks deliberate.
Add a Pull-Out Bin Under the Sink
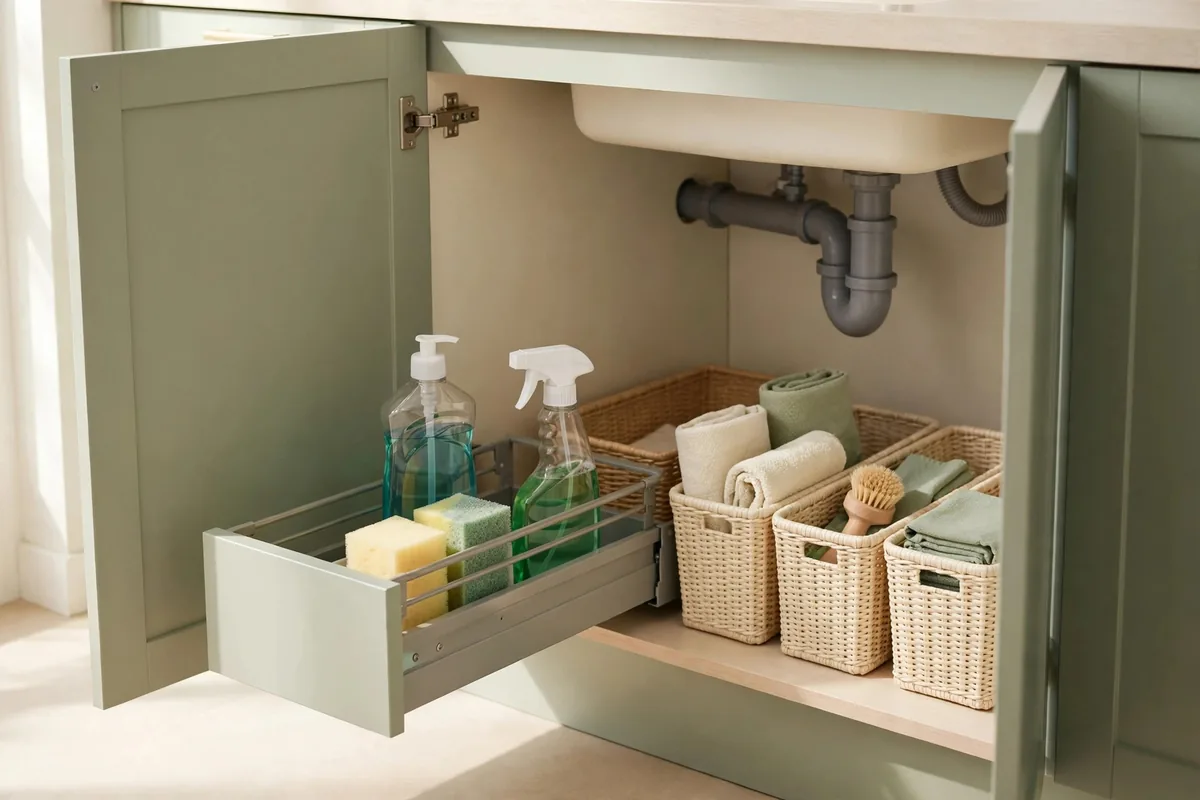
Reaching into the back of an under-sink cabinet on your knees is nobody’s idea of a good time. A small under kitchen sink organizer in the form of a pull-out bin or sliding drawer ($15–$25) brings the back of the cabinet to you — slide it out, grab what you need, slide it back.
Use it for the daily kit: dish soap refill, sponge refills, the all-purpose spray, gloves. Backstock and rarely-used items can live in a static bin behind or beside it. Measure the cabinet opening, not just the interior, since the bin has to fit through the door frame, and check the height against your tiered shelf so the pull-out slides without snagging.
Use the Inside of the Cabinet Door
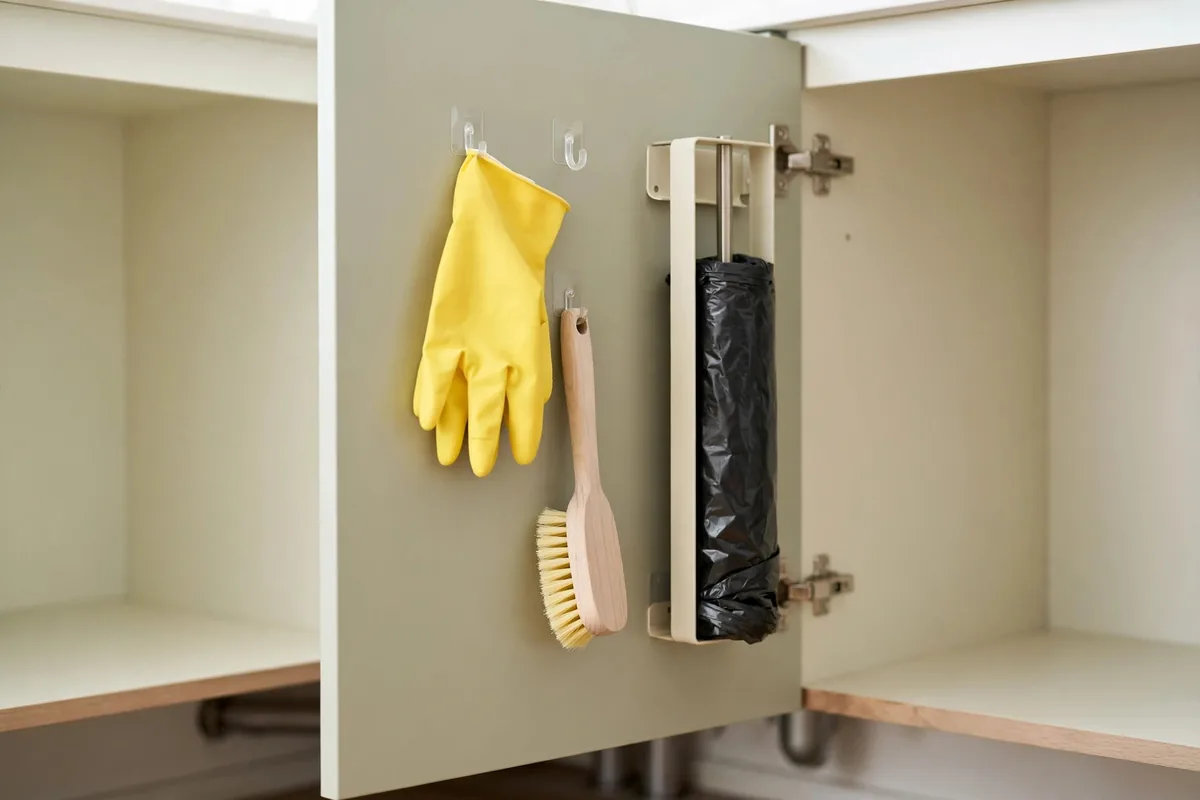
The inside of the under-sink cabinet door is free storage most people never touch. Small adhesive hooks or a slim over-the-door caddy hold the items you grab constantly: dish gloves, a scrub brush, the trash bag roll. No drilling, no damage — fully renter-friendly.
Command-style hooks rated for wet environments work best here; regular adhesive gives up in the humidity under a sink. Hang gloves by their cuffs so they air out, and keep the brush bristle-down so it drains. Don’t overload the door, though: heavy items strain the hinges over time, so this zone is for light, high-frequency tools only.
Contain the Counter With One Sink Tray
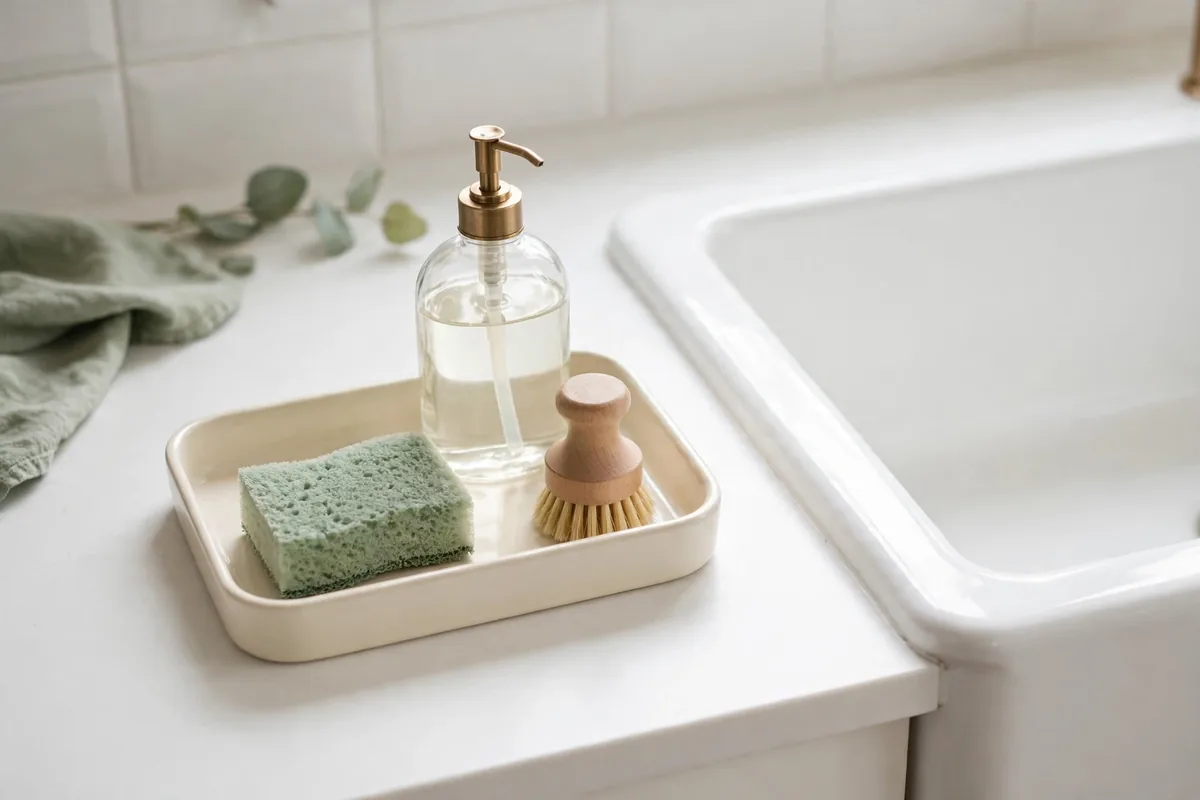
Here’s the rule that keeps the whole sink zone calm: everything that lives on the counter within arm’s reach of the faucet sits on one tray. One. A small stone or bamboo tray (about $12) defines the boundary — if it doesn’t fit on the tray, it doesn’t live by the sink.
The tray does three jobs at once: it catches drips and soap residue so the counter stays clean, it makes wiping the counter a one-lift job instead of a bottle-juggling act, and it gives the eye a single neat zone instead of scattered clutter. Lift tray, wipe counter, replace tray: thirty seconds.
Resist the urge to add a second tray. Two trays dissolve the boundary and the sprawl returns, so stick with one and edit its contents hard. The sink counter stays clear enough to actually use.
Hang Trash Bags and Extras on the Cabinet Door
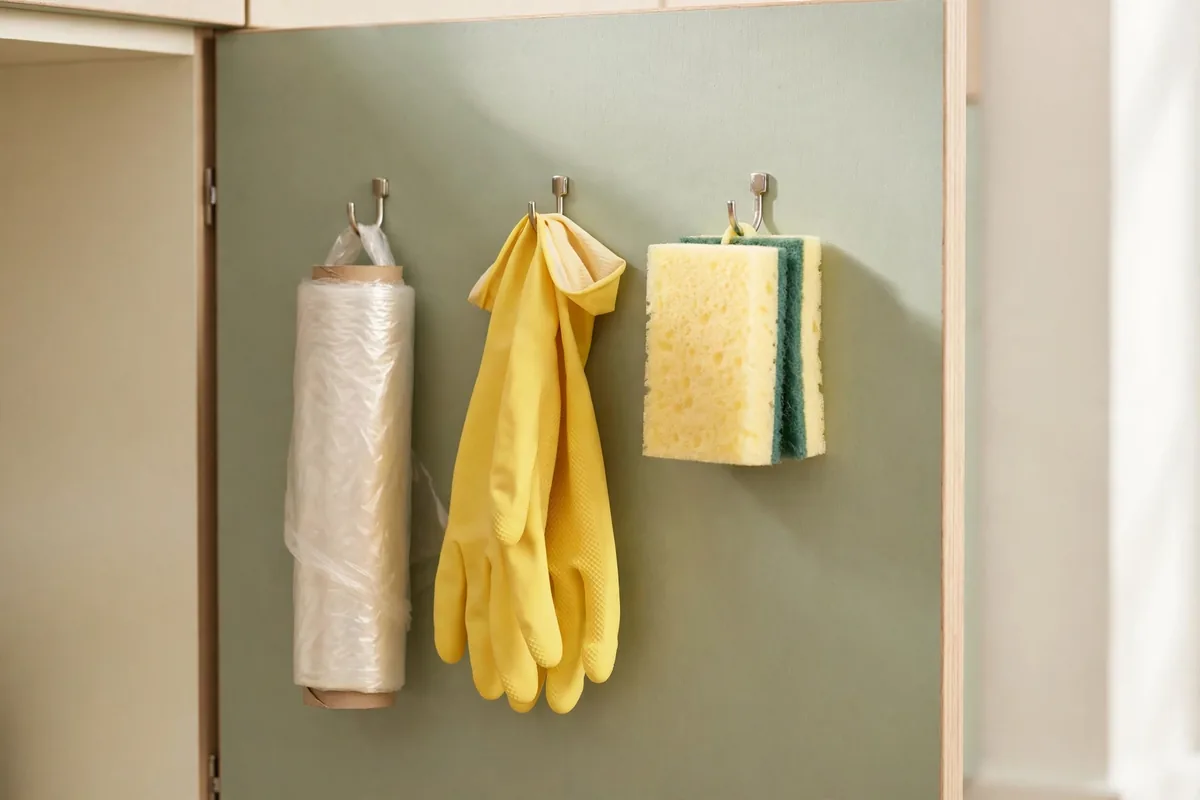
Trash bags always end up in the worst possible place: crammed behind the cleaners, tangled into a plastic-bag knot. A small adhesive hook on the inside of the cabinet door holds the current roll where you can grab a bag one-handed — which is exactly when you need it, mid-cleanup, hands full.
Keep just the active roll on the hook; backstock boxes go in the pull-out bin or on the lower shelf tier. Same principle for dishwasher pods: the current container lives at the front, refills live in the back. Front equals frequent, back equals backstock.
Sort Cleaning Supplies Into Labeled Bins
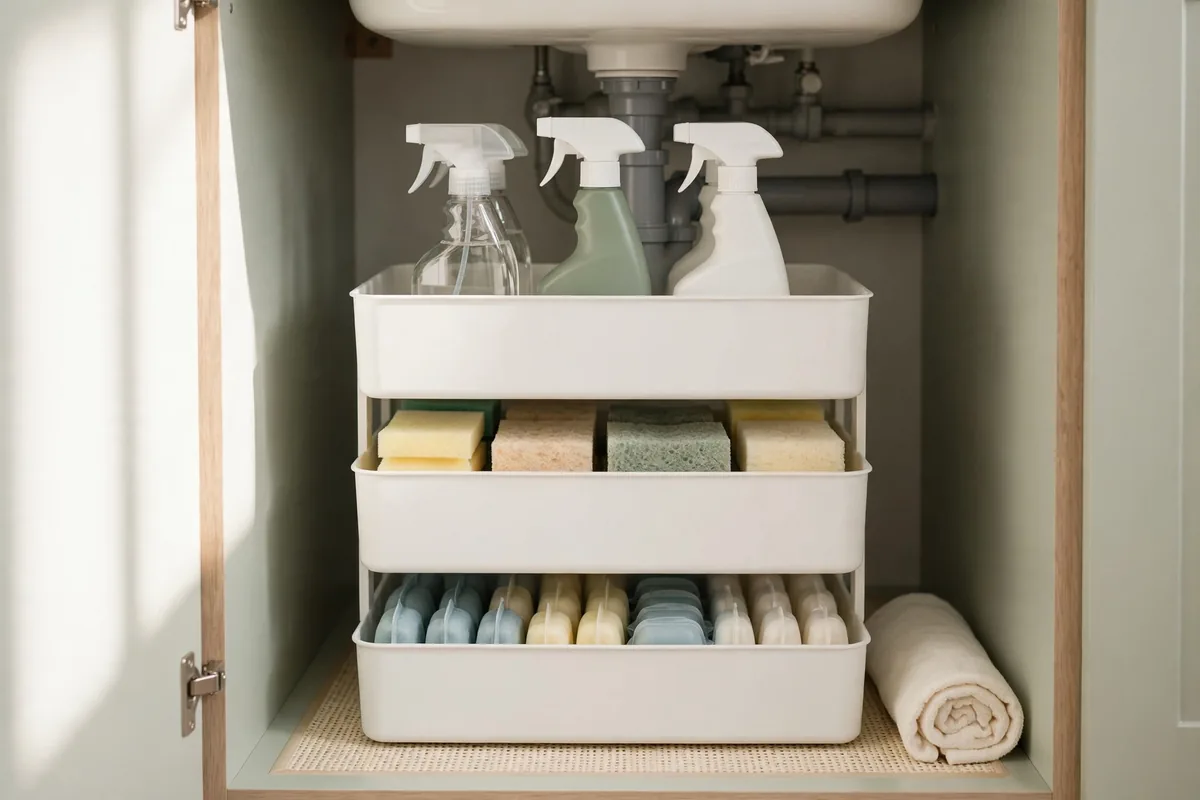
Loose bottles under the sink become a game of knock-over dominoes. Two or three small bins (about $4 each) sort cleaners by job: dish care, surfaces, and floor/specialty. Grab the bin instead of individual bottles; nothing tips, nothing hides.
Label each bin with a $5 label maker or simple stickers. Labels matter under the sink more than anywhere else because this is the cabinet everyone avoids. When the system is legible, even a reluctant roommate can put the glass cleaner back in the right place.
Once a year, check expiry dates. Cleaning products lose potency, and that bottle of wood polish from 2022 isn’t doing anyone favors. A quick annual purge keeps the bins current and the cabinet from slowly refilling with half-used bottles you forgot you owned.