My first kitchen had almost no cabinets. Pots lived on top of the fridge, spices in a shoebox, and for a year I told myself small kitchen storage ideas were for people with real kitchens. Then I started treating the whole room as storage, and the cabinets stopped mattering.
I had been using only the obvious storage, cabinets and drawers, while the walls, the door, the top of the fridge, and the thin strips of air between everything went unused. My small kitchen organization turned a corner once I stopped thinking of the kitchen as four cabinets and started thinking of it as one small room with a lot of surfaces. Every idea below is one I have used or watched work in a truly tiny space, and most are renter-friendly and cheap.
Small Kitchen Storage Ideas on a Budget: Roll In a Slim Cart
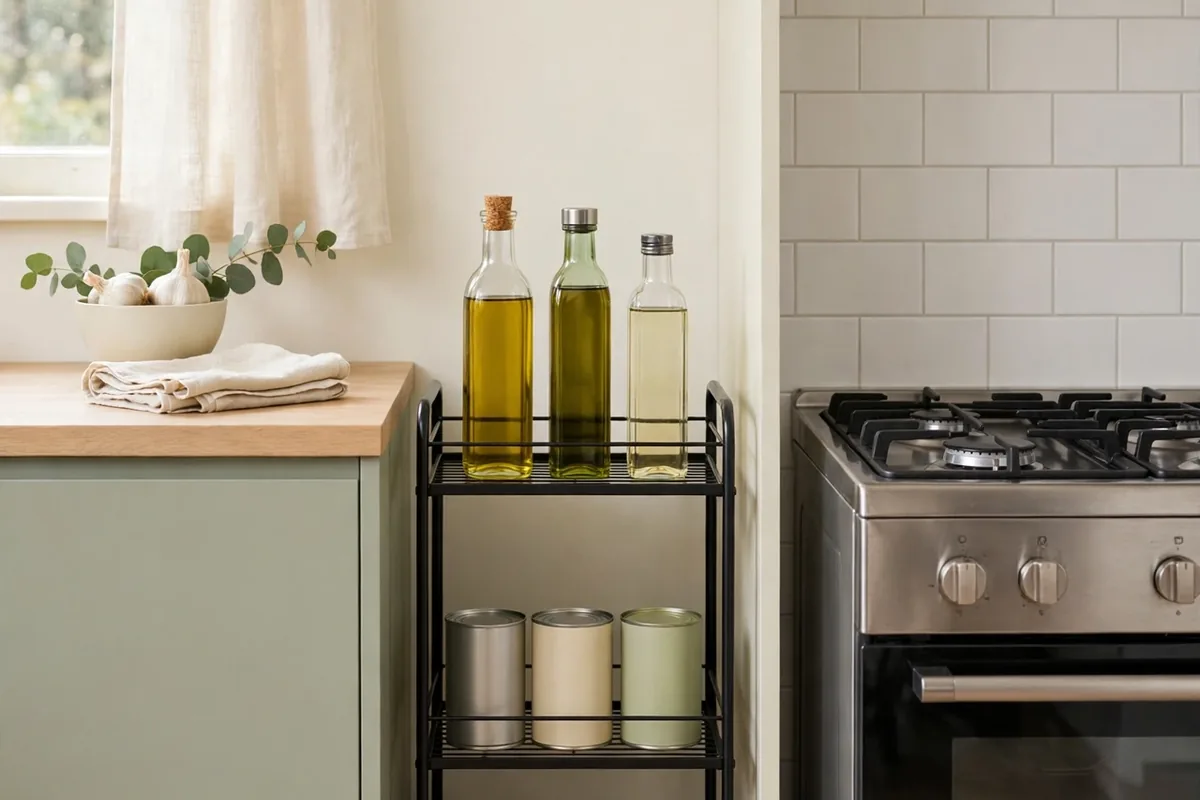
A three-tier rolling cart is the single best purchase for a small kitchen without cabinets. The slim versions are barely 15 inches wide, so they slide into the gap between the fridge and the wall, next to the stove, or into a corner — dead space you can’t use any other way. Measure your narrowest gap before ordering; carts come in 3, 4, and 5-tier versions, and the tall ones won’t clear under some countertops.
Load it by zone: oils and spices up top, canned goods in the middle, heavy stuff like bulk rice at the bottom. Because it rolls, you pull it out to cook and tuck it away after. The classic metal cart runs about $30 to $40 and holds an absurd amount for its footprint. I keep mine parked beside the stove with a small cutting board laid across the top tier for extra prep surface.
Claim the Top of the Fridge and the Cabinets
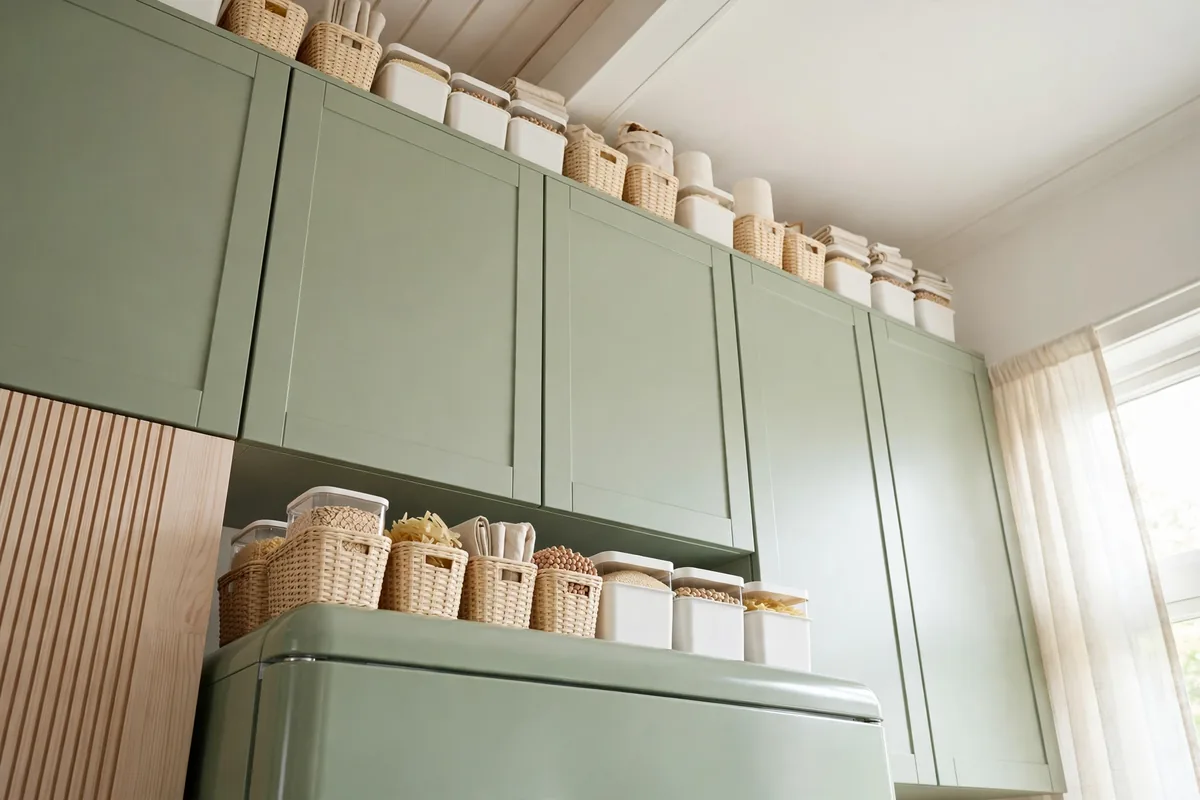
The dusty no-man’s-land above your fridge and wall cabinets is roughly two cubic feet of storage in the average kitchen, and almost everyone wastes it. A couple of matching baskets up there turn it into real storage for the bulky, rarely-used stuff you still need to keep.
This spot works best for a specific category of things:
- Holiday platters and serving dishes that come out a few times a year
- The big stockpot or bread machine you use monthly, not weekly
- Paper goods and backup supplies, kept well away from the stove
Use baskets with lids or at least handles, because you’ll be pulling them down from height. Keep anything you need weekly or more at counter level. Nothing heat-sensitive belongs in the stove’s exhaust path, and paper goods need distance from the burners.
This is one of my favorite budget small kitchen storage ideas because it costs almost nothing if you already own baskets. Line the basket bottoms with shelf liner so they don’t scratch the fridge top, and label the fronts so you’re not climbing up to check what’s inside.
Small Kitchen Storage Ideas for Renters: Mount a Kitchen Rail
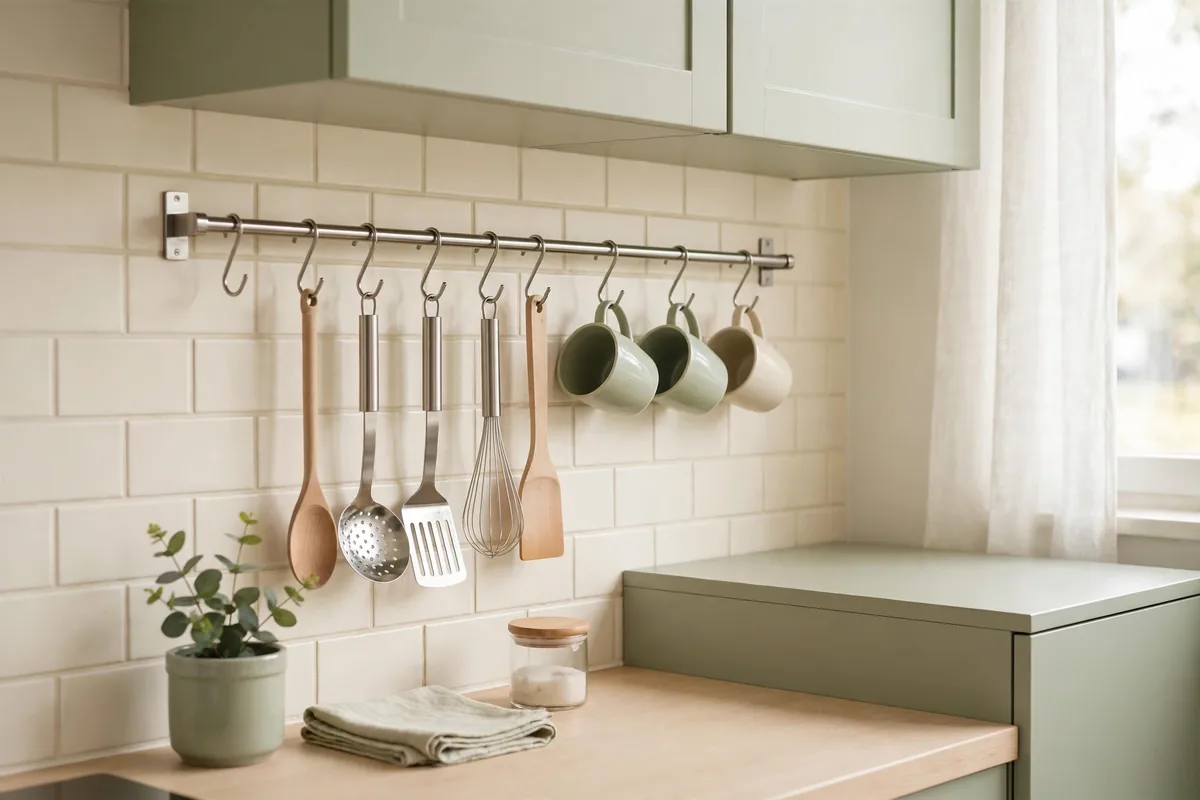
A wall-mounted rail with S-hooks is the renter’s answer to missing cabinet space. One 24-inch stainless rail (about $12) holds your most-used utensils, a few mugs, scissors, and even small pots, all off the counter and within arm’s reach of the stove.
Mount it on the backsplash area or the side of a cabinet if your landlord won’t allow wall holes; heavy-duty adhesive hooks rated for 5+ pounds work on tile and survive steam. The rail turns vertical wall space into storage without a single shelf, and everything on it is visible — which means you actually use what you own.
Keep the rail near the stove, not across the room, since utensils migrate there anyway. I hung a small potted herb on mine too, which made the wall feel intentional instead of improvised.
Put Knives and Spices on Magnetic Wall Strips
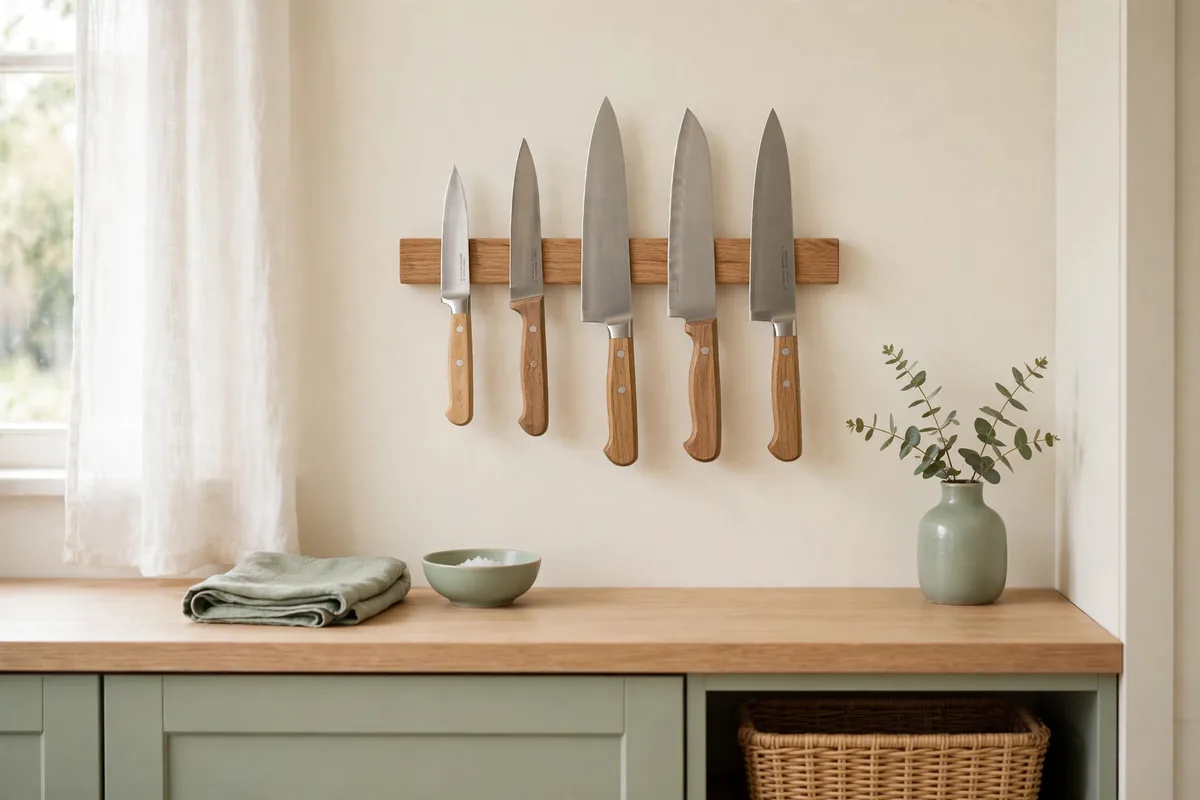
Knife blocks eat a full square foot of counter, and spice racks eat a shelf. Two magnetic strips on the wall reclaim both: one 16-inch magnetic knife bar (around $15) holds a full knife set plus kitchen shears on a strip of wall you weren’t using, and a second strip takes small metal spice tins you can read at a glance. This only works on ferromagnetic containers, so test your tins with a fridge magnet before committing.
Mount the knife bar blade-edge up, above counter height but within easy reach, high enough that kids can’t grab it. Screws beat adhesive for knives; if you rent, mount it inside a cabinet door instead. (Never mount a magnetic knife strip directly above the stove. Heat and steam dull blades faster, and reaching over a hot burner for a knife is an accident waiting to happen.)
Hang Baskets Under Your Existing Shelves
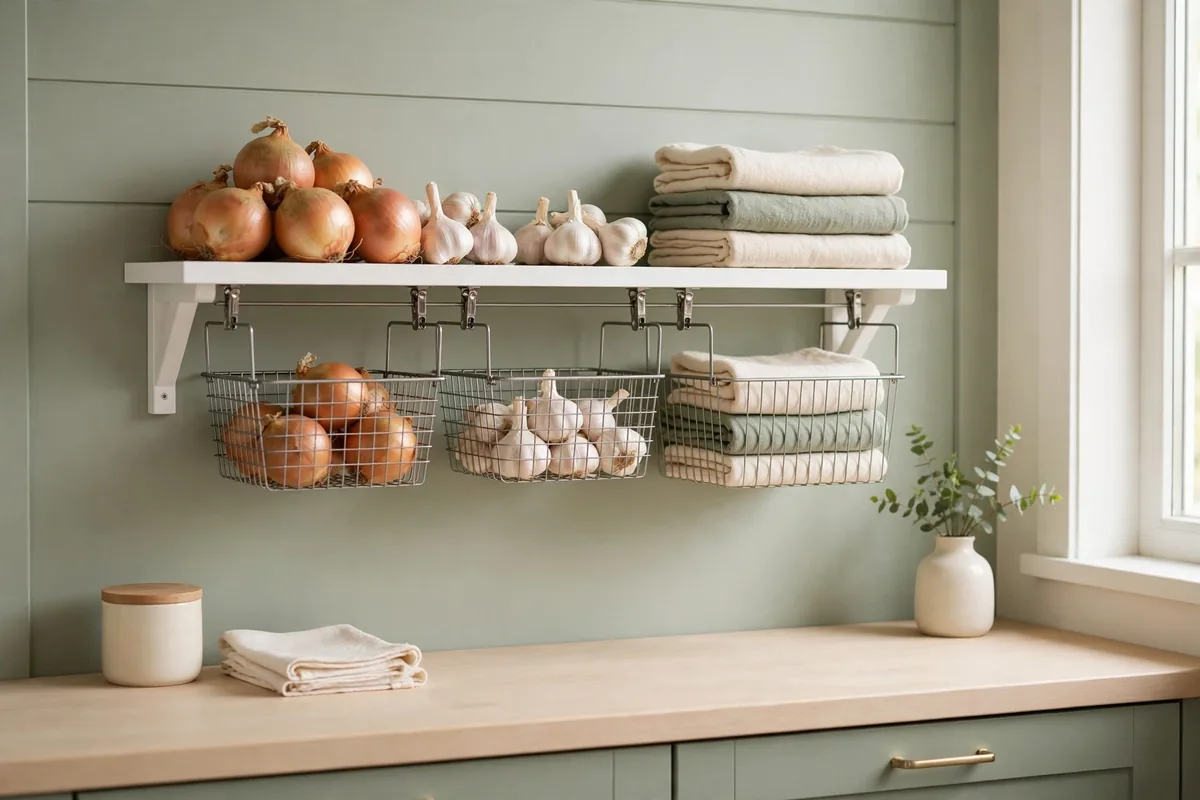
Under-shelf hanging baskets clip onto any shelf that’s at least half an inch thick and instantly create a second layer of storage beneath it. Mugs, produce, wrapped snacks, dish towels: the light stuff that clutters counters finds a home in the dead air under your shelves.
They’re about $10 for a two-pack, need zero installation, and come off cleanly when you move. I use one under my single open shelf for onions and garlic (they need airflow, not a drawer) and another for the coffee filters and tea bags that used to live in a pile on the counter.
The trick is weight discipline: these are wire arms, not shelves. Keep them under 5 pounds each and reserve them for light, bulky items. Heavy cans will bend the arms over time, so stick to the light stuff and they last for years.
Turn a Narrow Bookcase Into a Pantry Wall
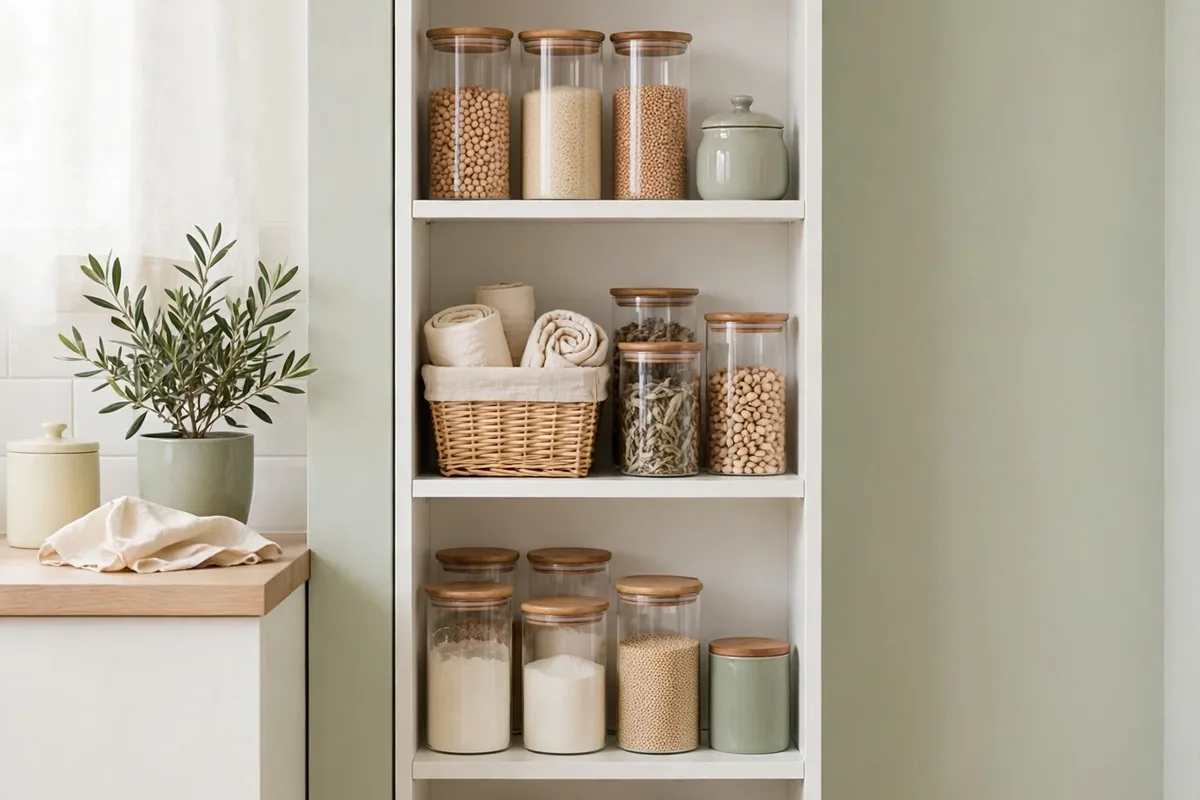
No pantry? A narrow bookcase (12 inches deep, about $40 at any big-box store) becomes one against any empty wall. The shallow depth is actually perfect: nothing gets lost in the back the way it does in deep cabinets, and you can see everything you own at a glance. Style it like a pantry, not a bookshelf: group by category, daily items at eye level, matching baskets on the bottom shelves to hide visual noise. Anchor it with the included anti-tip hardware, since a loaded bookcase is a tipping hazard.
This is the backbone of small kitchen storage organization in my current place. One 5-shelf unit holds my entire dry-goods collection, and because it’s furniture, it moves with me. When I eventually get real pantry storage, it becomes a bookshelf again, which built-in cabinets can’t do.
Add a Drop-Leaf Wall Table With Storage Beneath
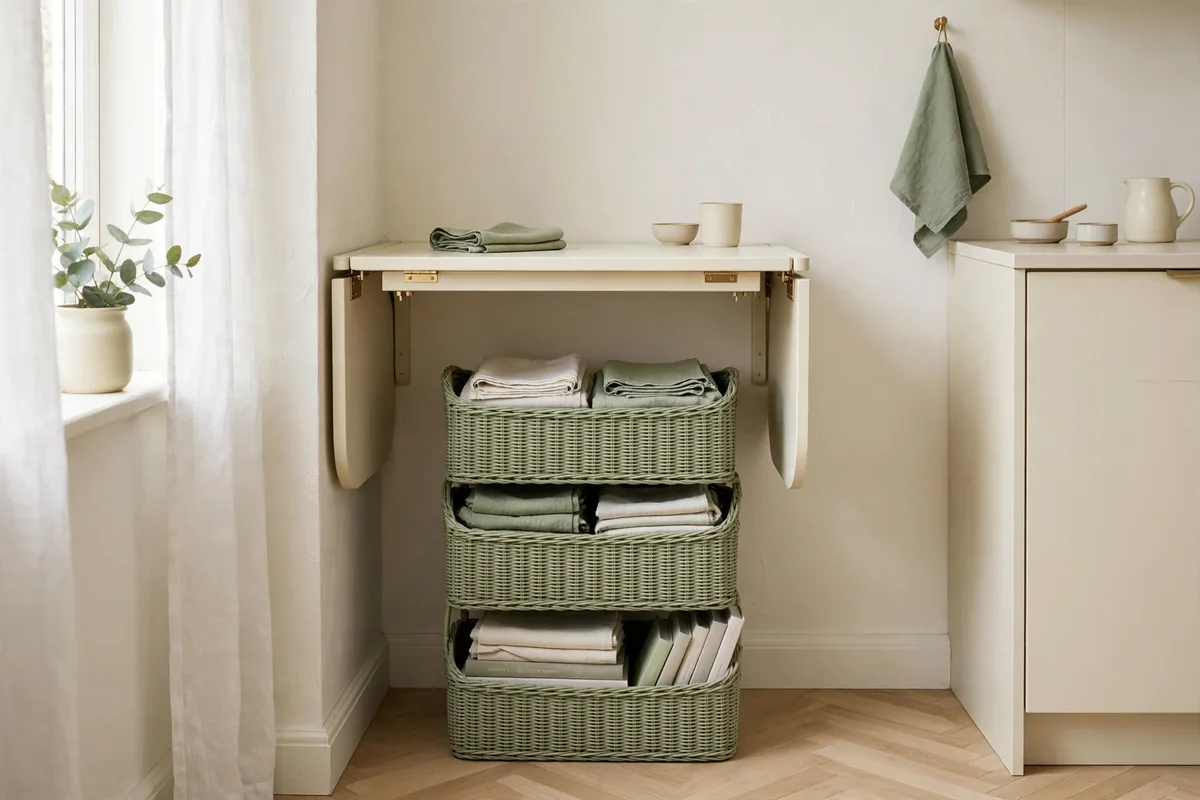
Kitchens without cabinets usually lack counter space too, and a drop-leaf wall table solves both. Folded down it’s a 10-inch-deep shelf; folded up it’s a 30-inch prep table or two-person dining spot. The versions with a shelf or cubbies underneath (around $80) give you storage and surface in one footprint.
Mount it at counter height into studs. The folding mechanism needs solid anchoring, not just drywall anchors, and renters should know that freestanding folding tables with storage shelves need no mounting at all. A few jobs it handles well:
- A coffee station: machine on top, mugs on hooks underneath, beans in the cubby
- A laptop perch for recipe reading that folds away after dinner
- A rolling prep surface for baking days, if you pick the freestanding kind
I used one as a coffee station, and every morning it felt like a little café — then it folded away each evening. In tiny spaces, furniture that does two jobs covers a lot of ground.
Small Kitchen Storage Ideas Without Cabinets: Buy the Freestanding Cupboard
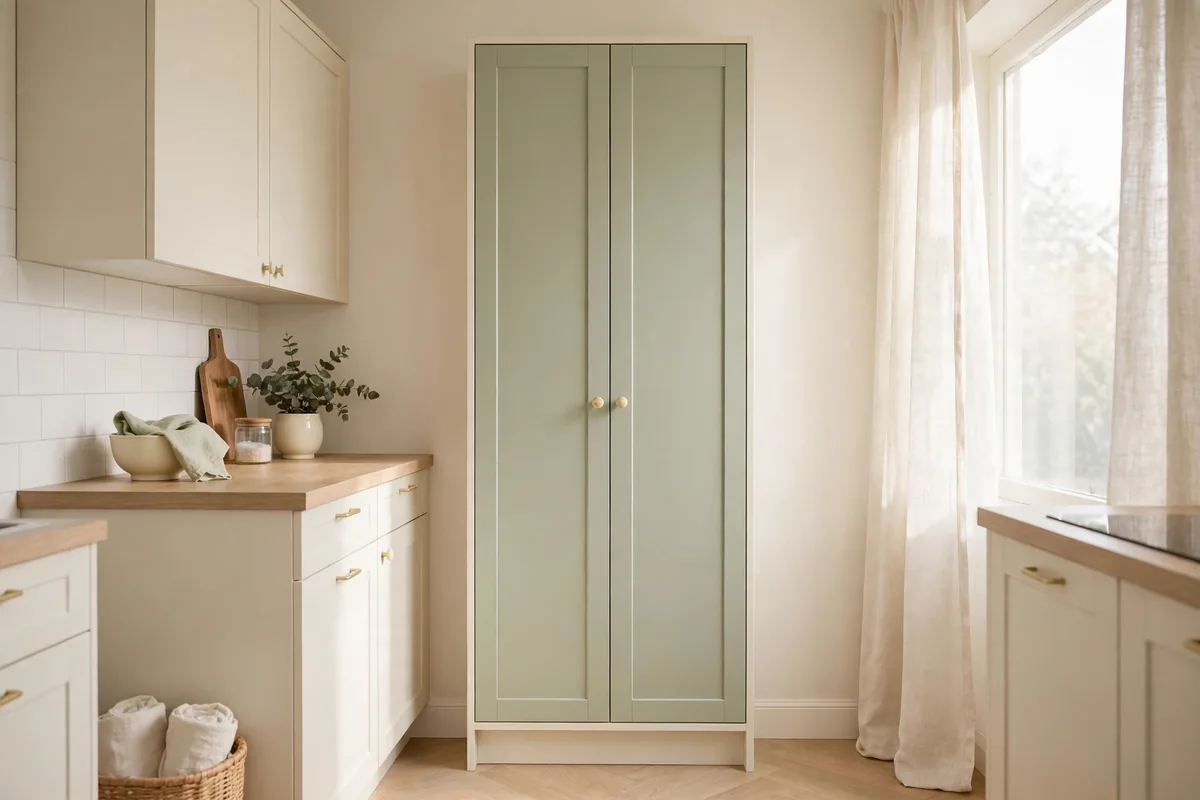
Some kitchens genuinely have nowhere to put things: a hot plate, a mini fridge, and bare walls. For those, the answer is a freestanding pantry cupboard, a tall, narrow armoire with doors, shelves inside, and sometimes a countertop-height surface on top. It’s the closest thing to adding cabinets without a contractor.
The flat-pack versions run $100 to $150 and assemble in an afternoon. Look for adjustable shelves (canned goods and cereal boxes are wildly different heights), doors that close fully (open shelving in a kitchen collects grease), and a depth under 16 inches so it doesn’t swallow the room.
This is the nuclear option among small kitchen storage ideas without cabinets, and I mean that as praise. One friend’s studio went from camping-stove chic to functional with a single $120 cupboard and a rolling cart — and both moved with her when she left.
Use the Back of the Kitchen Door
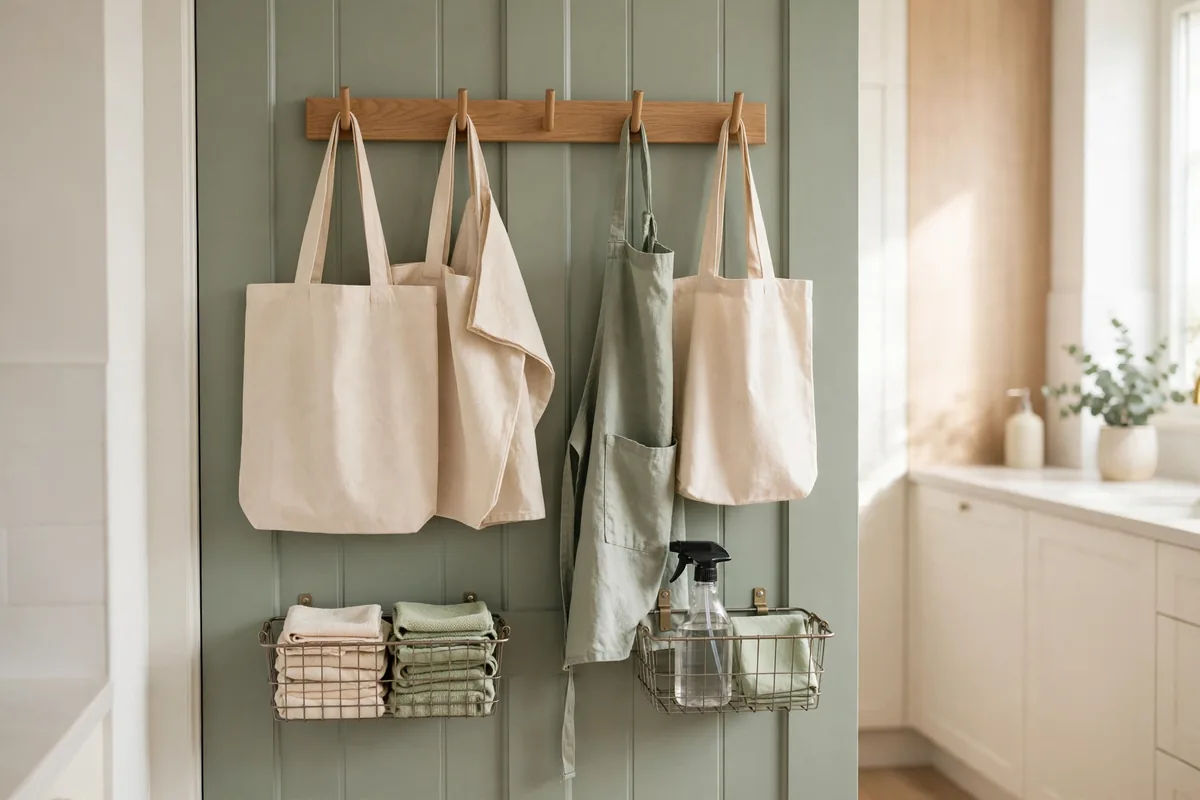
The inside of your kitchen door, the pantry door, or even a closet door near the kitchen is a full extra storage wall most people never touch. An over-the-door organizer with clear pockets or wire baskets holds cleaning supplies, extra dish towels, reusable bags, and the takeout menus, small kitchen counter organization that keeps it all reachable but out of the way. The door is also the right home for the awkward non-food stuff that colonizes limited surfaces, like spray bottles, sponges, the broom and dustpan, and the step stool for the fridge top. Corral it all here and your counters stay clear for cooking.
Measure the door’s thickness and the gap to the frame before buying — some organizers block the door from closing. The fabric-pocket versions are cheapest and quietest; wire versions hold heavier bottles. Either way, keep it under 20 pounds total so the hinges don’t suffer.
Hang Mugs and Tools Under the Wall Cabinets
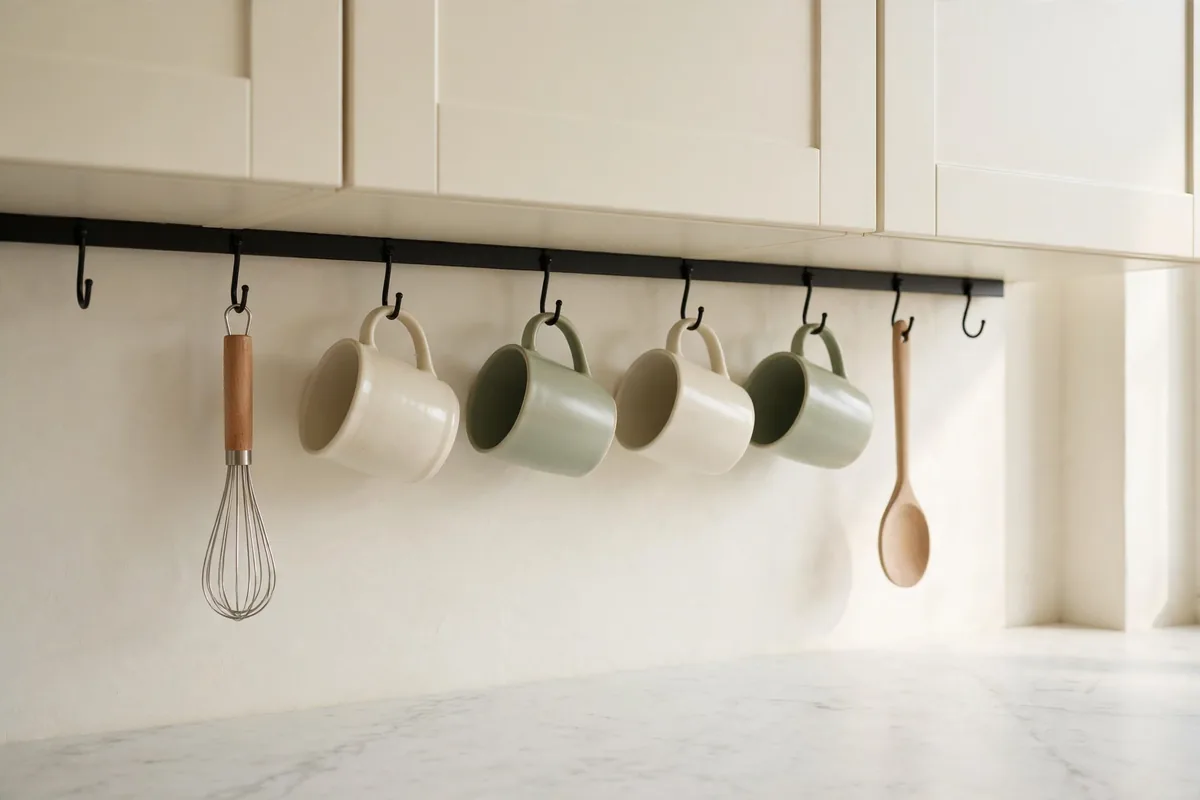
The three inches of air under your wall cabinets is wasted in almost every kitchen. Screw-in or adhesive hooks under there hold mugs, measuring cups, and small utensils — freeing a full shelf inside the cabinet for the stuff that actually needs to be enclosed.
Adhesive hooks rated for a few pounds work fine for mugs on the underside of wood cabinets; use screw-in cup hooks for anything heavier or on laminate. Line them up in a neat row and it looks intentional, like a café. Scatter them randomly and it looks like clutter that happens to hang.
I moved six mugs under the cabinet above my coffee corner and gained an entire shelf for food storage — a solid trade in a small kitchen. (Hang the mugs by their handles with the opening facing sideways, not down. It looks tidier, they dry faster, and you can fit more hooks in the same run.) Just keep hooks away from directly under the range hood, where grease coats everything.
Stack Wire Shelving Into Unused Corners
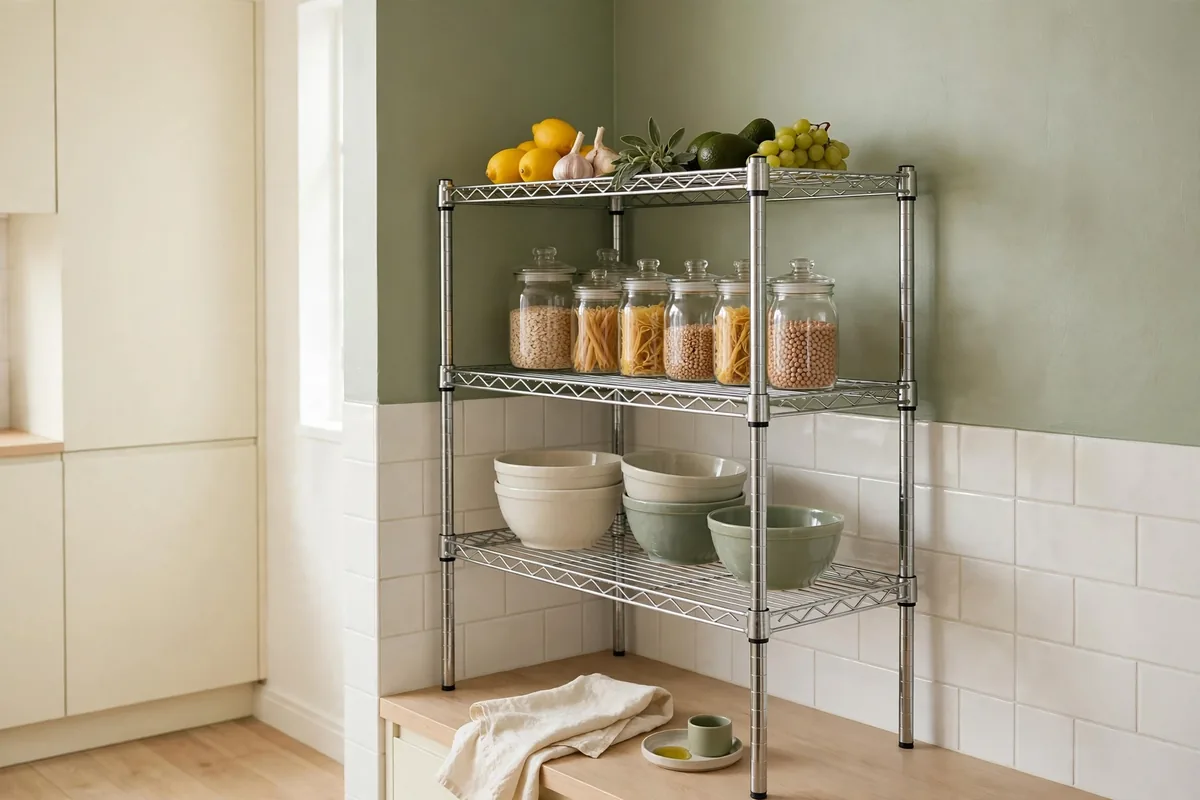
Kitchen corners collect dead space: too awkward for cabinets, too visible to ignore. A corner wire shelving unit, or even two stackable wire cubes turned at an angle, converts that triangle of nothing into storage for produce, small appliances, or the mixing bowls.
Wire shelving is the right material here because you can see through it; solid corner units create dark caves where things disappear. The chrome 3-tier corner units run about $35, assemble without tools, and wipe clean. Put the heaviest items on the bottom tier for stability.
Measure the corner’s actual usable depth — baseboards and uneven walls steal more inches than you’d think. And leave a finger’s width between the unit and both walls so you can pull it out to clean behind it. The corners are where dust and grease settle, so plan on a quick wipe when you do.